Old Log Wood Tables: Step by Step Construction Process
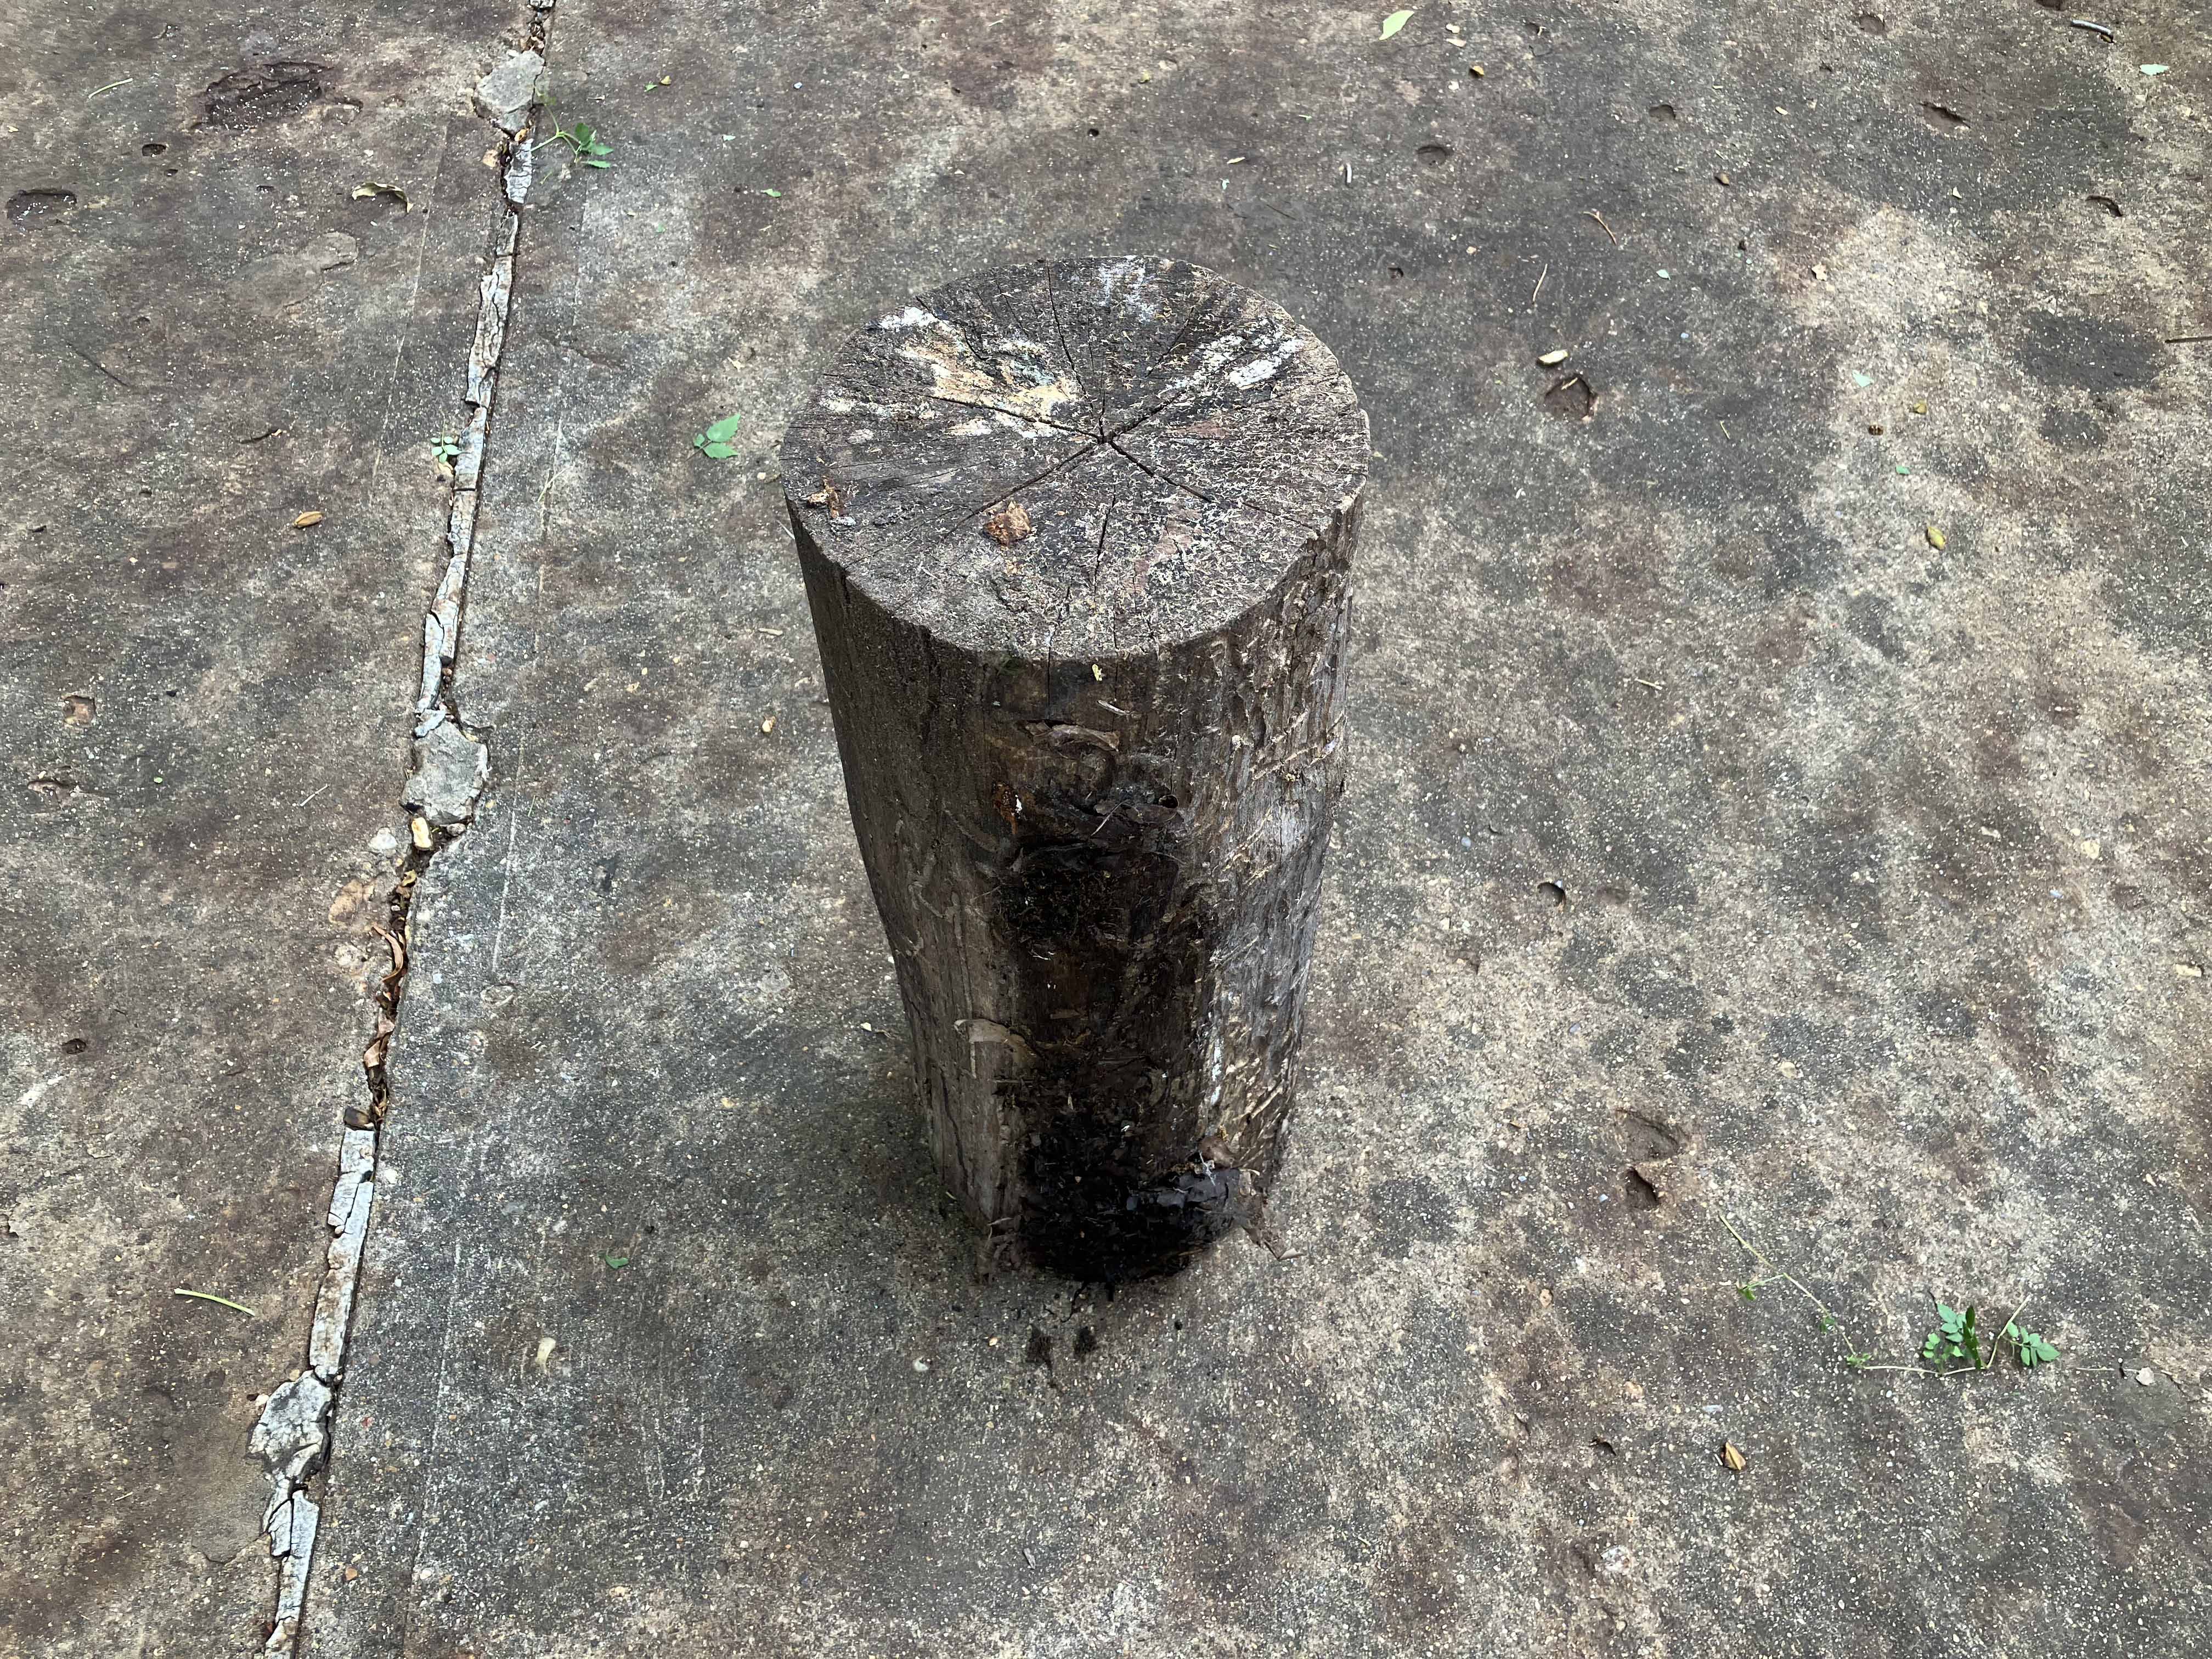
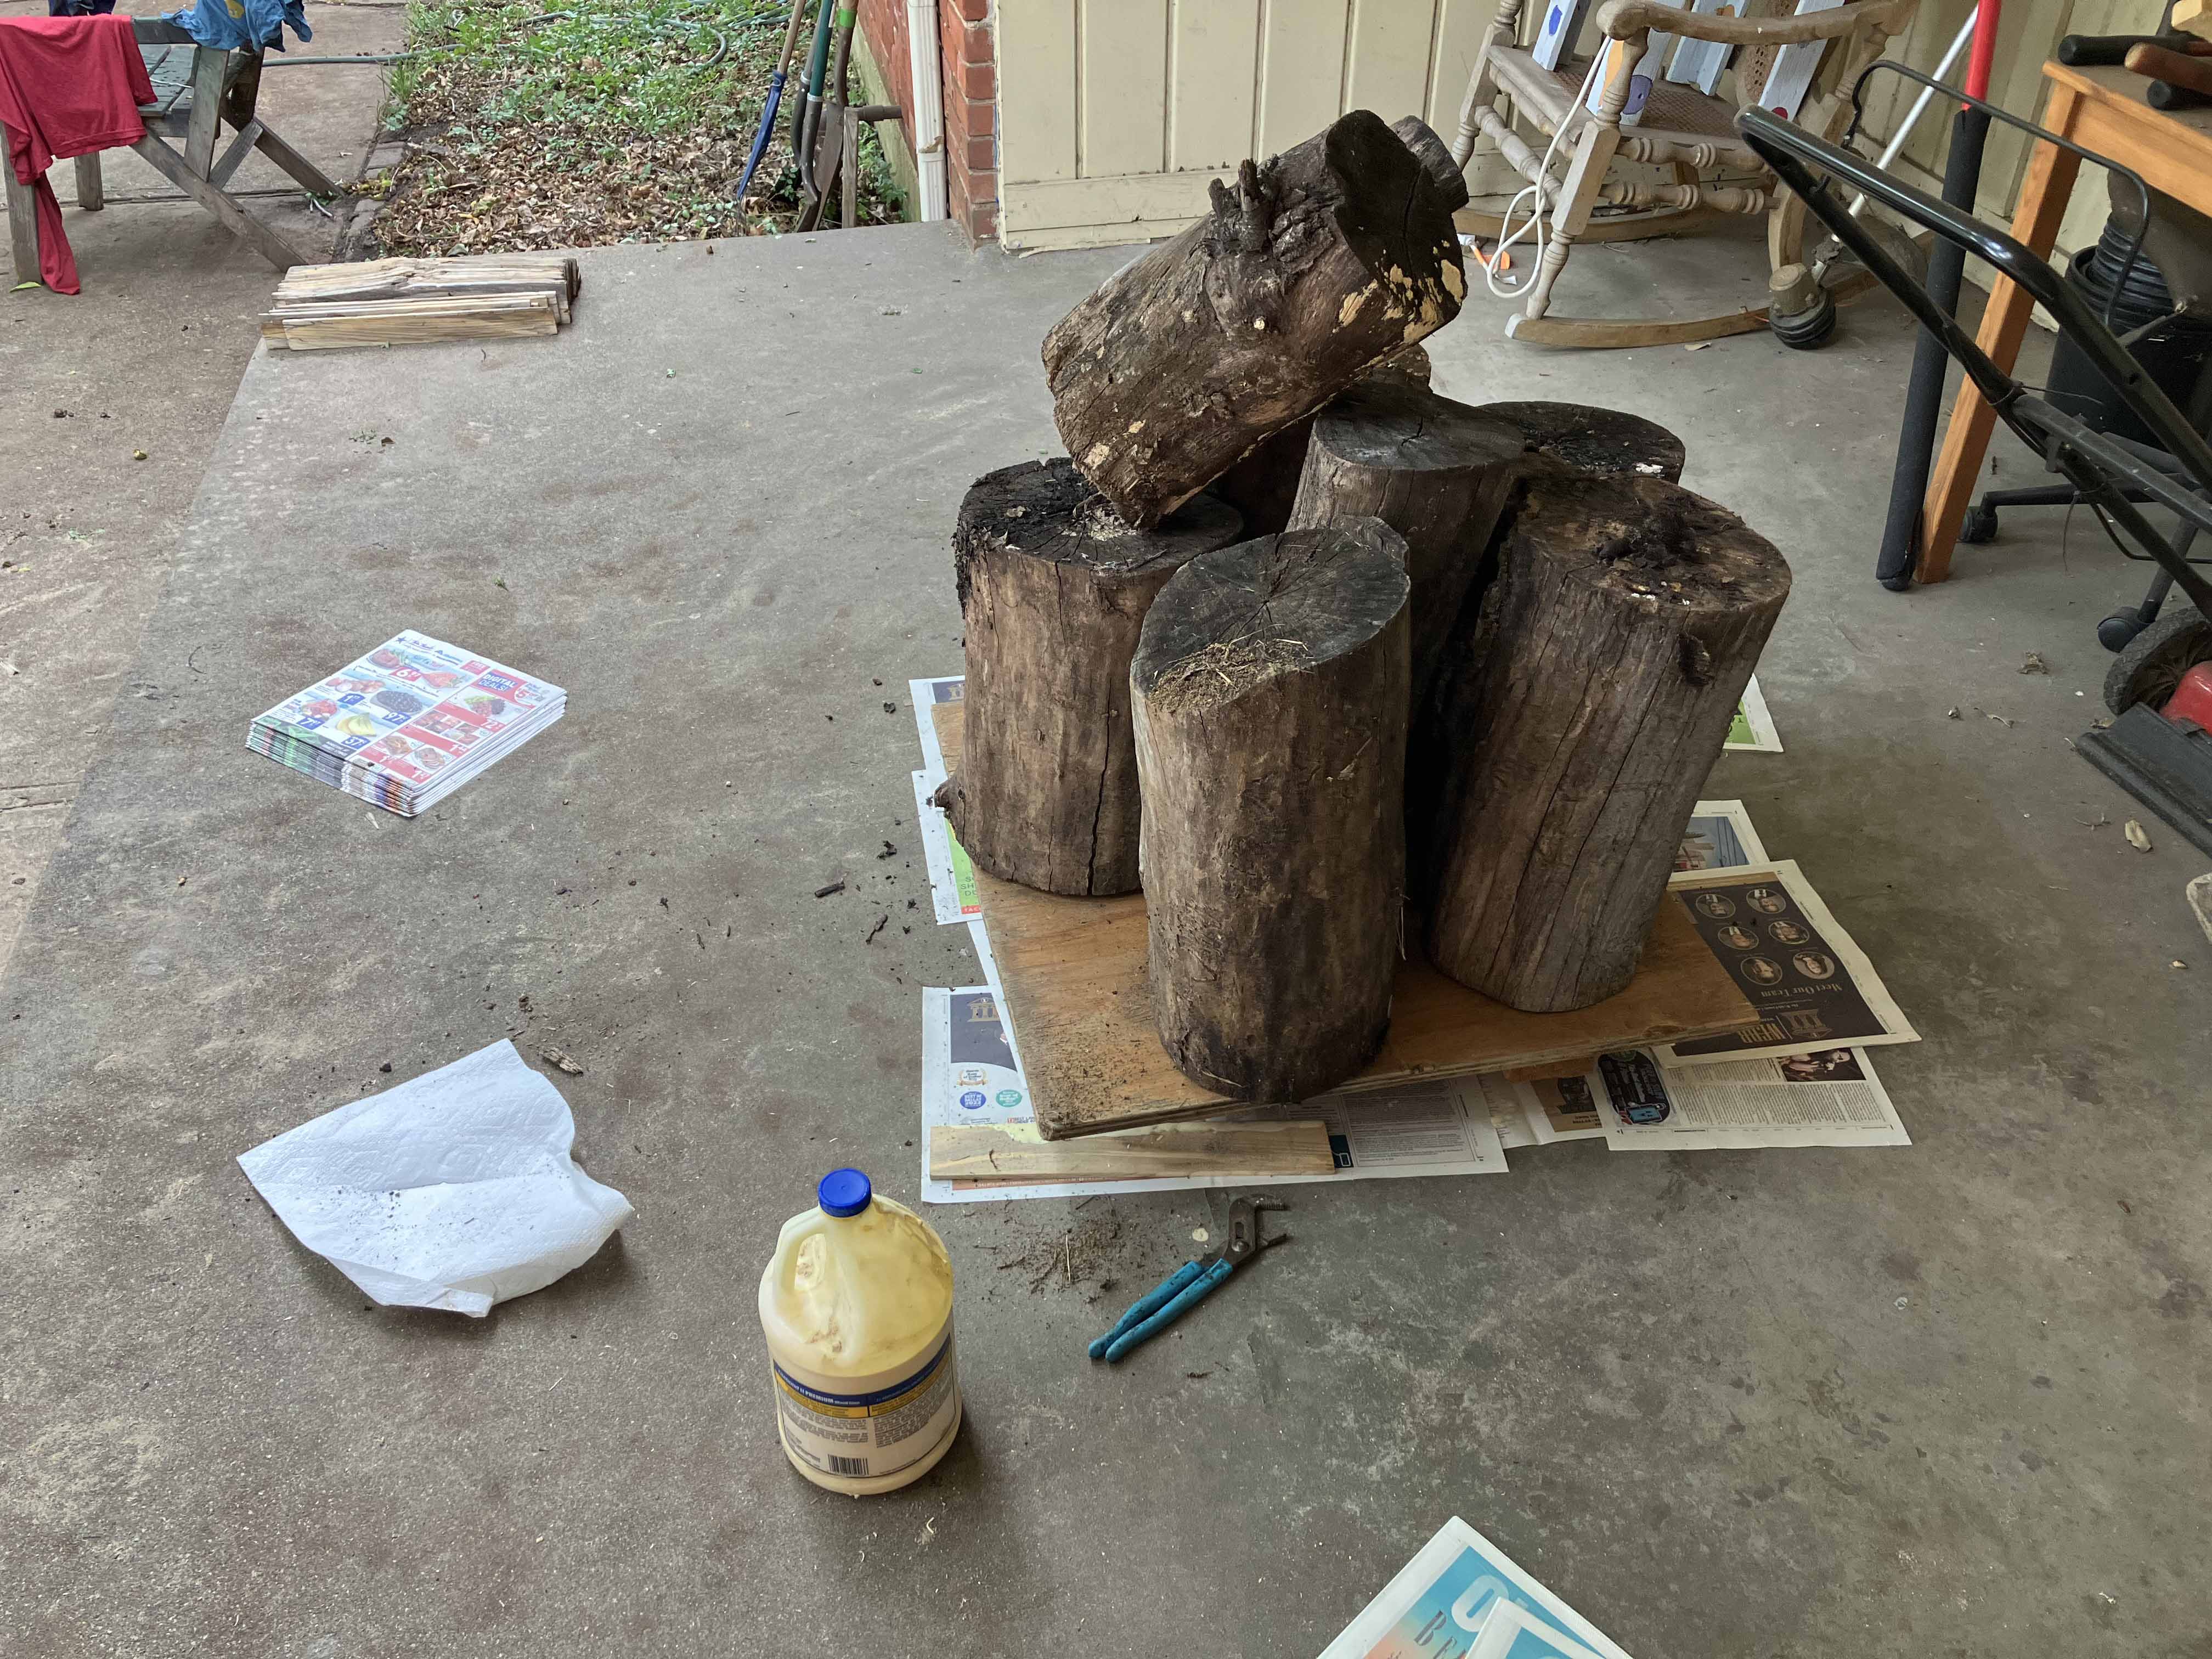
Start with an old log.
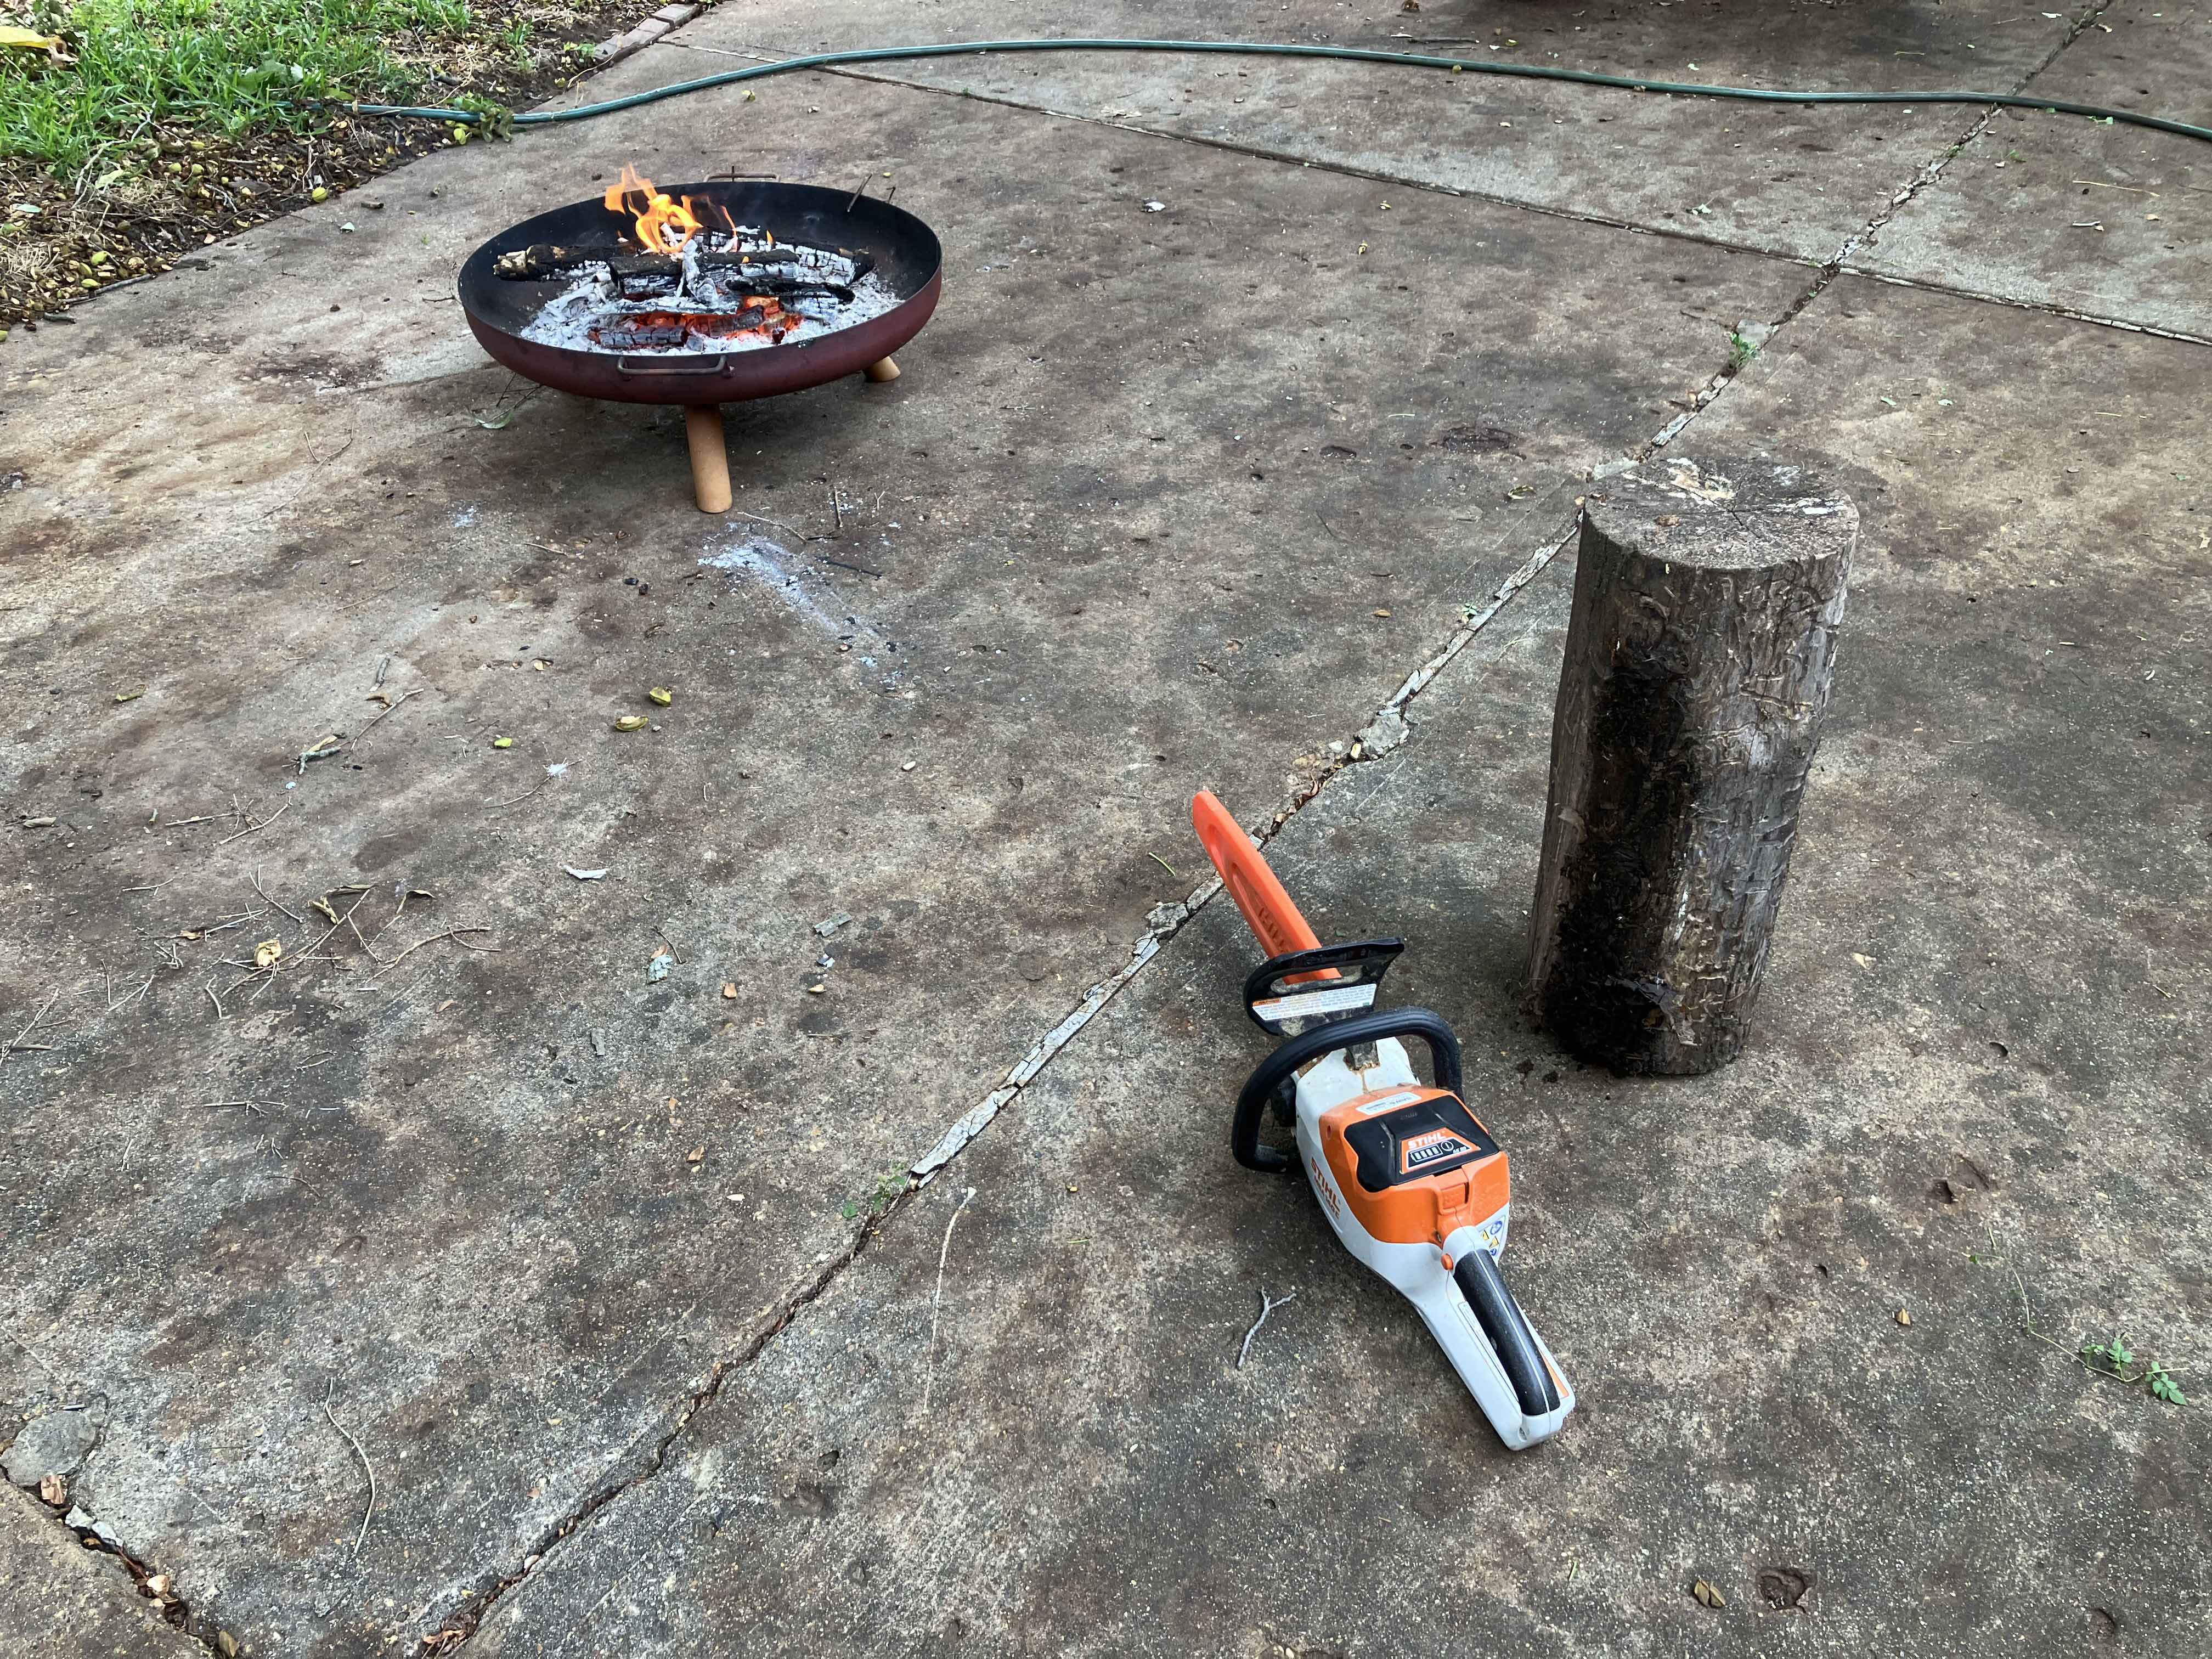
The chainsaw is used to make the first cuts, the fire is for discards.
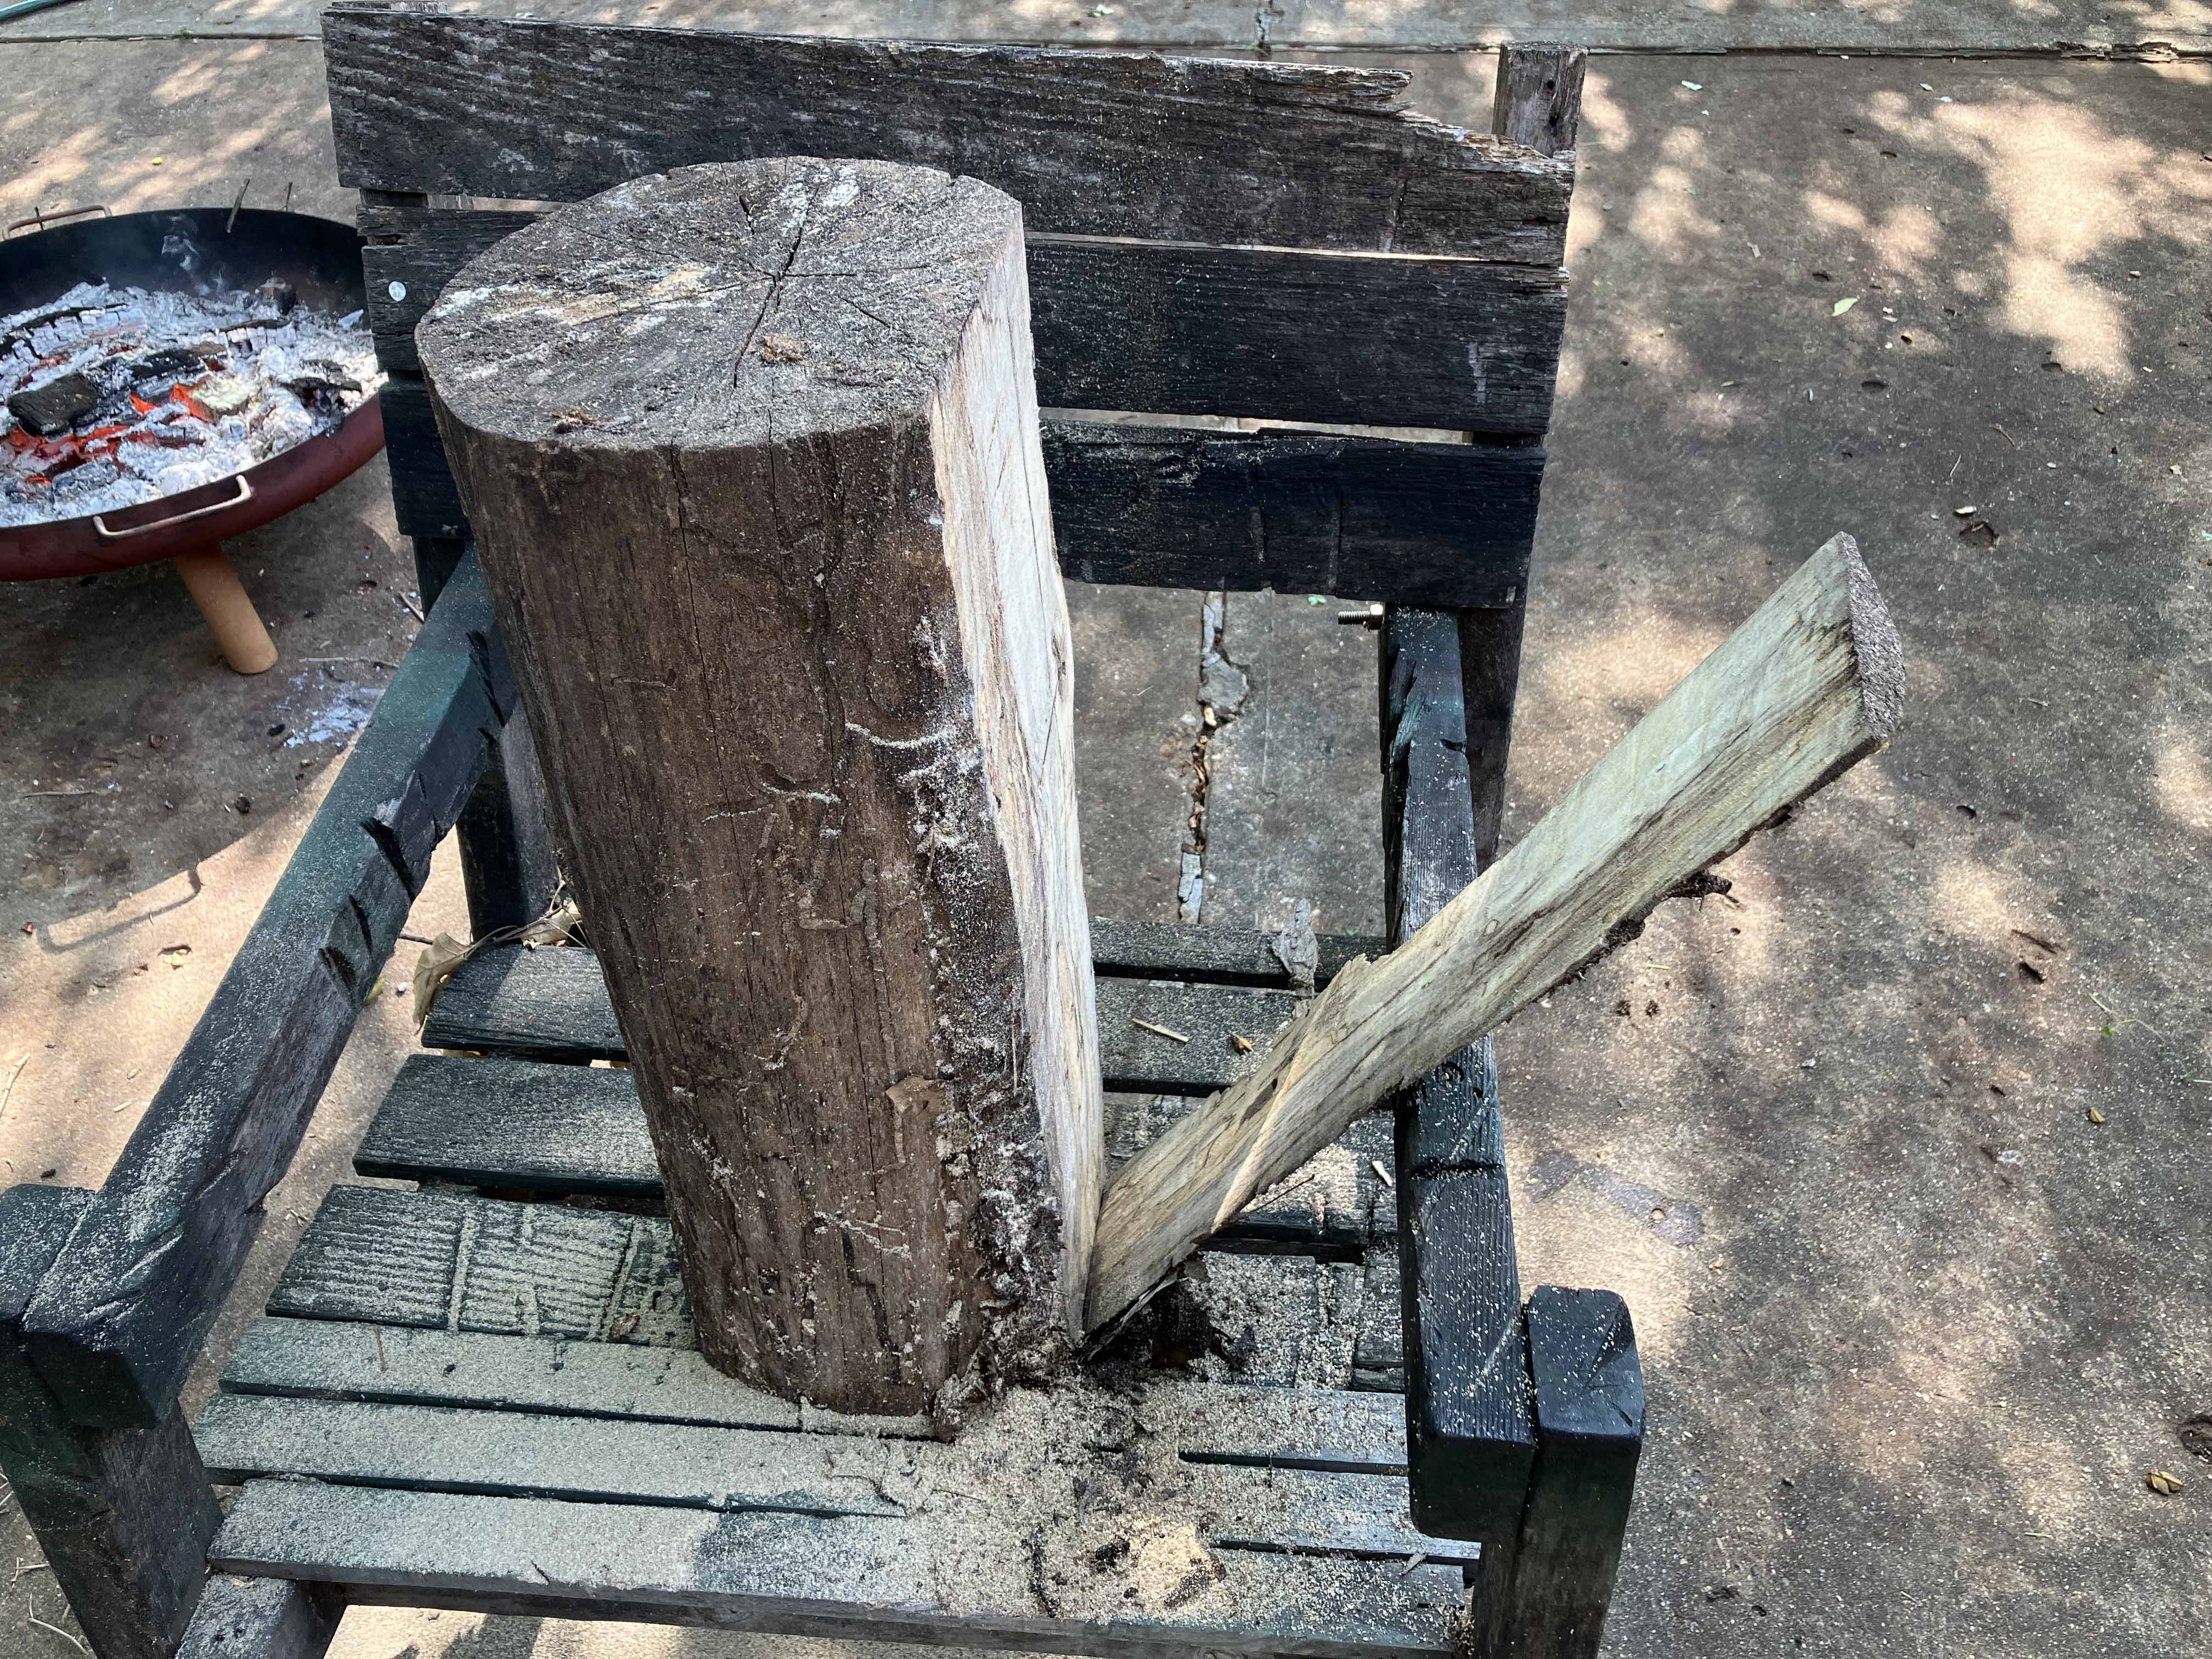
The first cut peels off a side to kind of square things away.
The next cut makes a slab. Looks slightly crooked but no matter.
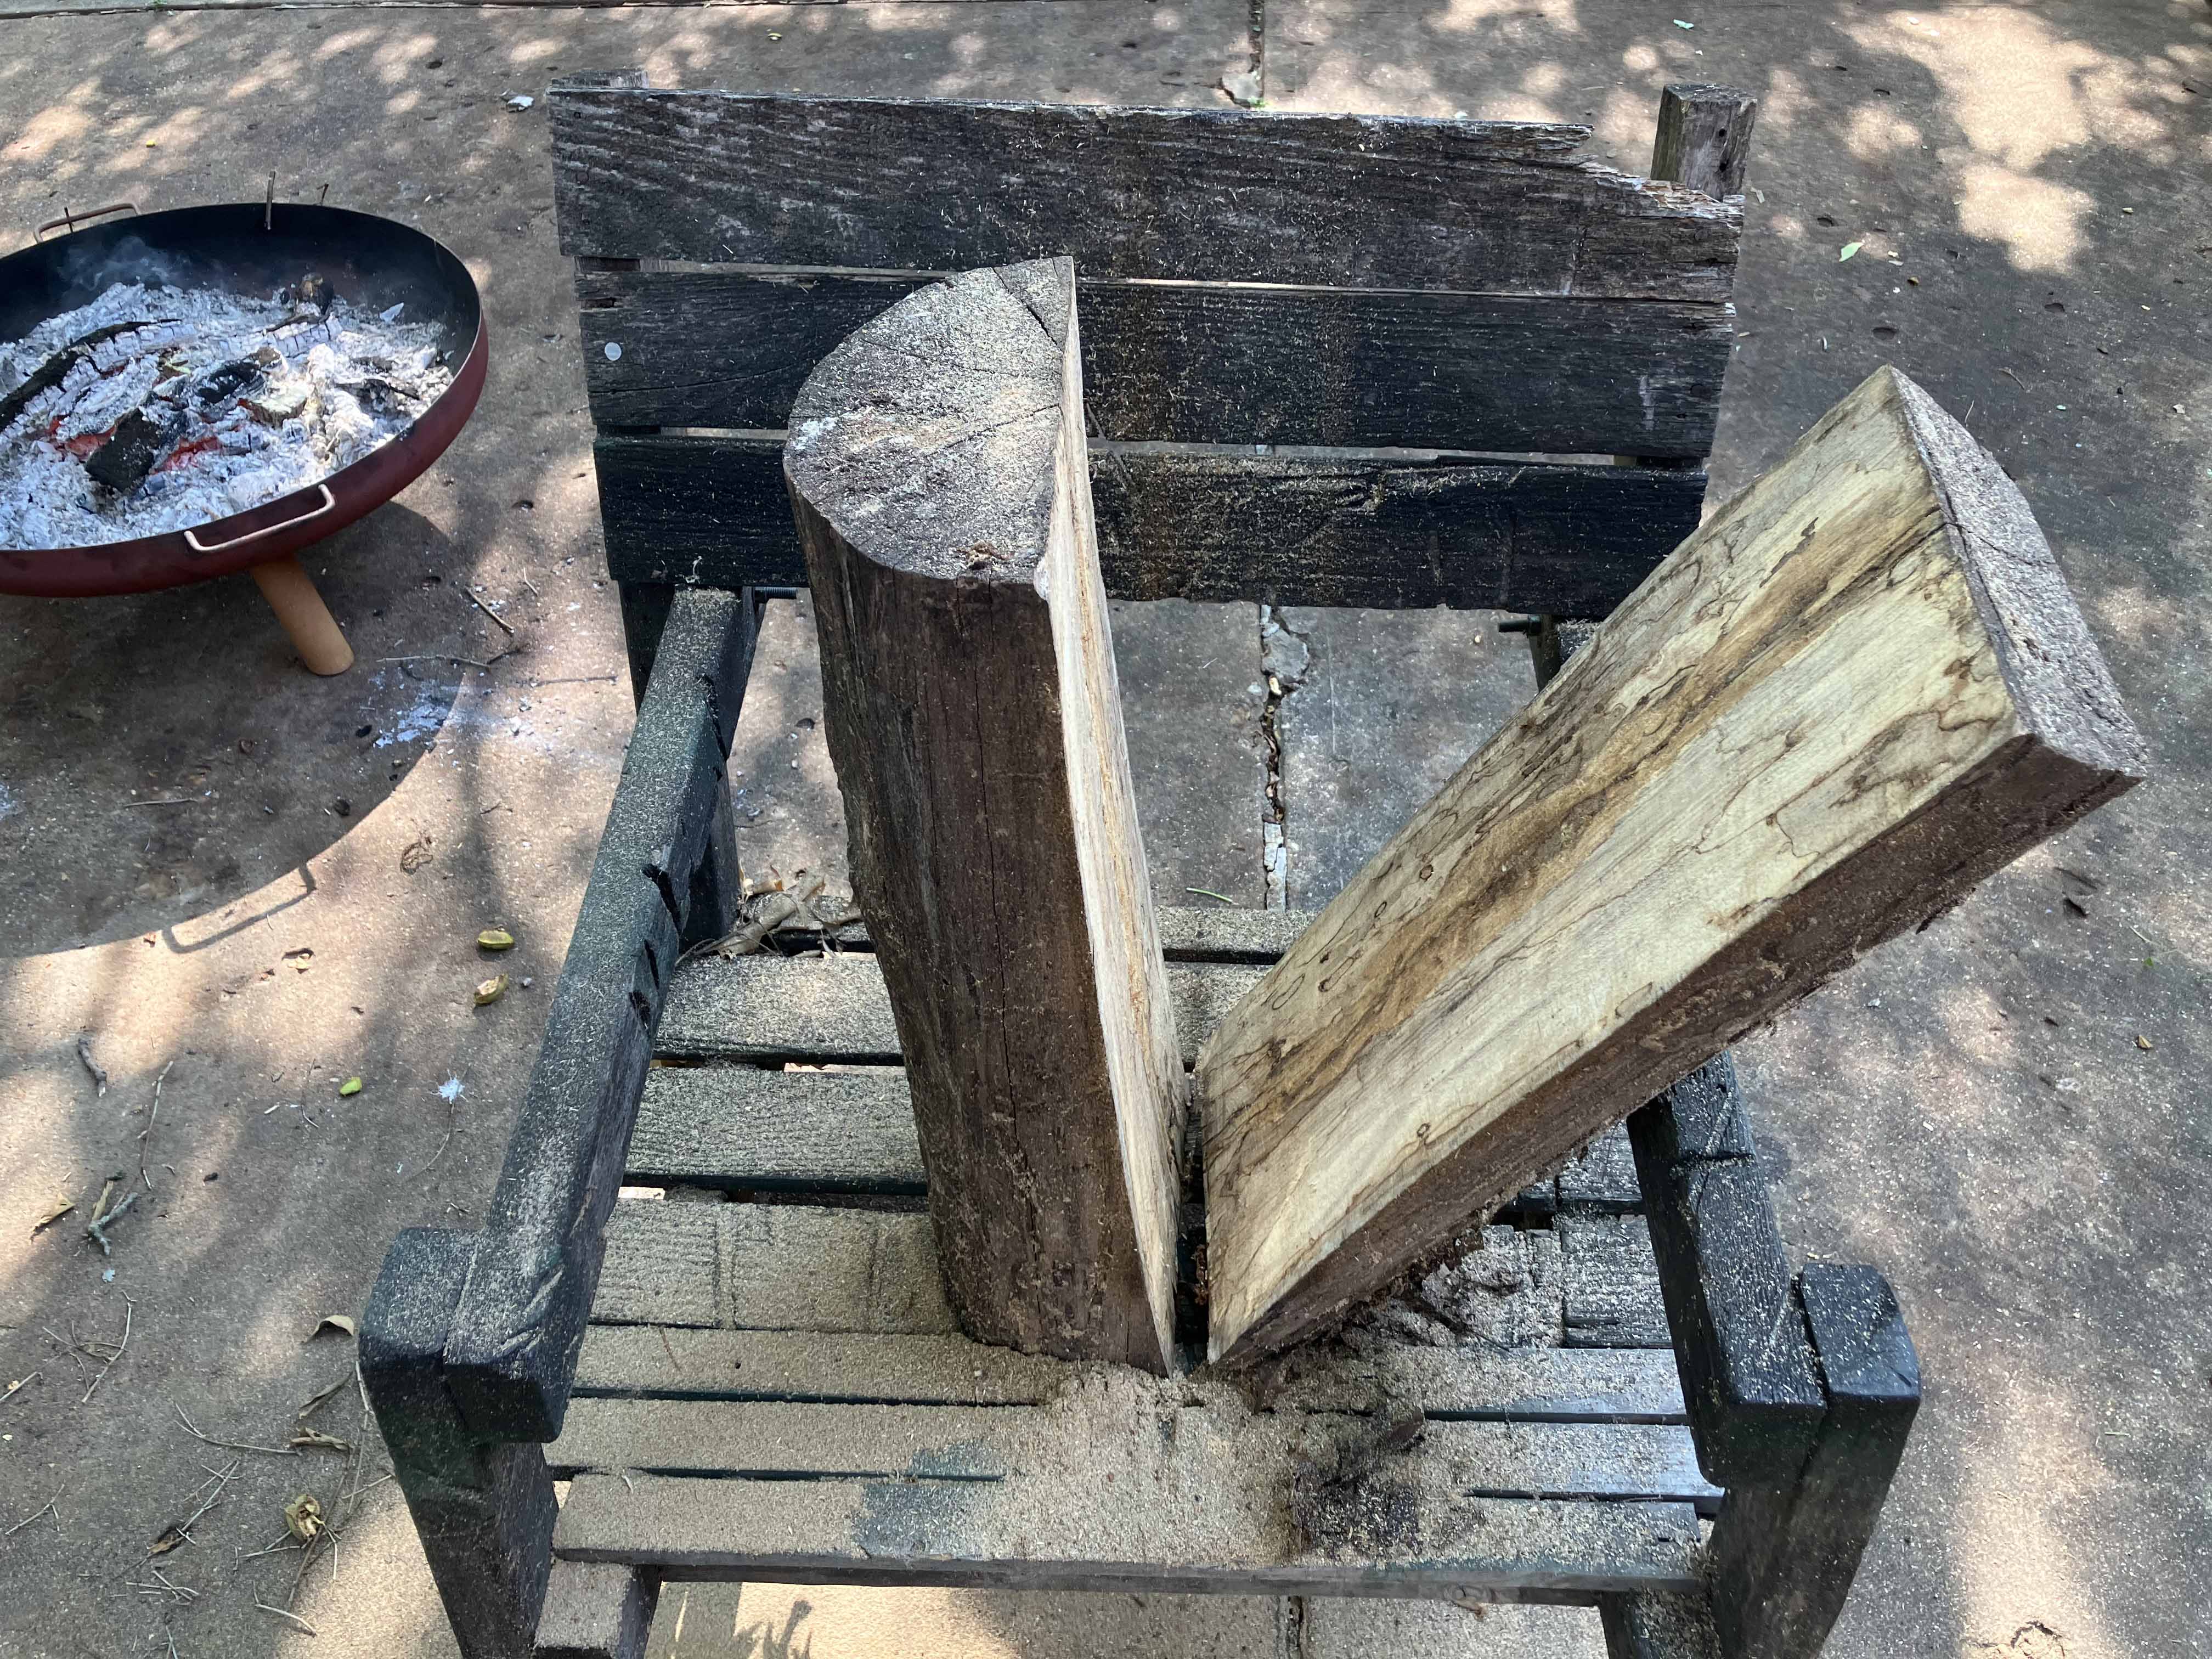
The slab falls away. This is what we will use.

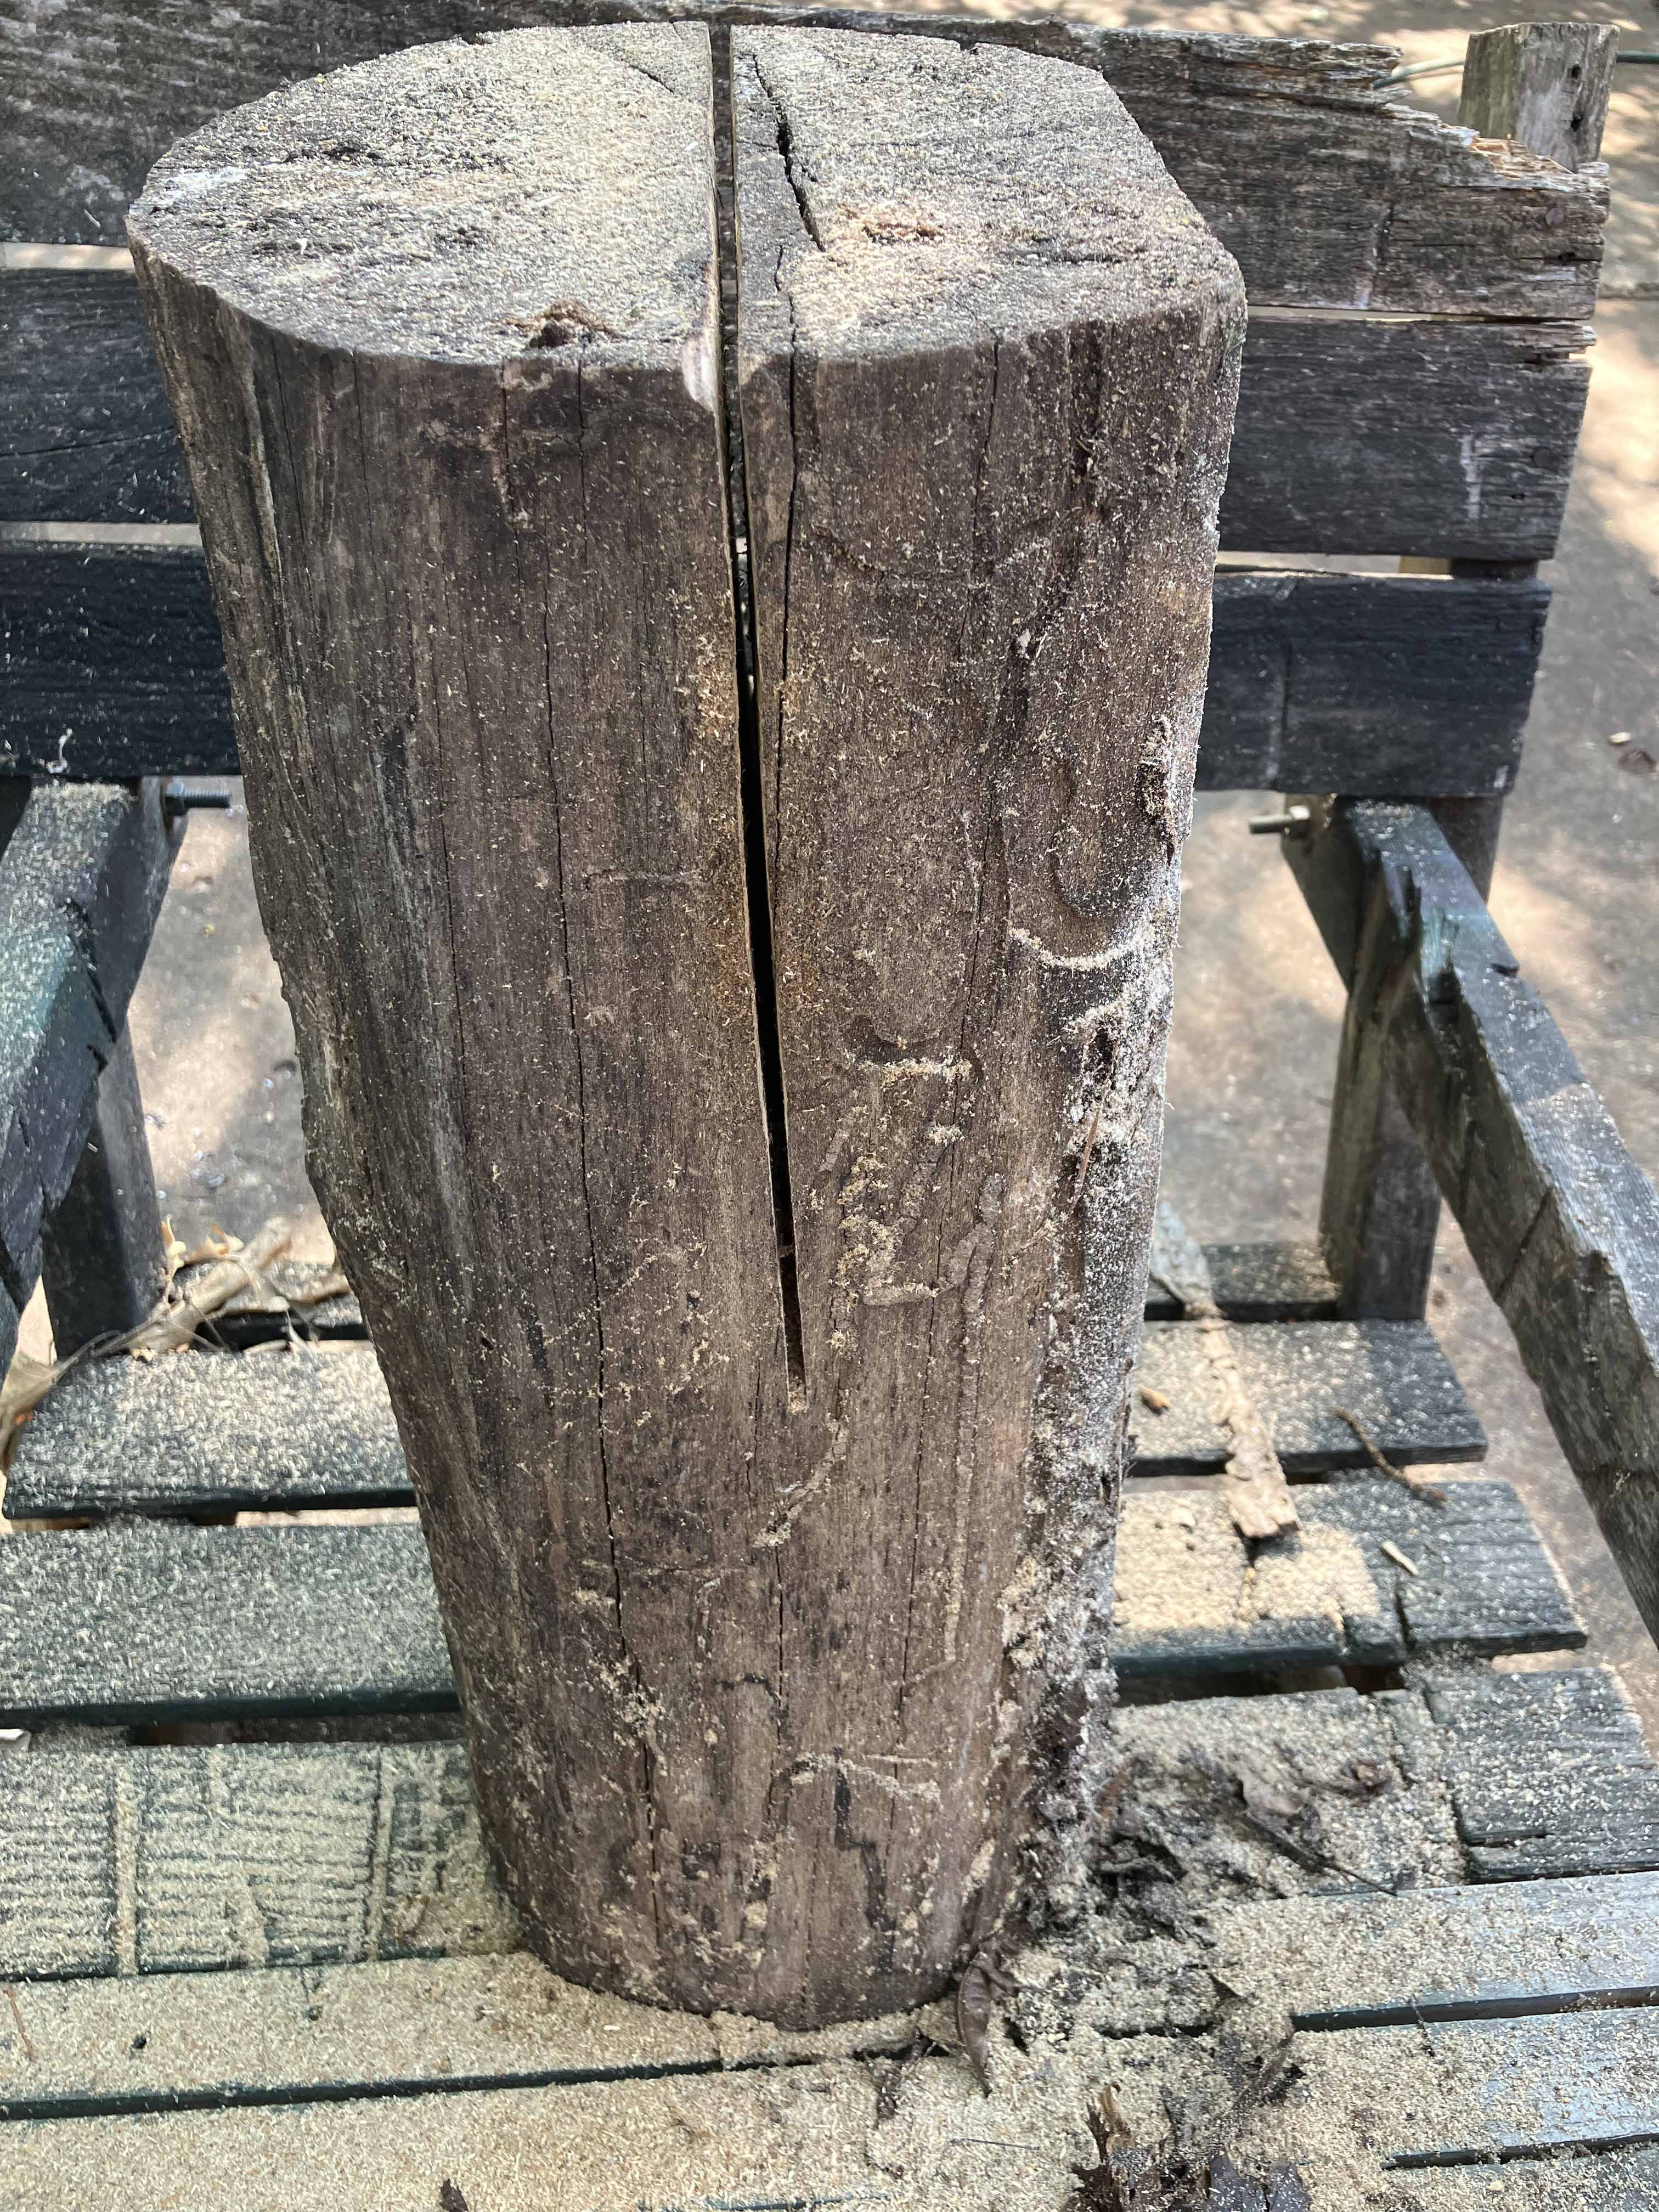
It’s important that the slab is slightly lower then the highest point of the saw blade, that way the slices come free cleanly.
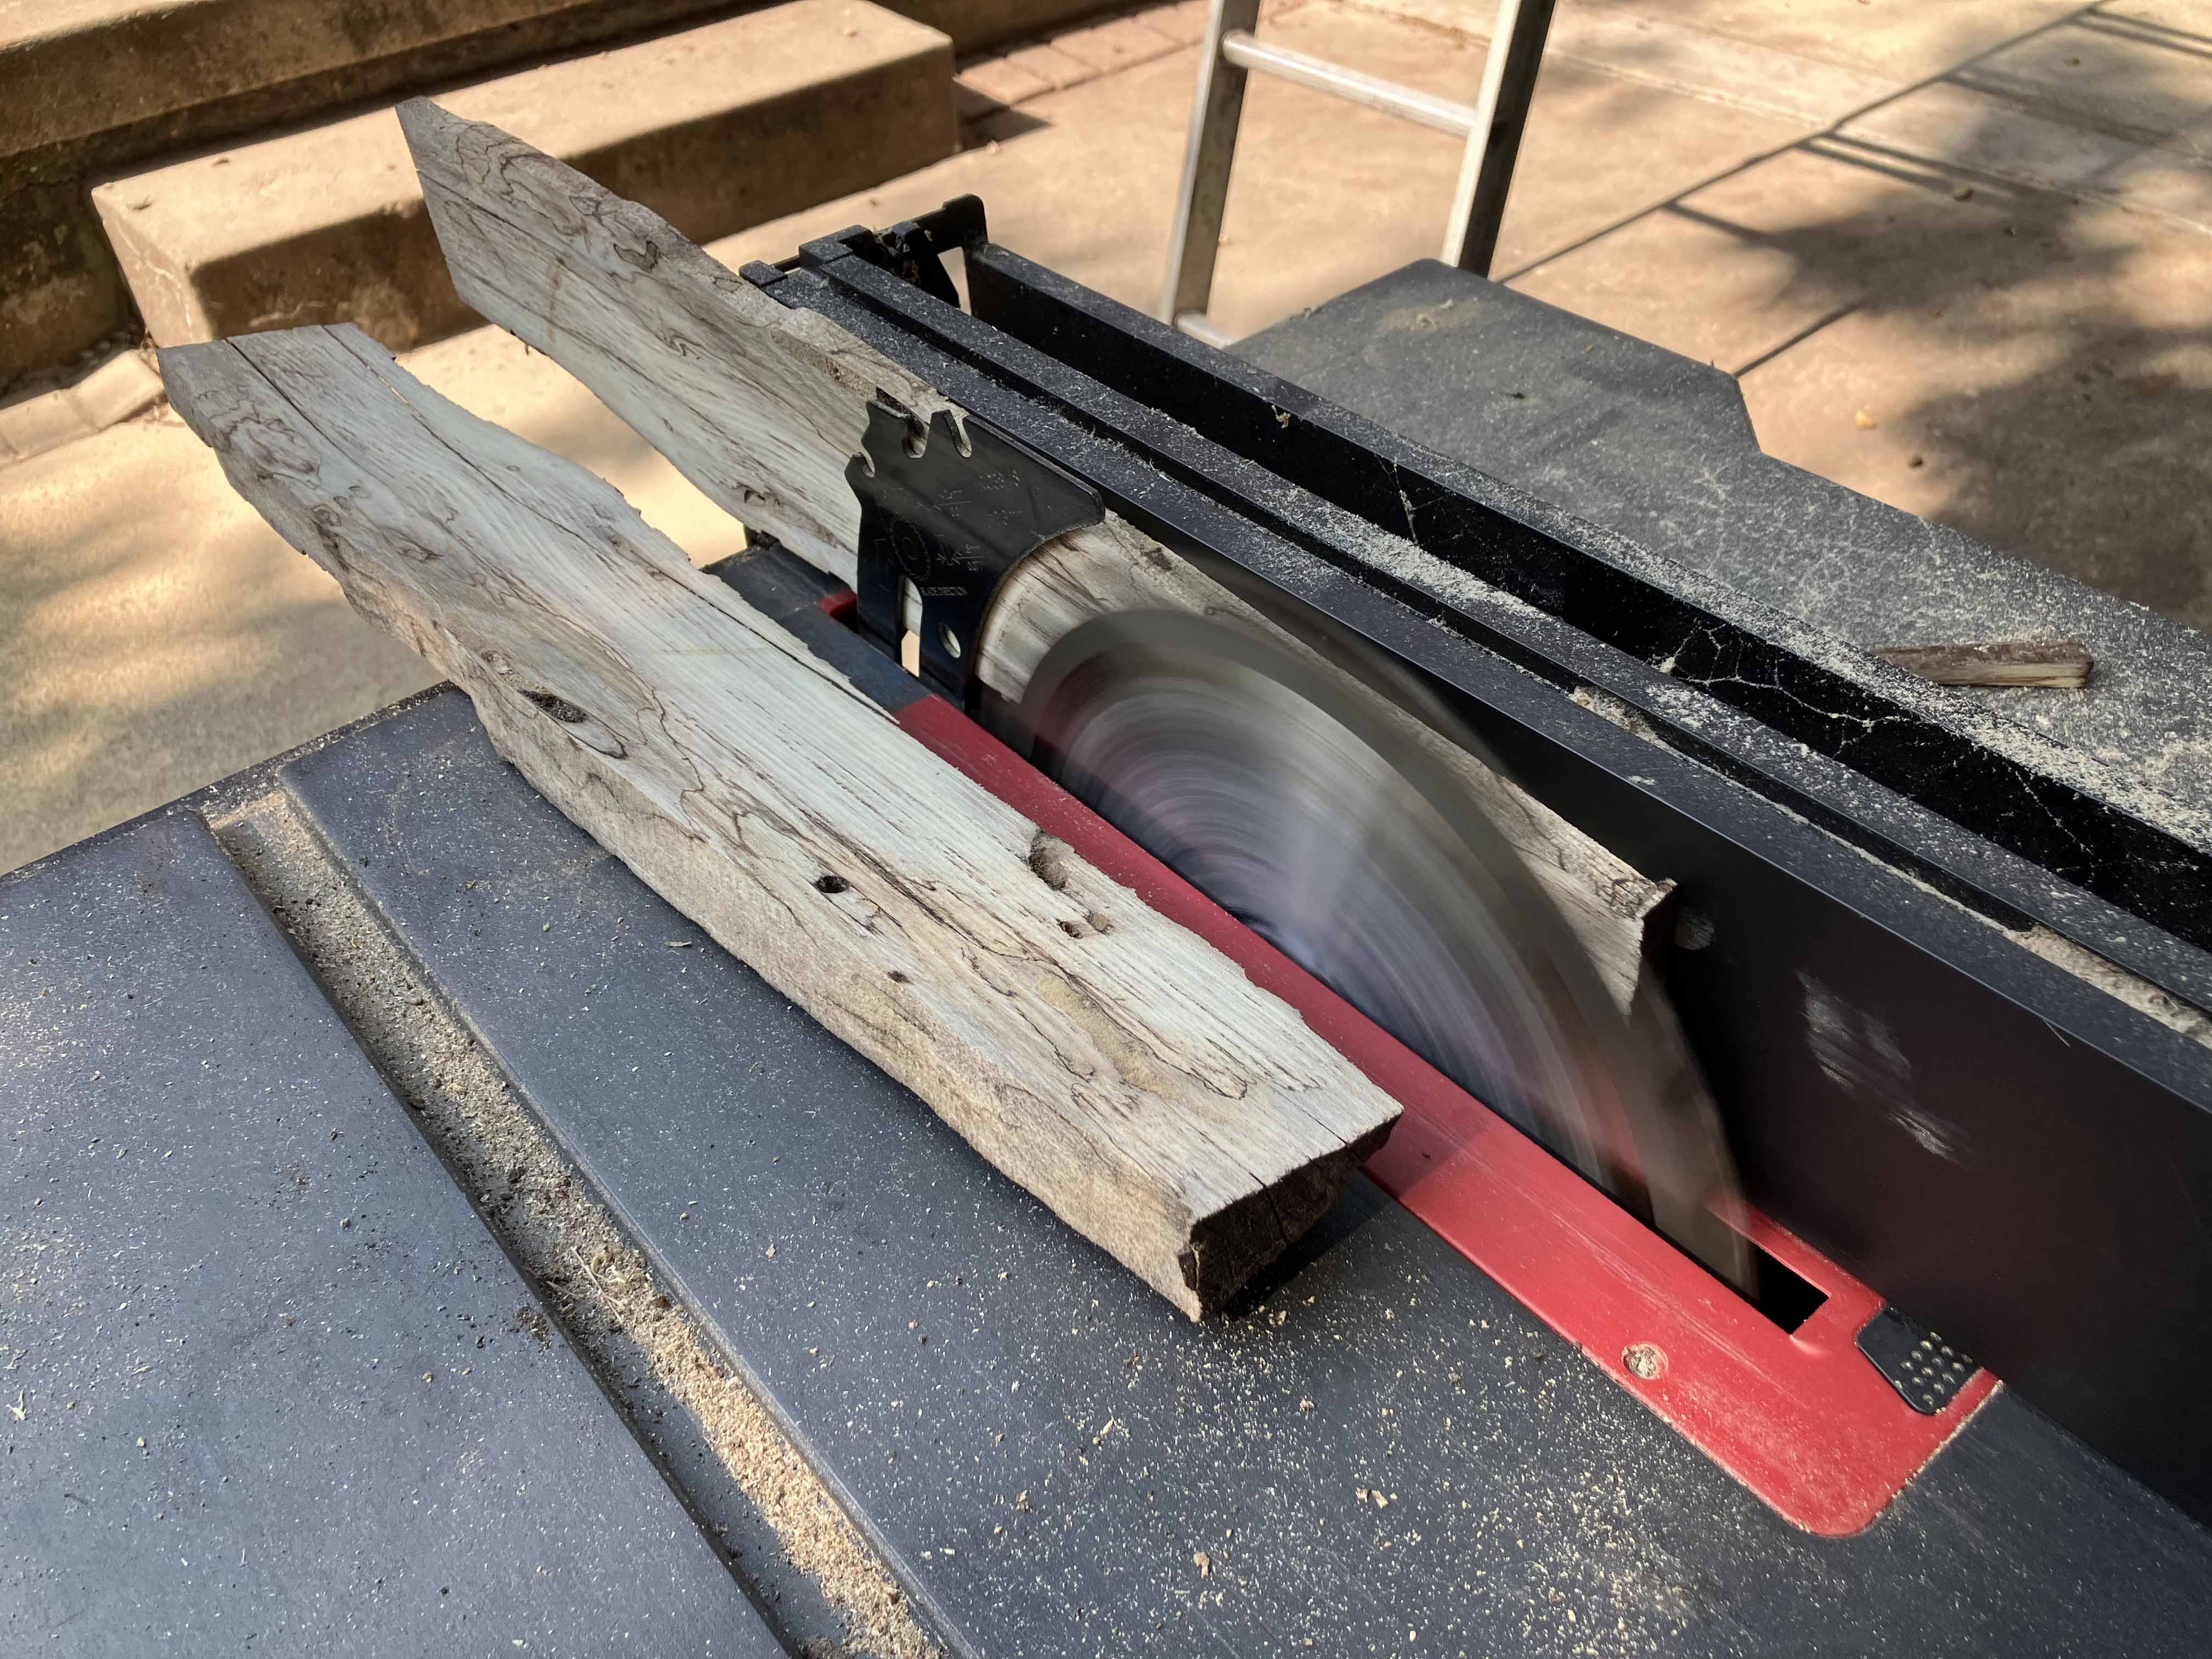
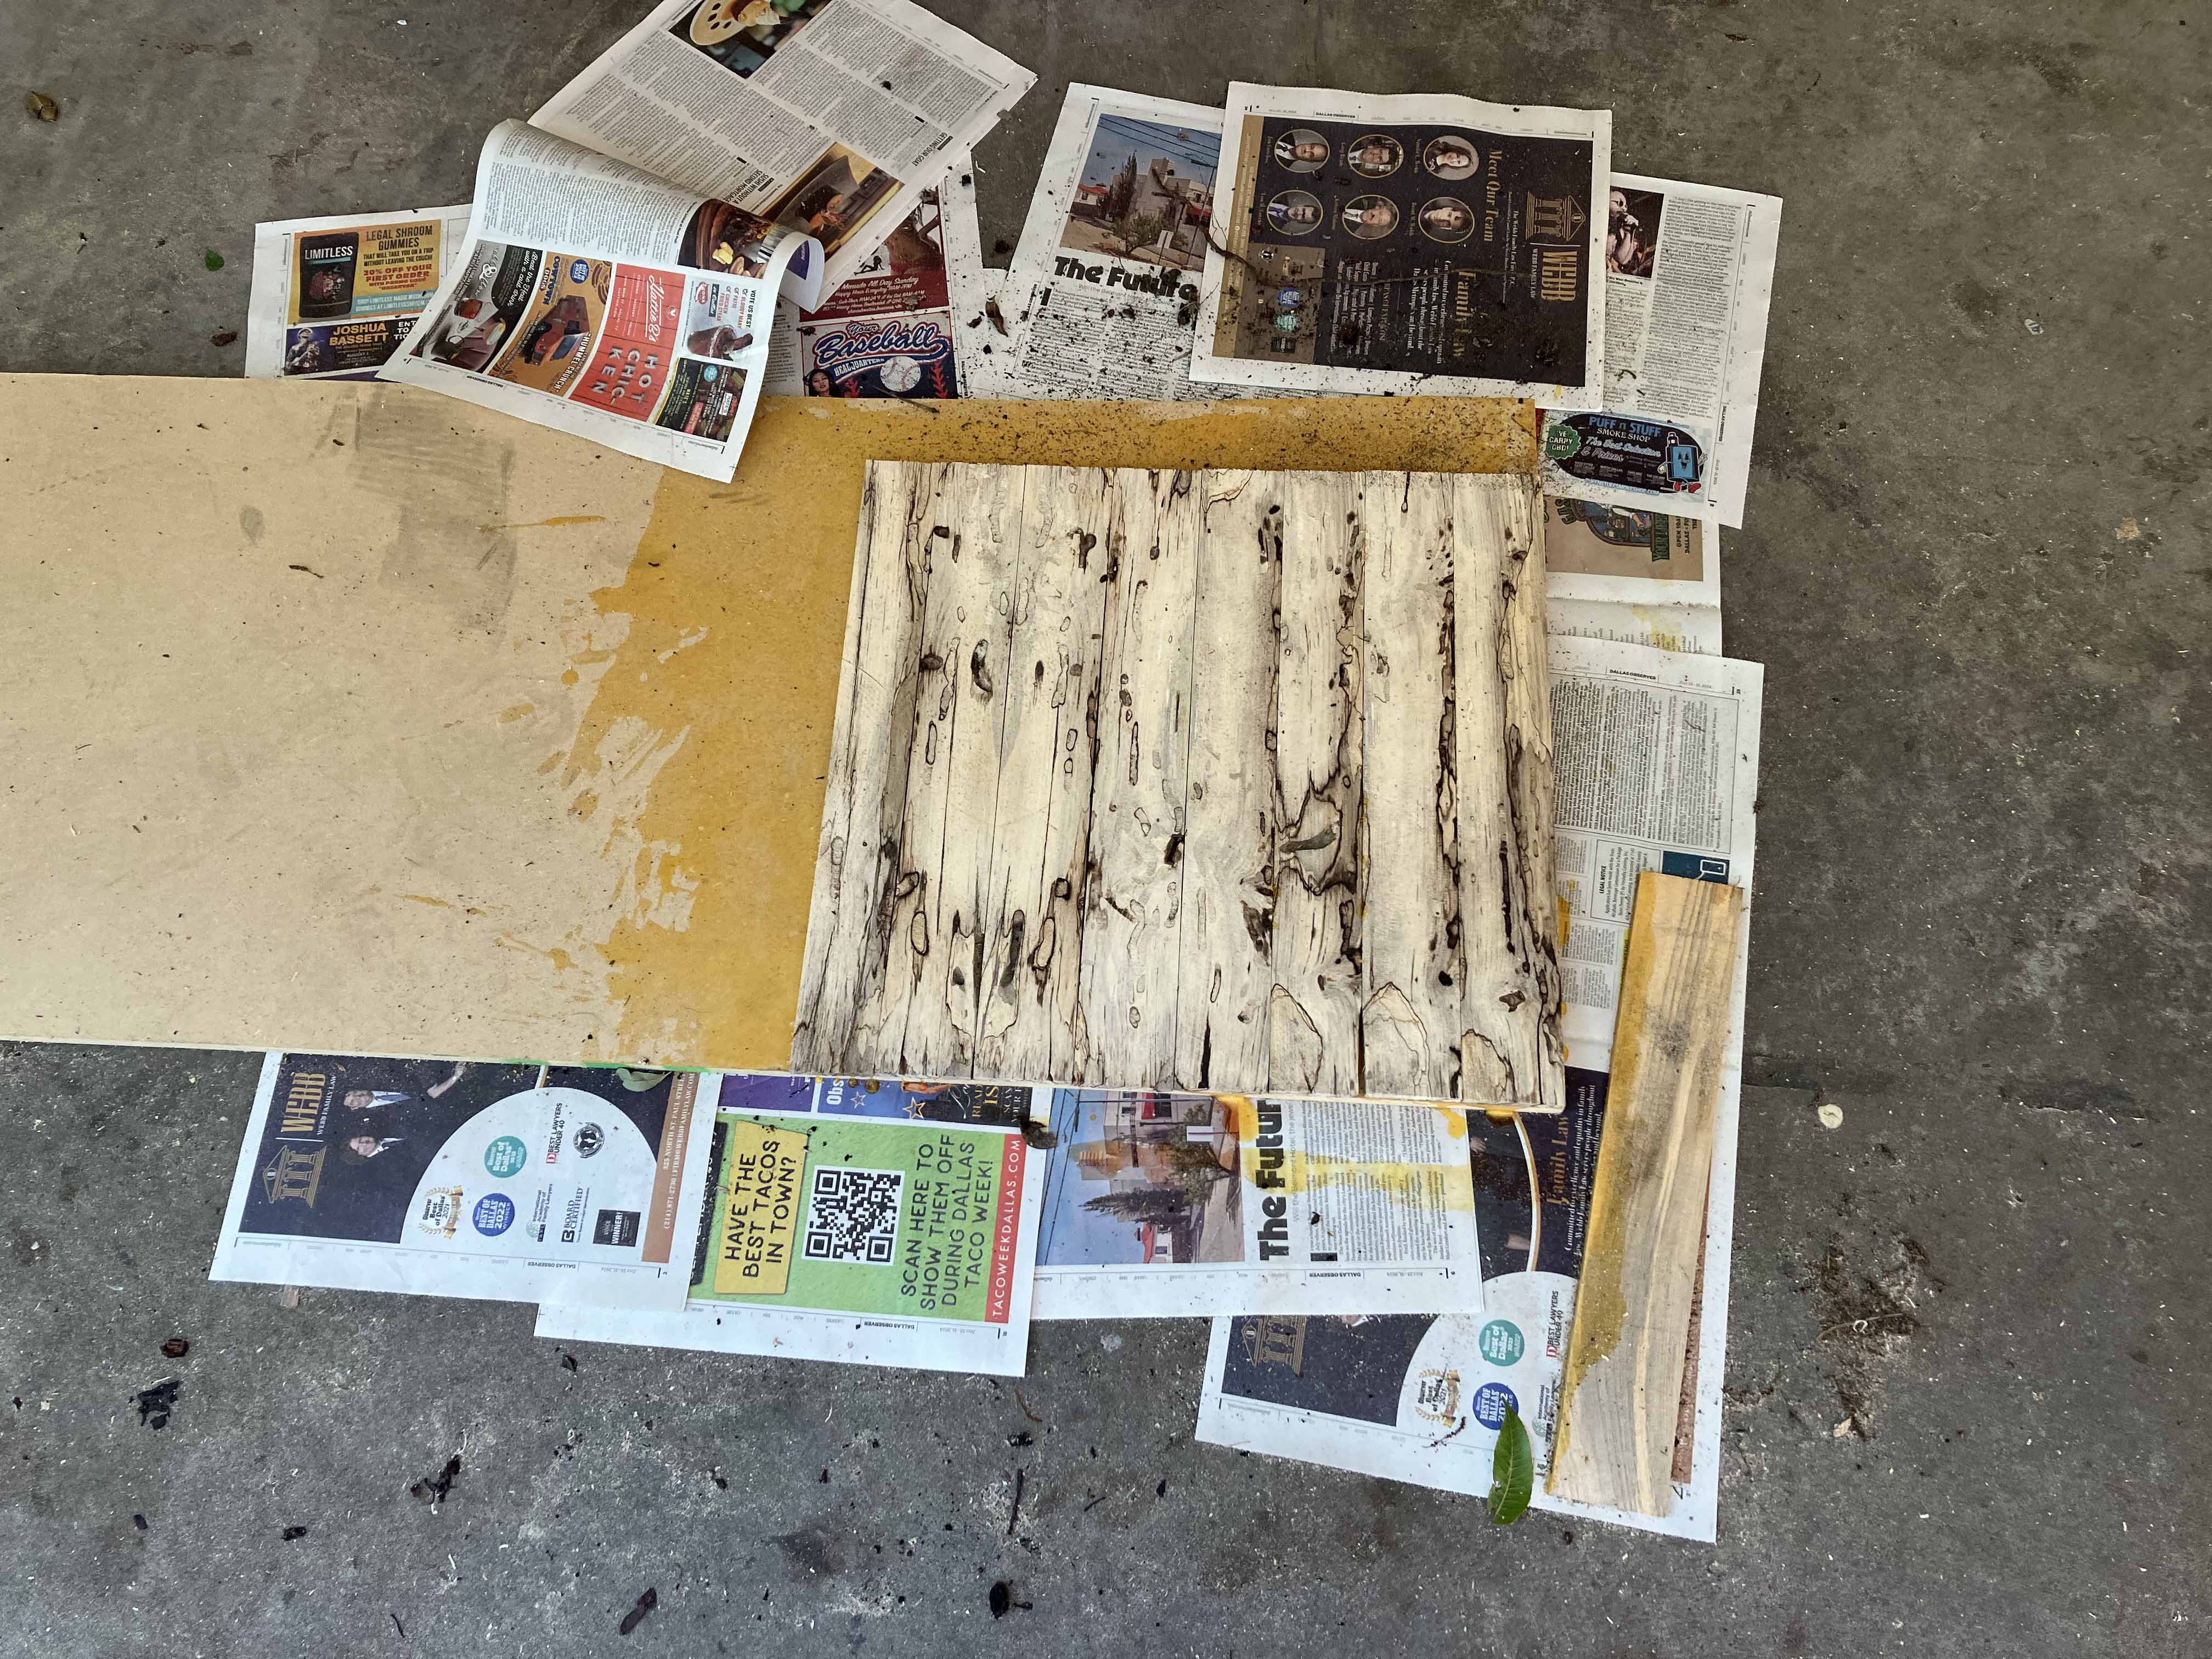
We cut the slab into slats of desired thickness. This is the best part, using dangerous power tools and seeing the spalted wood slats. Different every time.
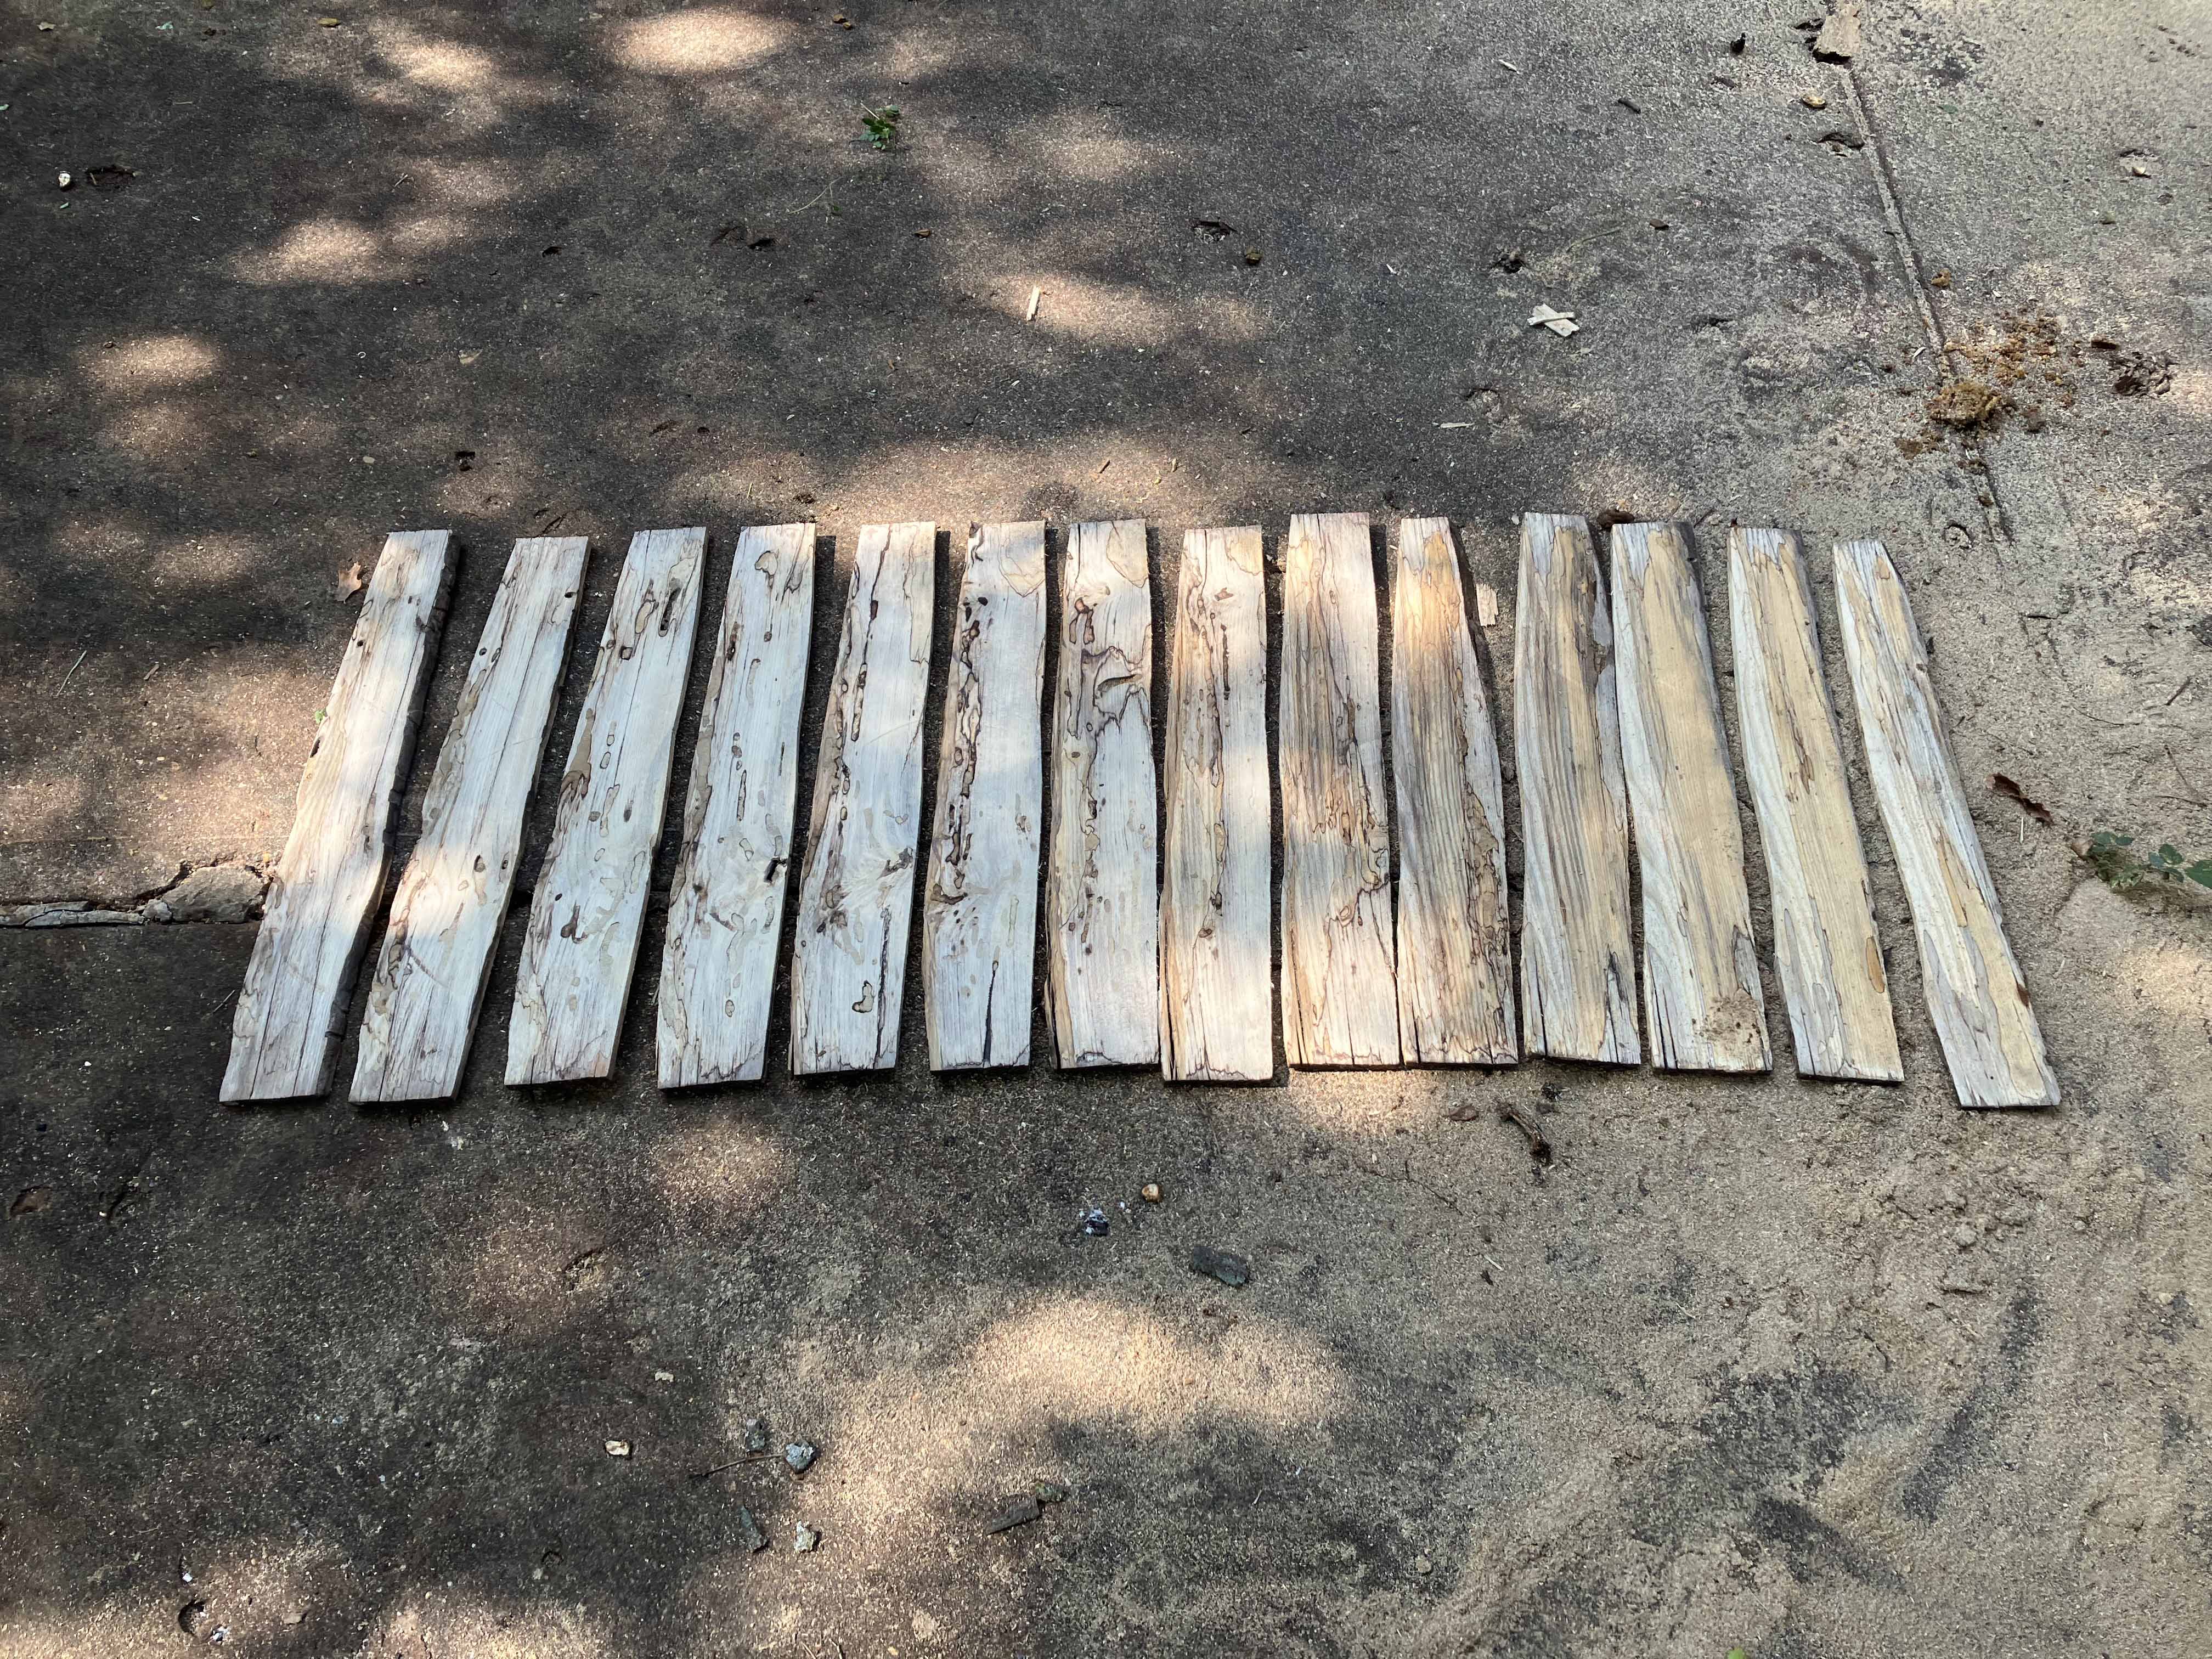
Here are the slices all laid out, we see what we get.
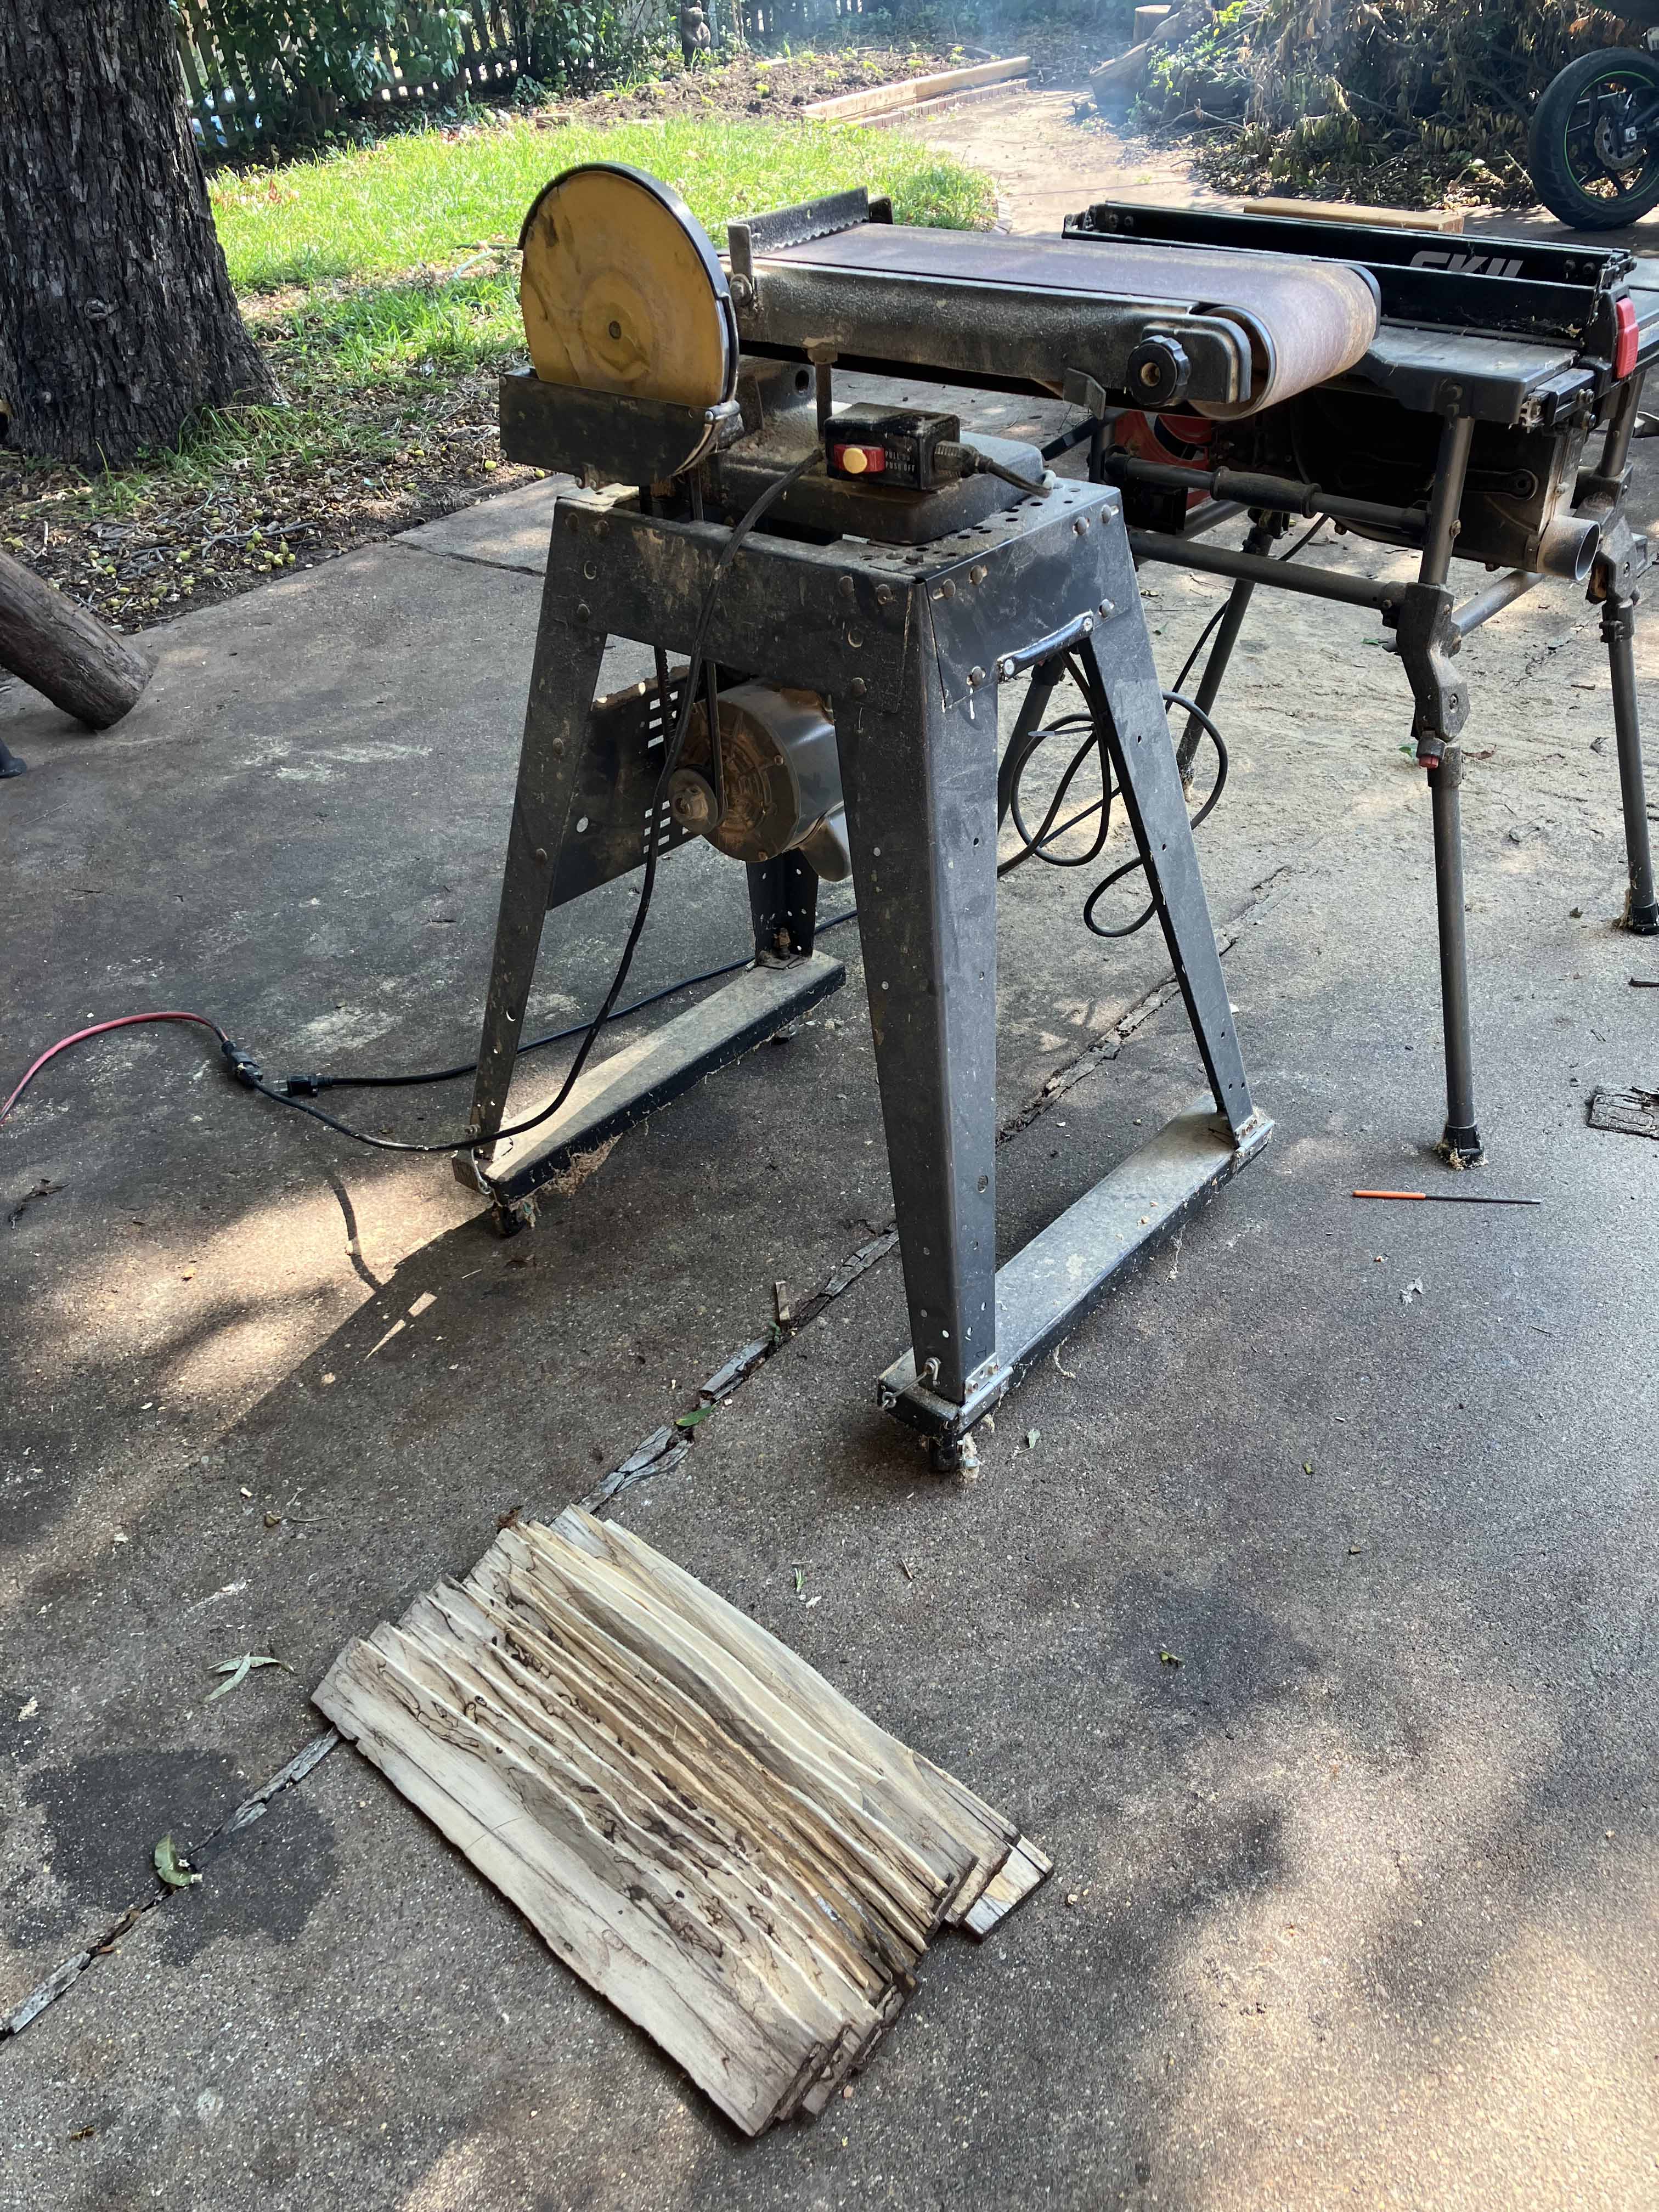
The edges of the slices are uneven from the original chainsaw cut. A sander is used to flatten one edge just a bit before it gets trimmed on the table saw.
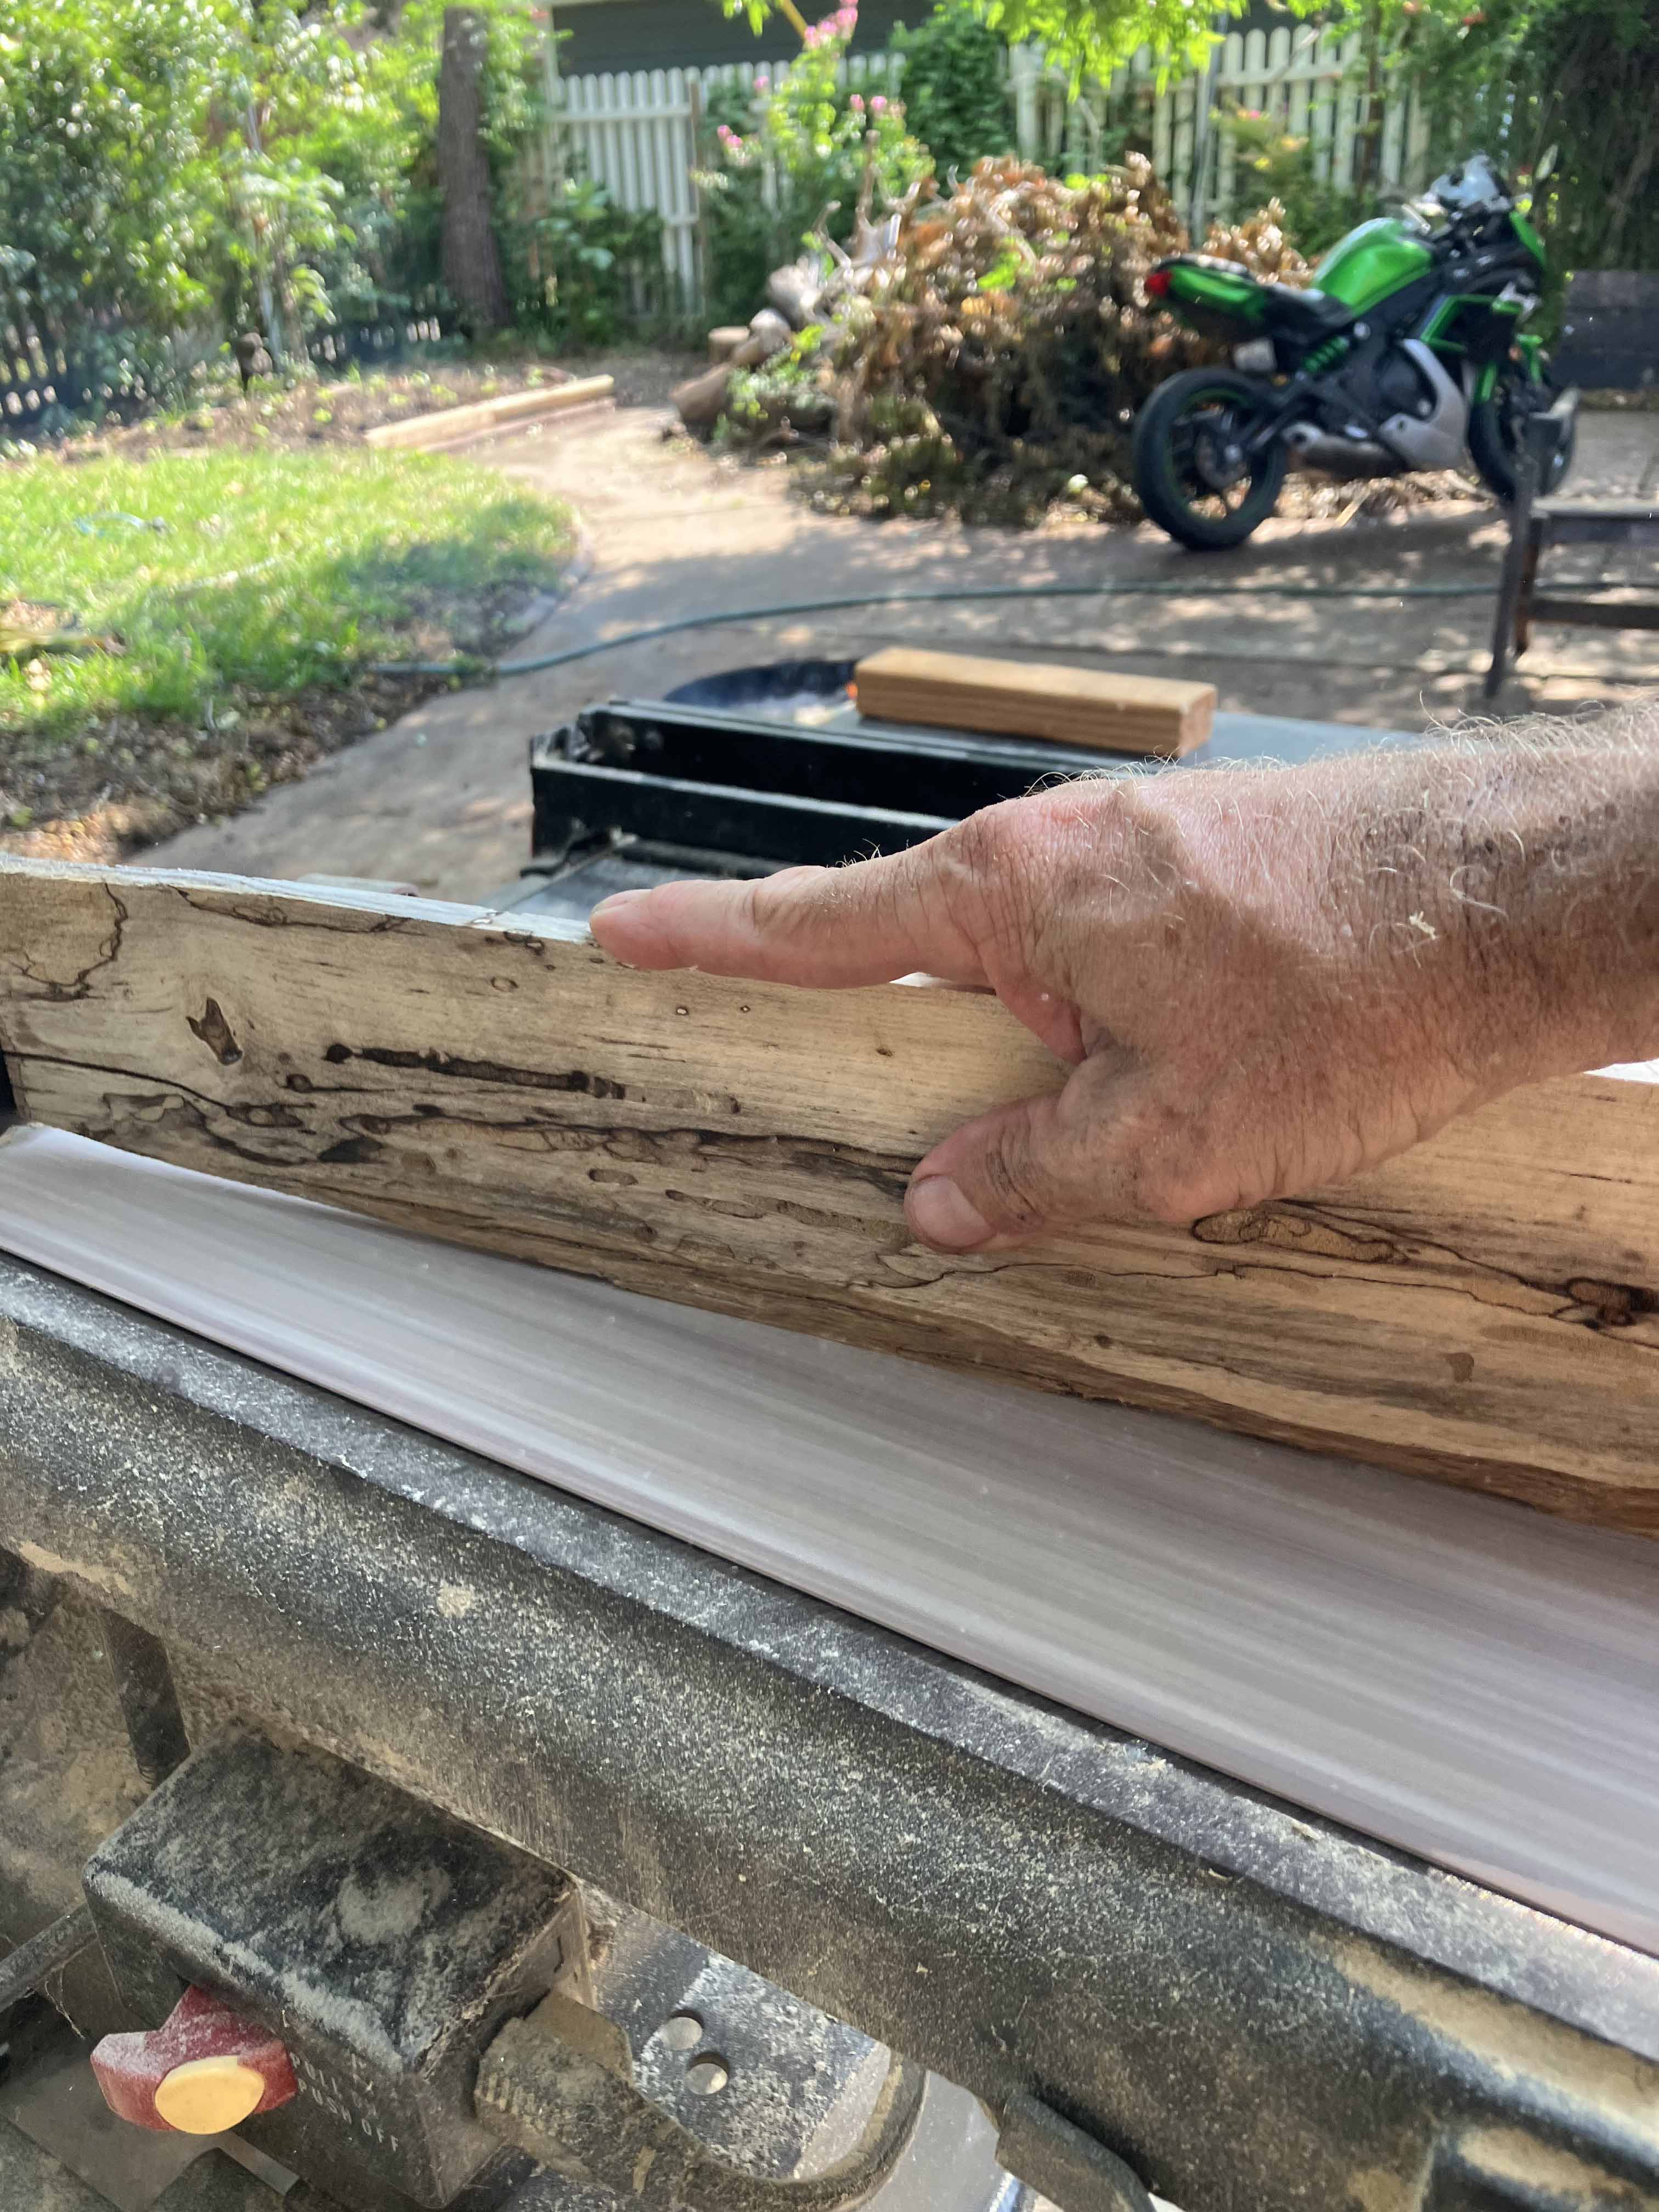
Here the sander is making one edge a bit more straight.
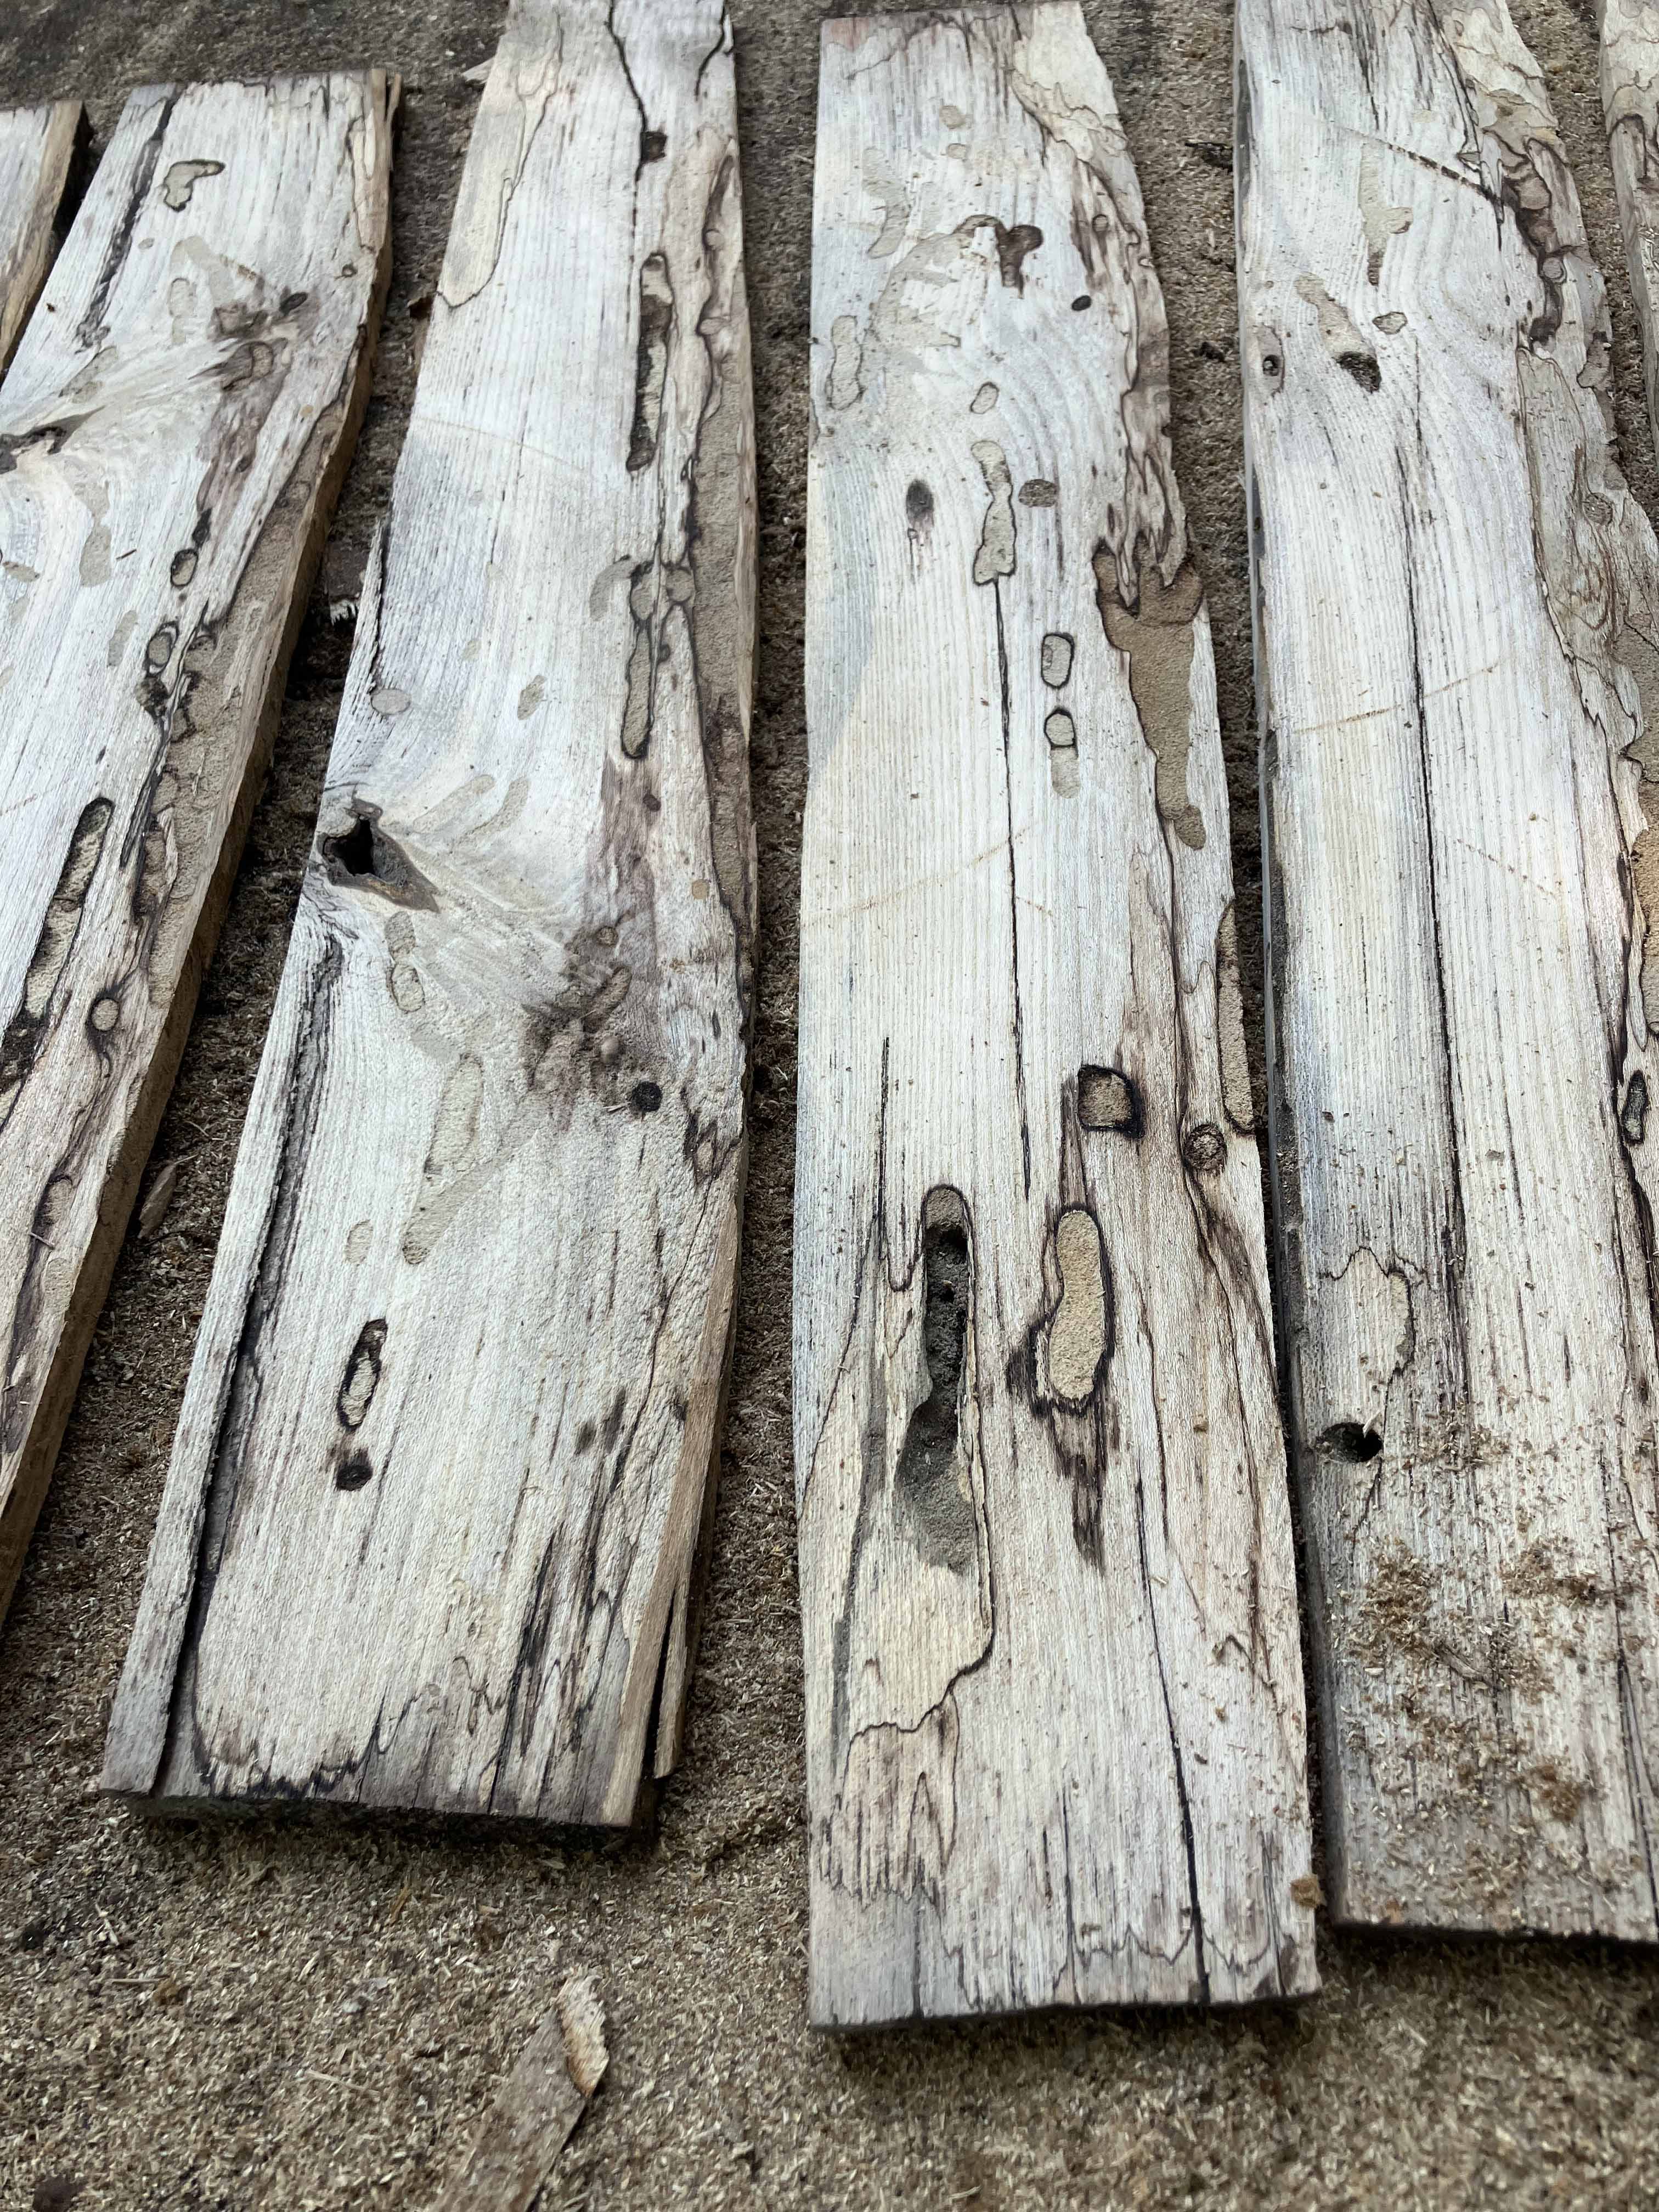
A close-up of the slices with one edge more straight.
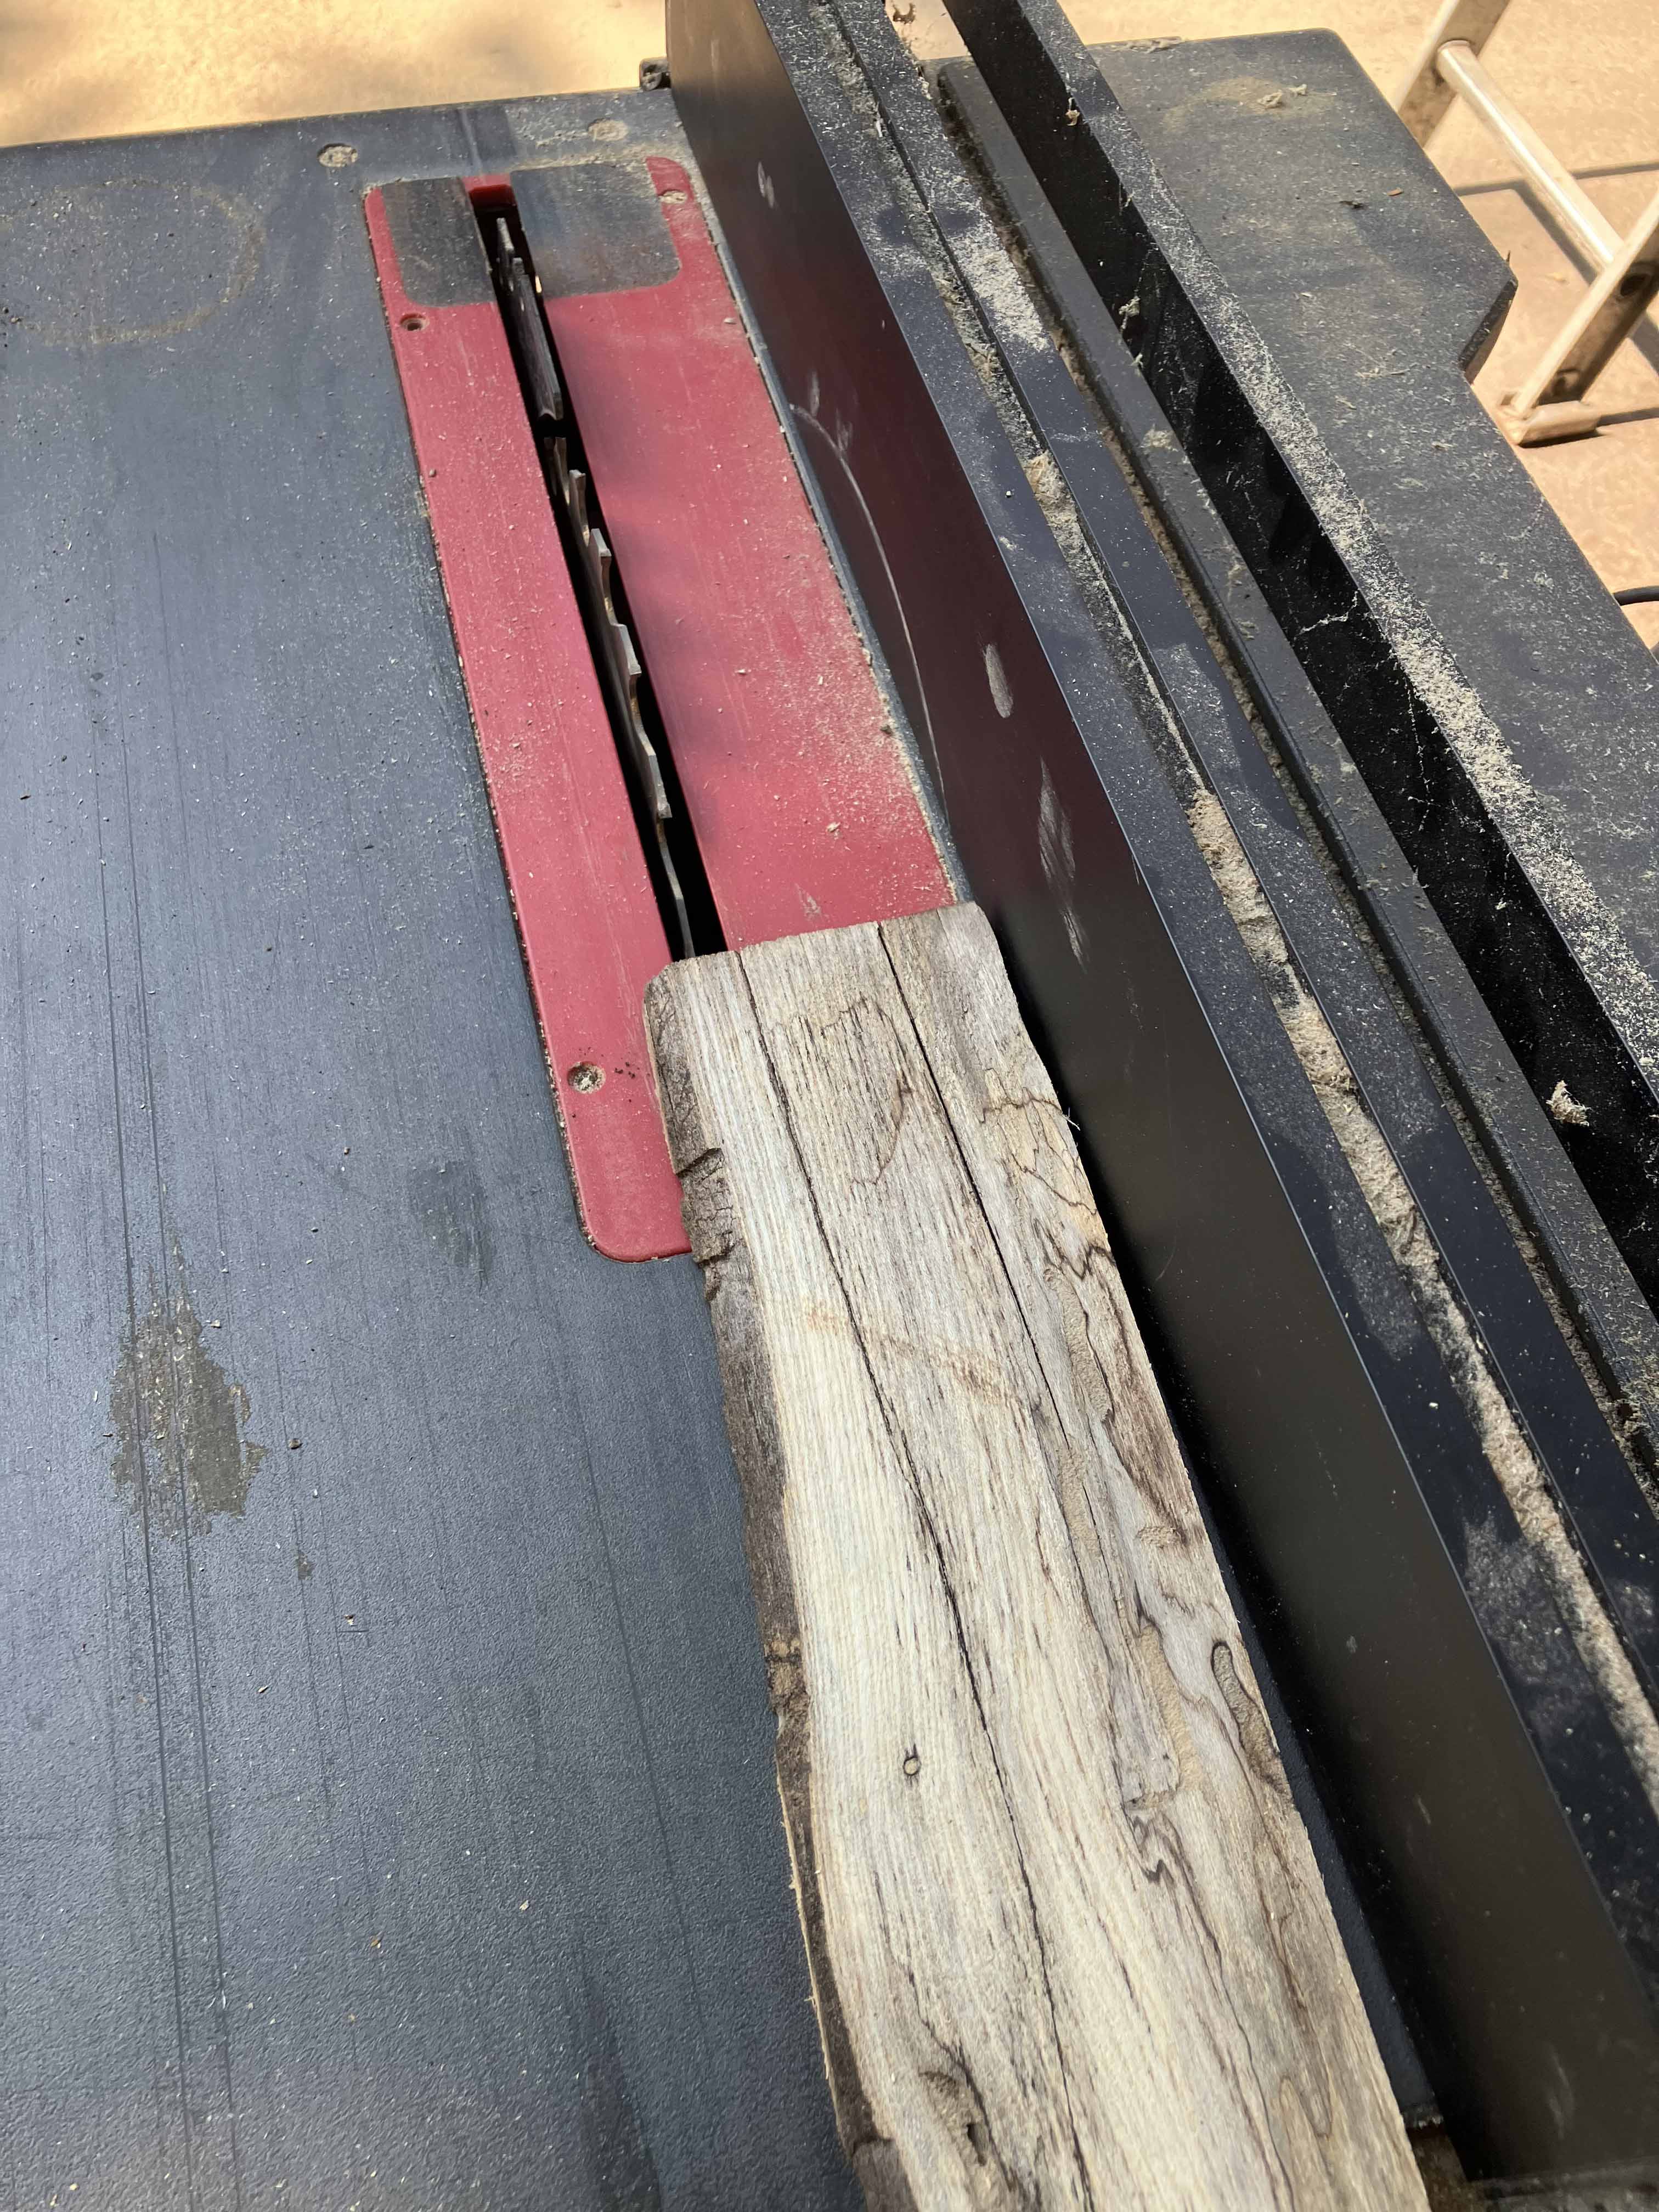
Now the slats can be put through the table saw, trimming both sides so that they fit together better. Usually takes several passes.
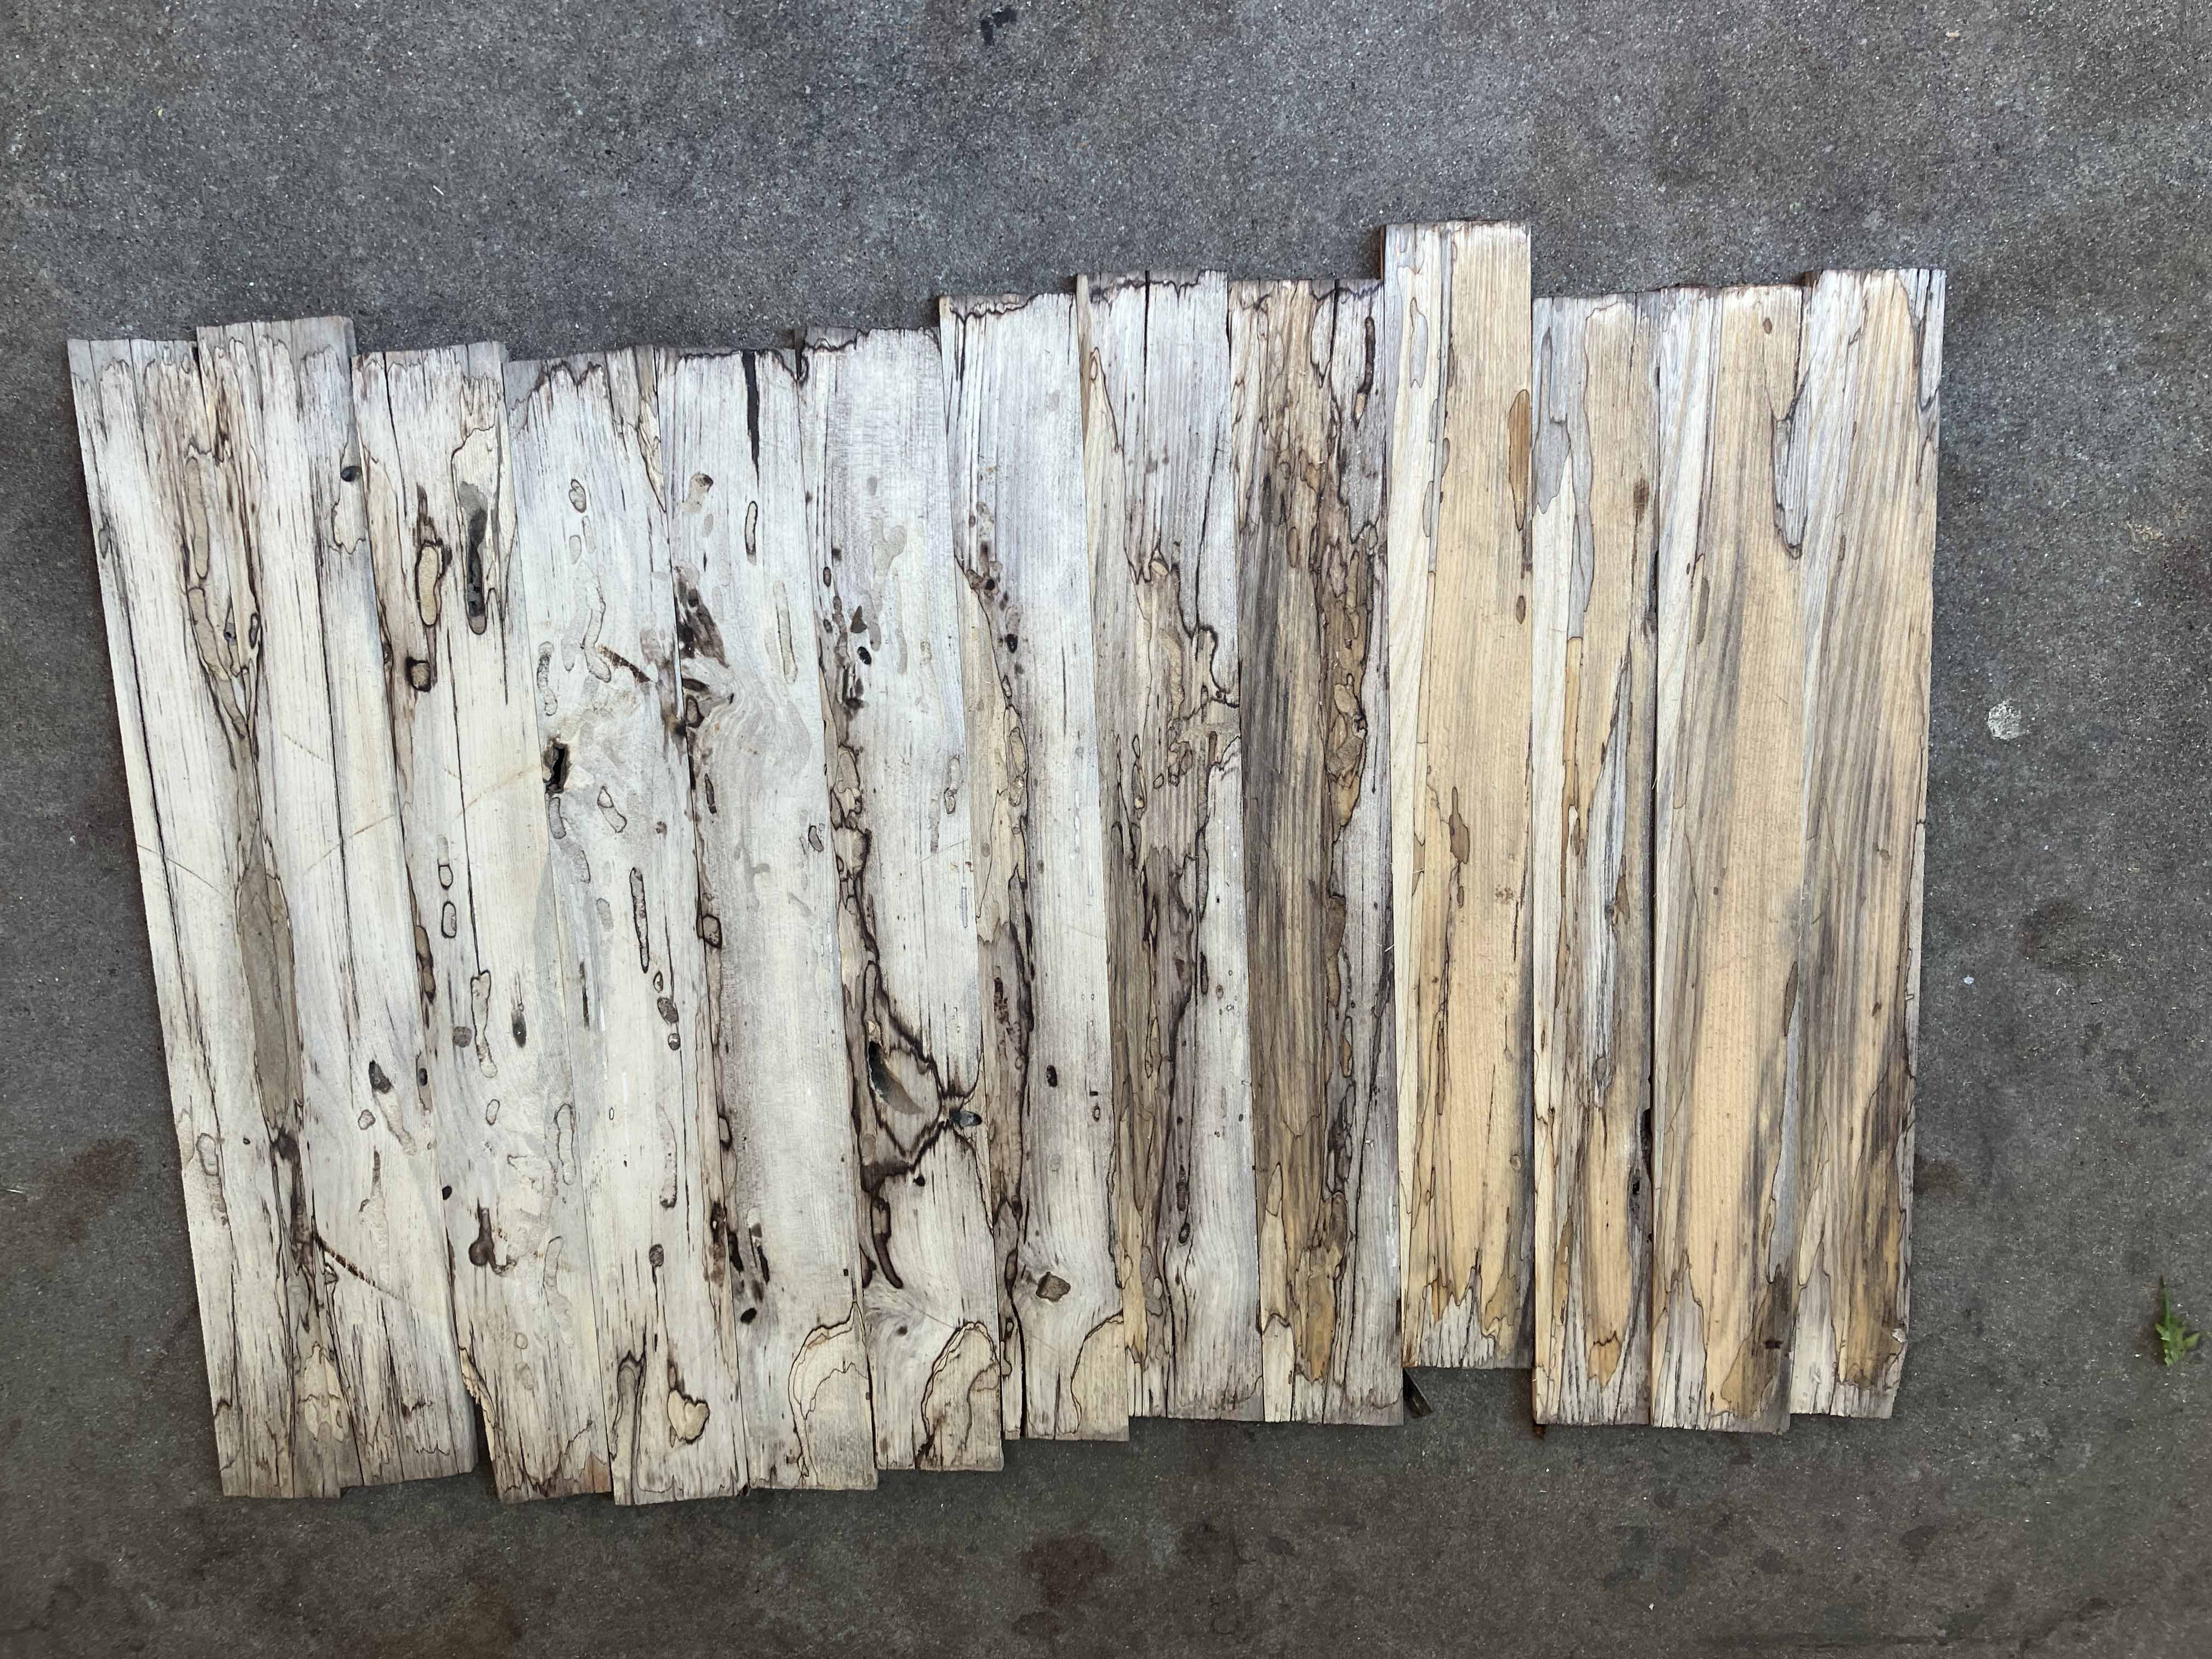
Here they are lined up and squeezed together to show there are no big gaps.
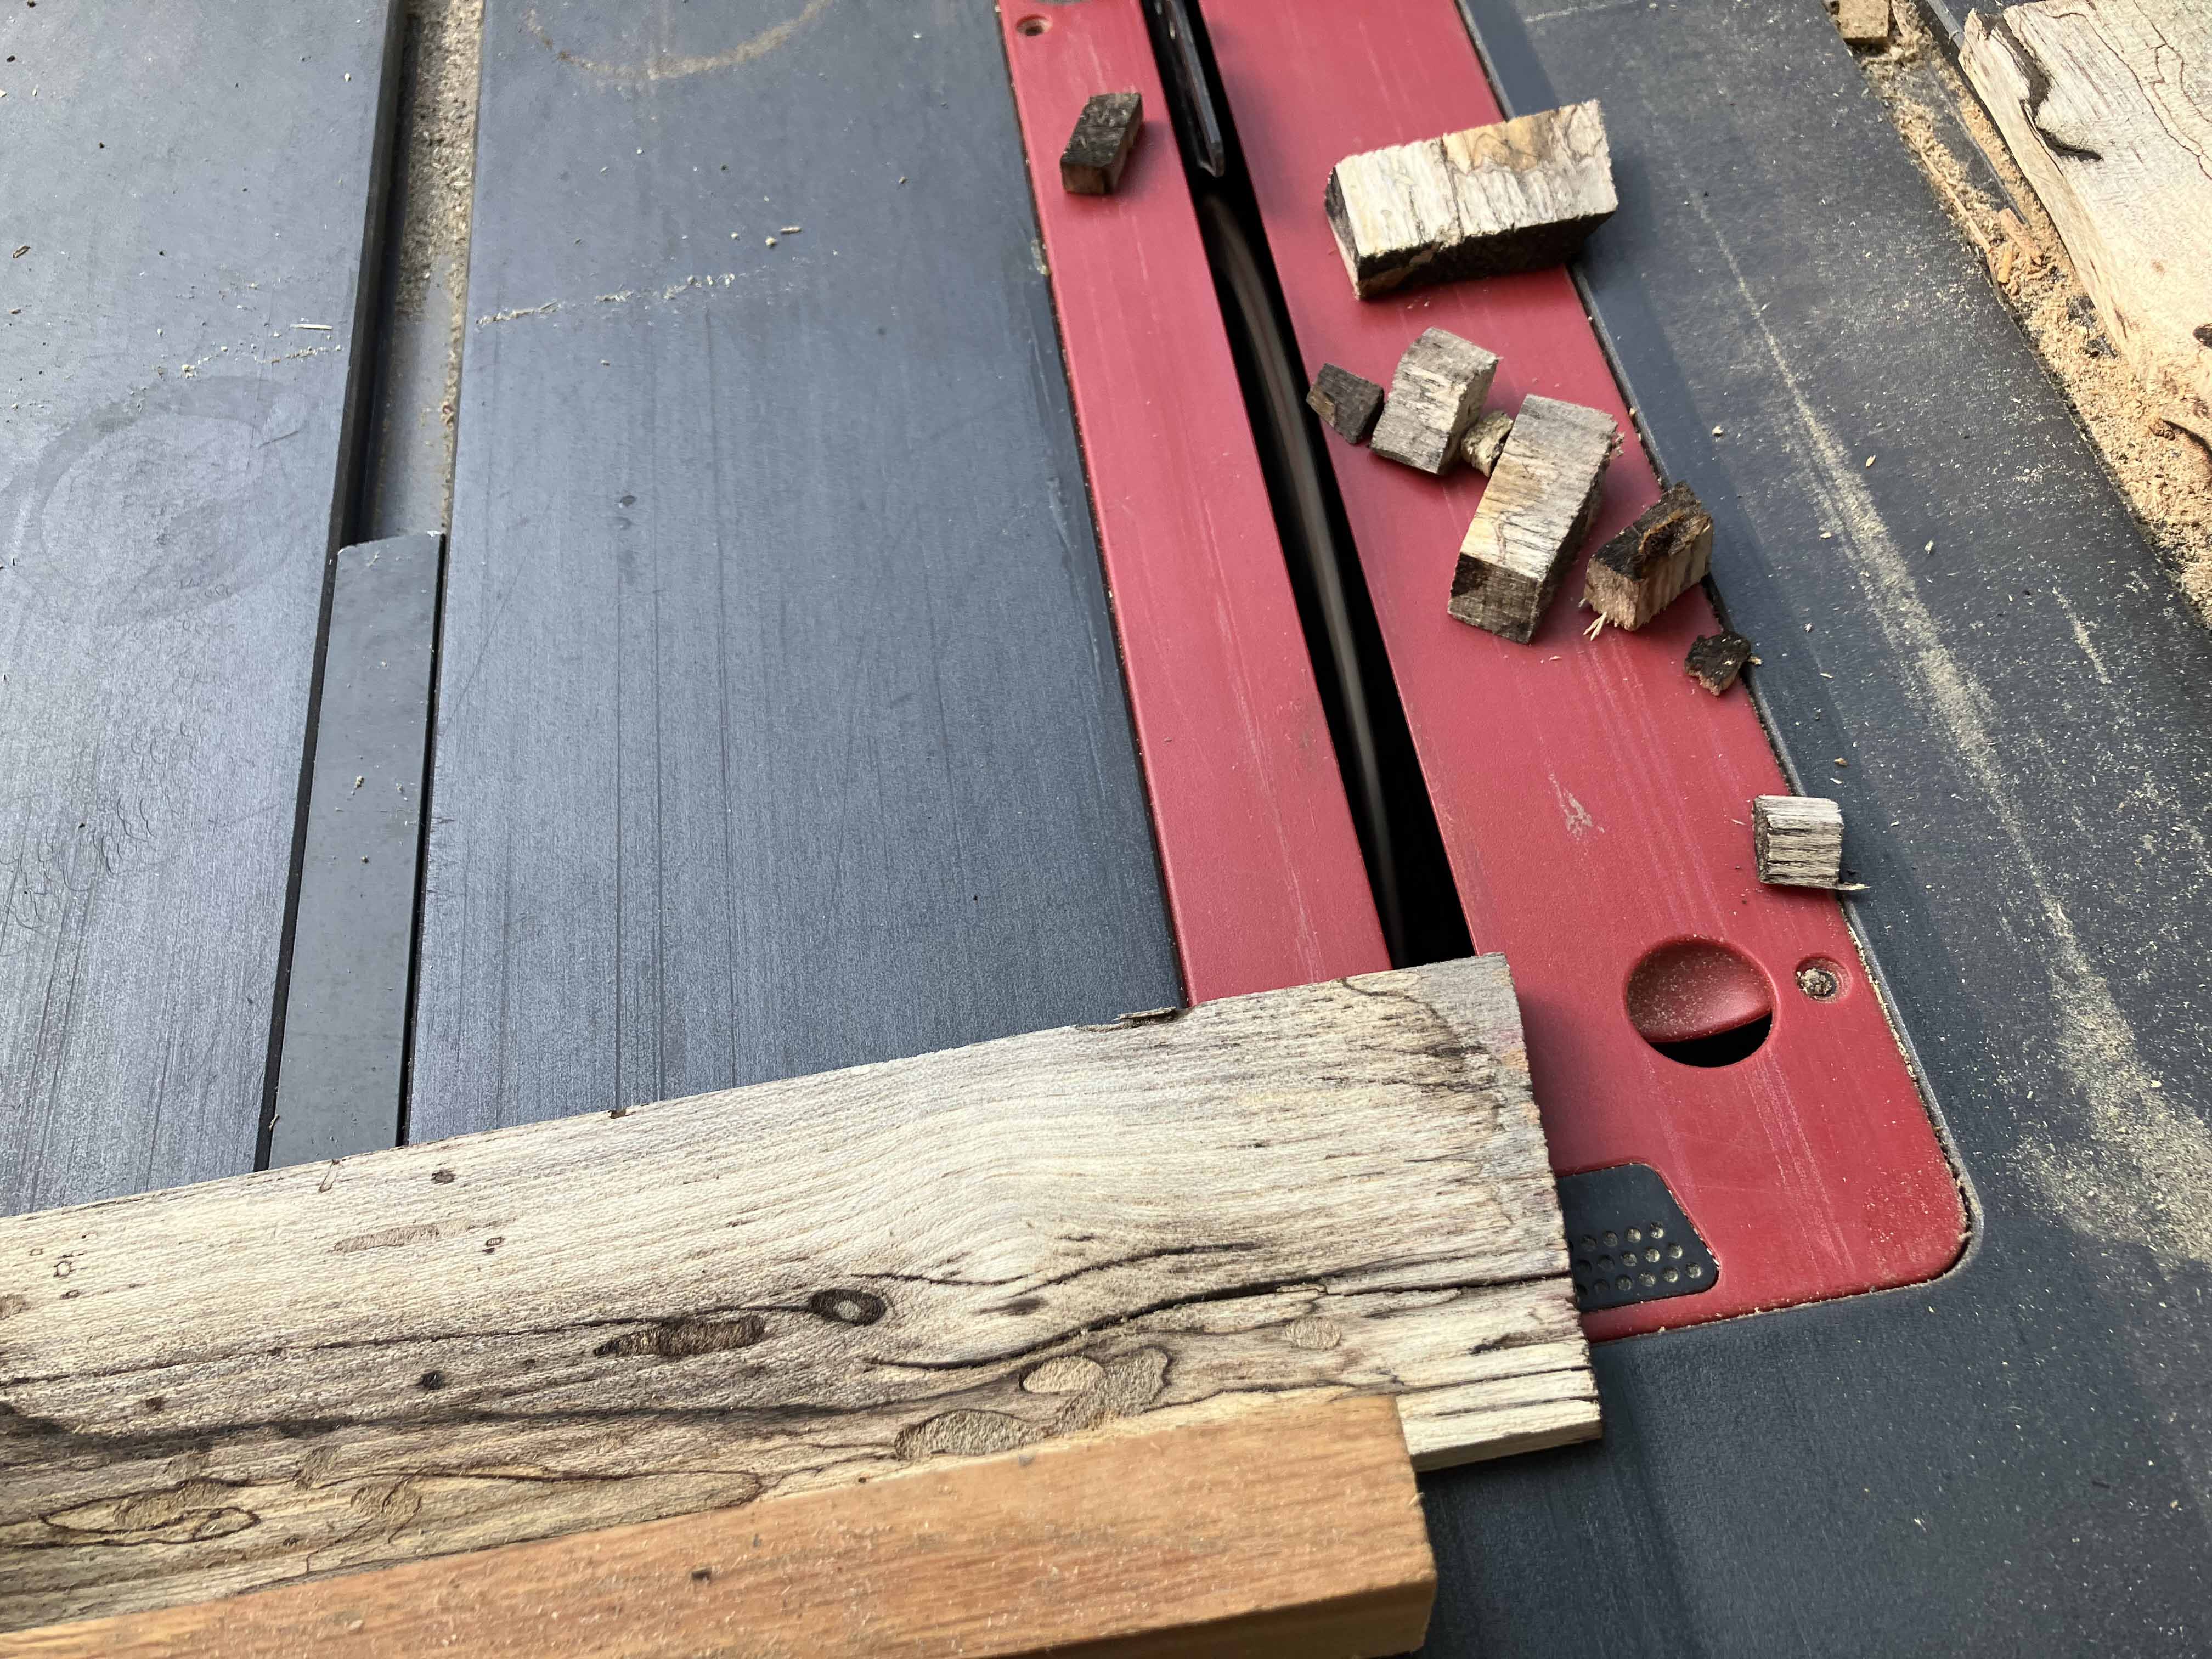
The ends are squared away.
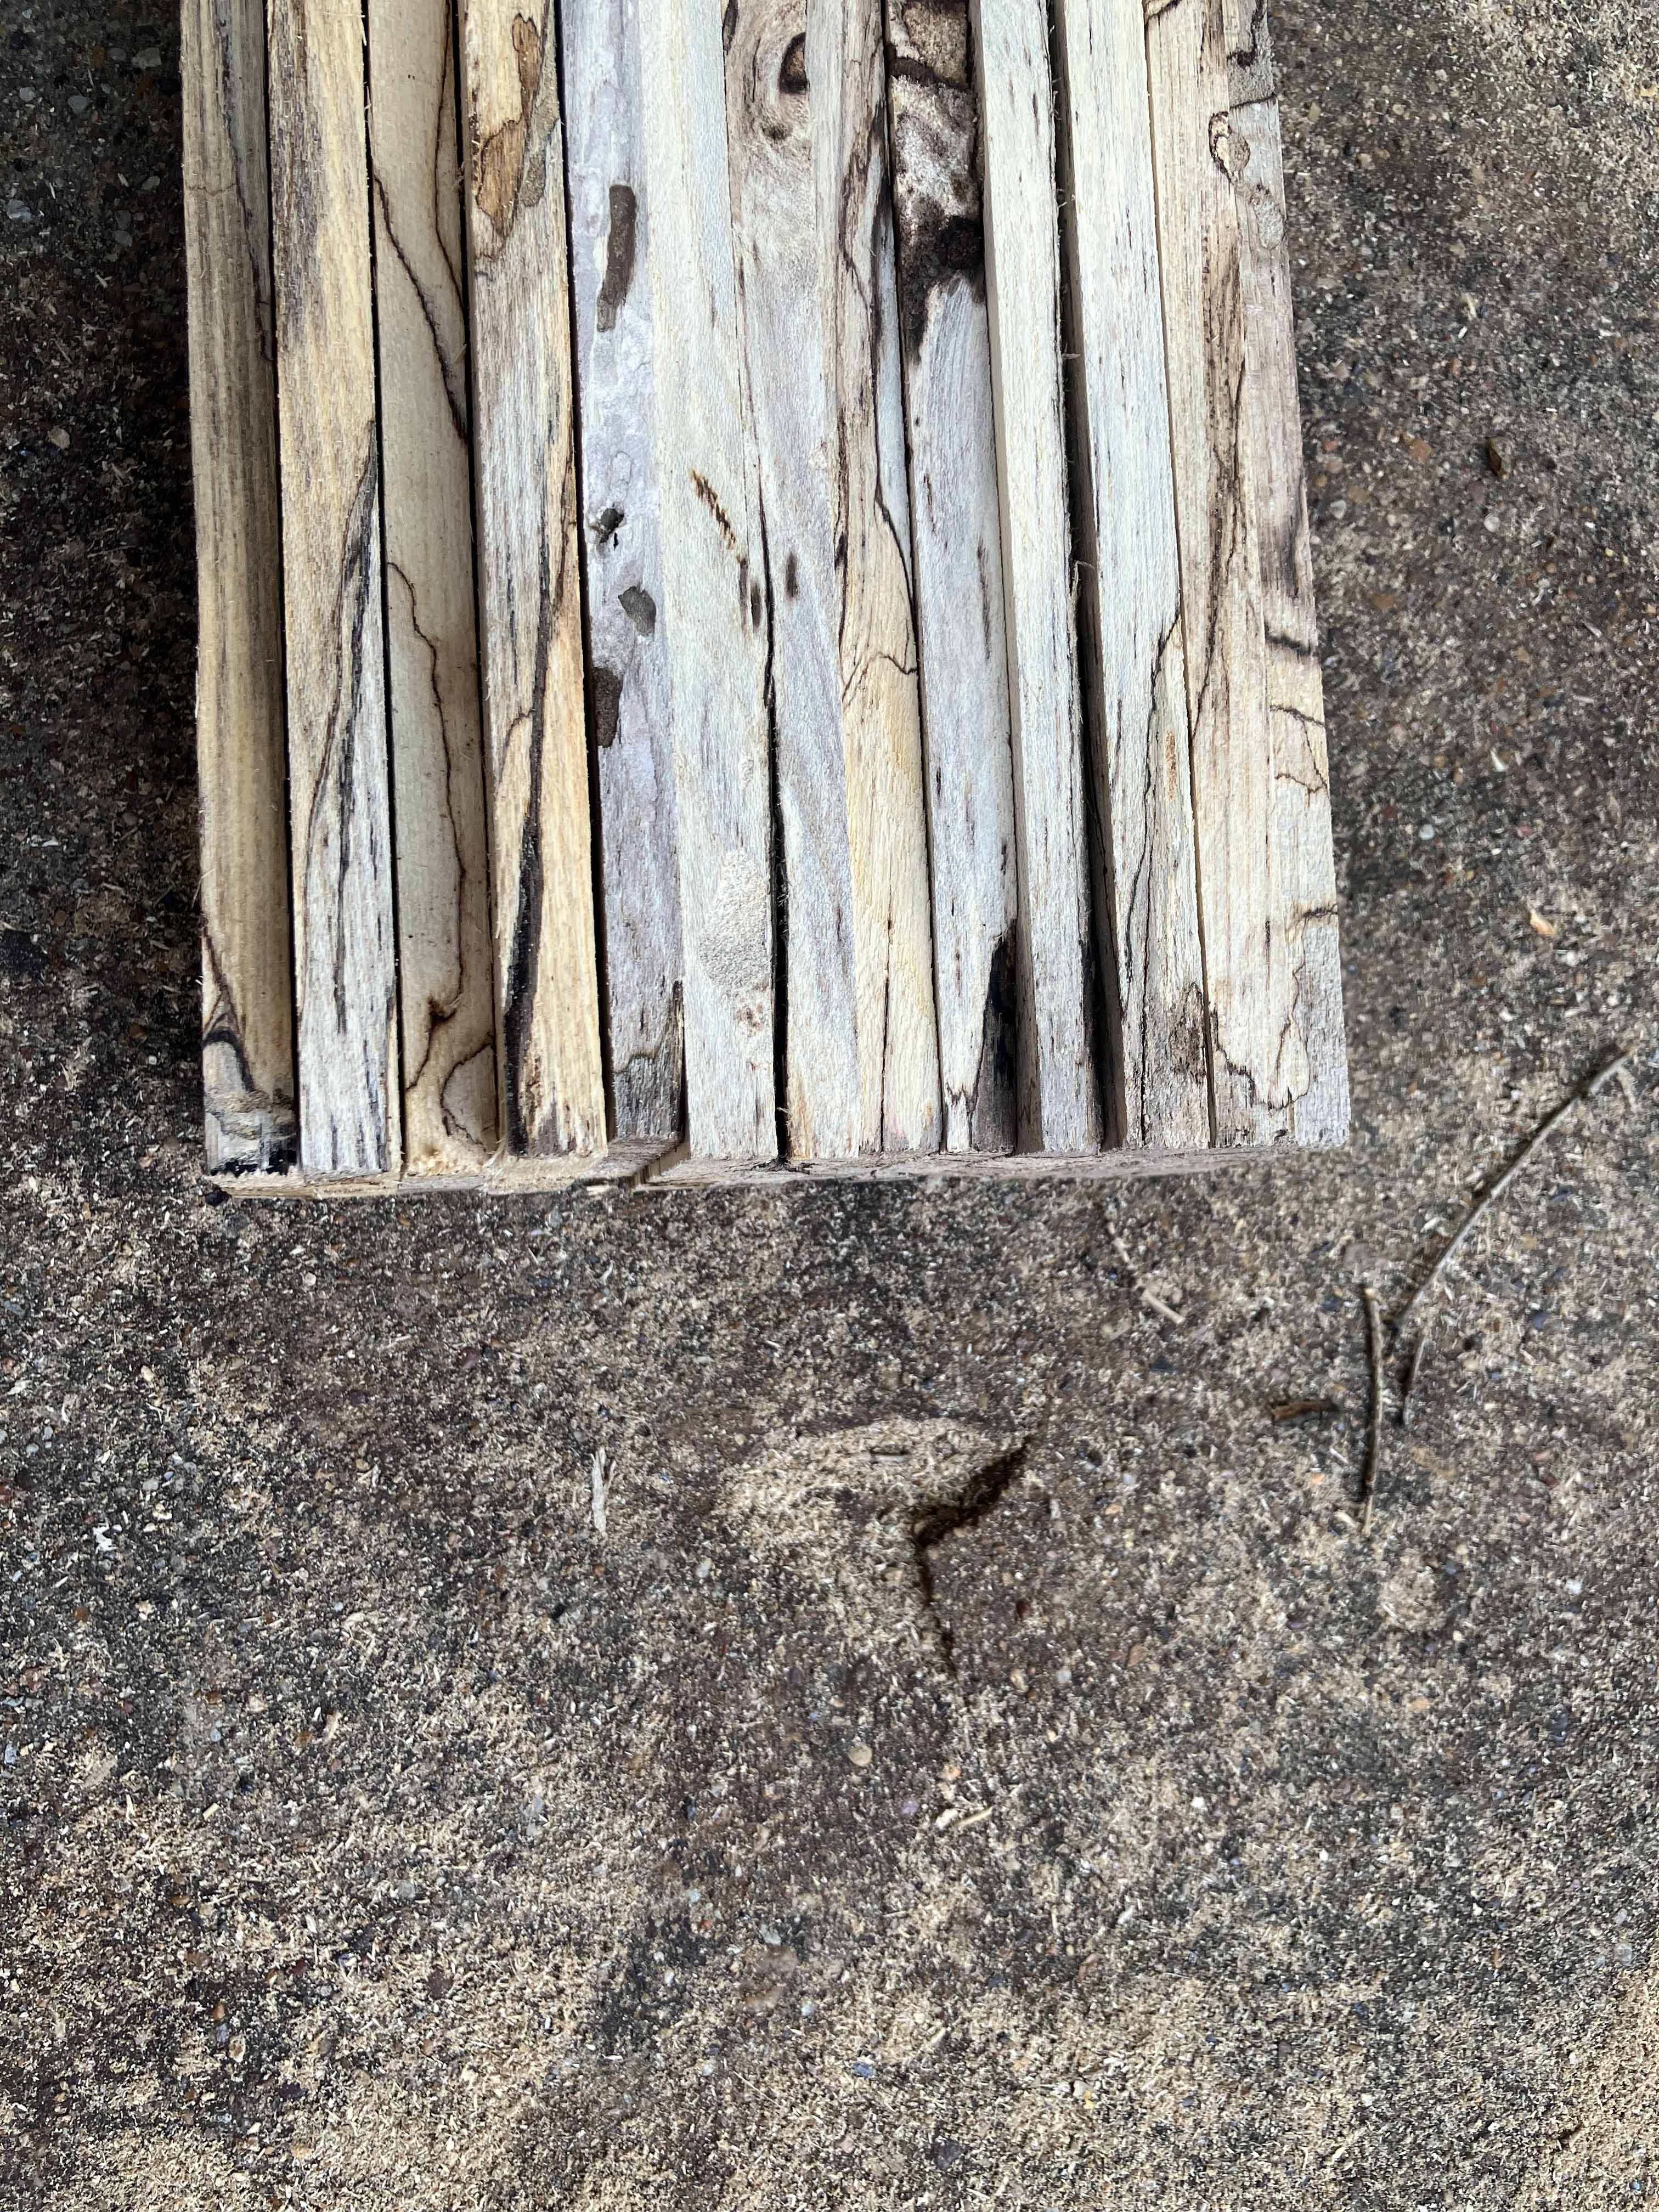
Here shows the set with the ends all even.
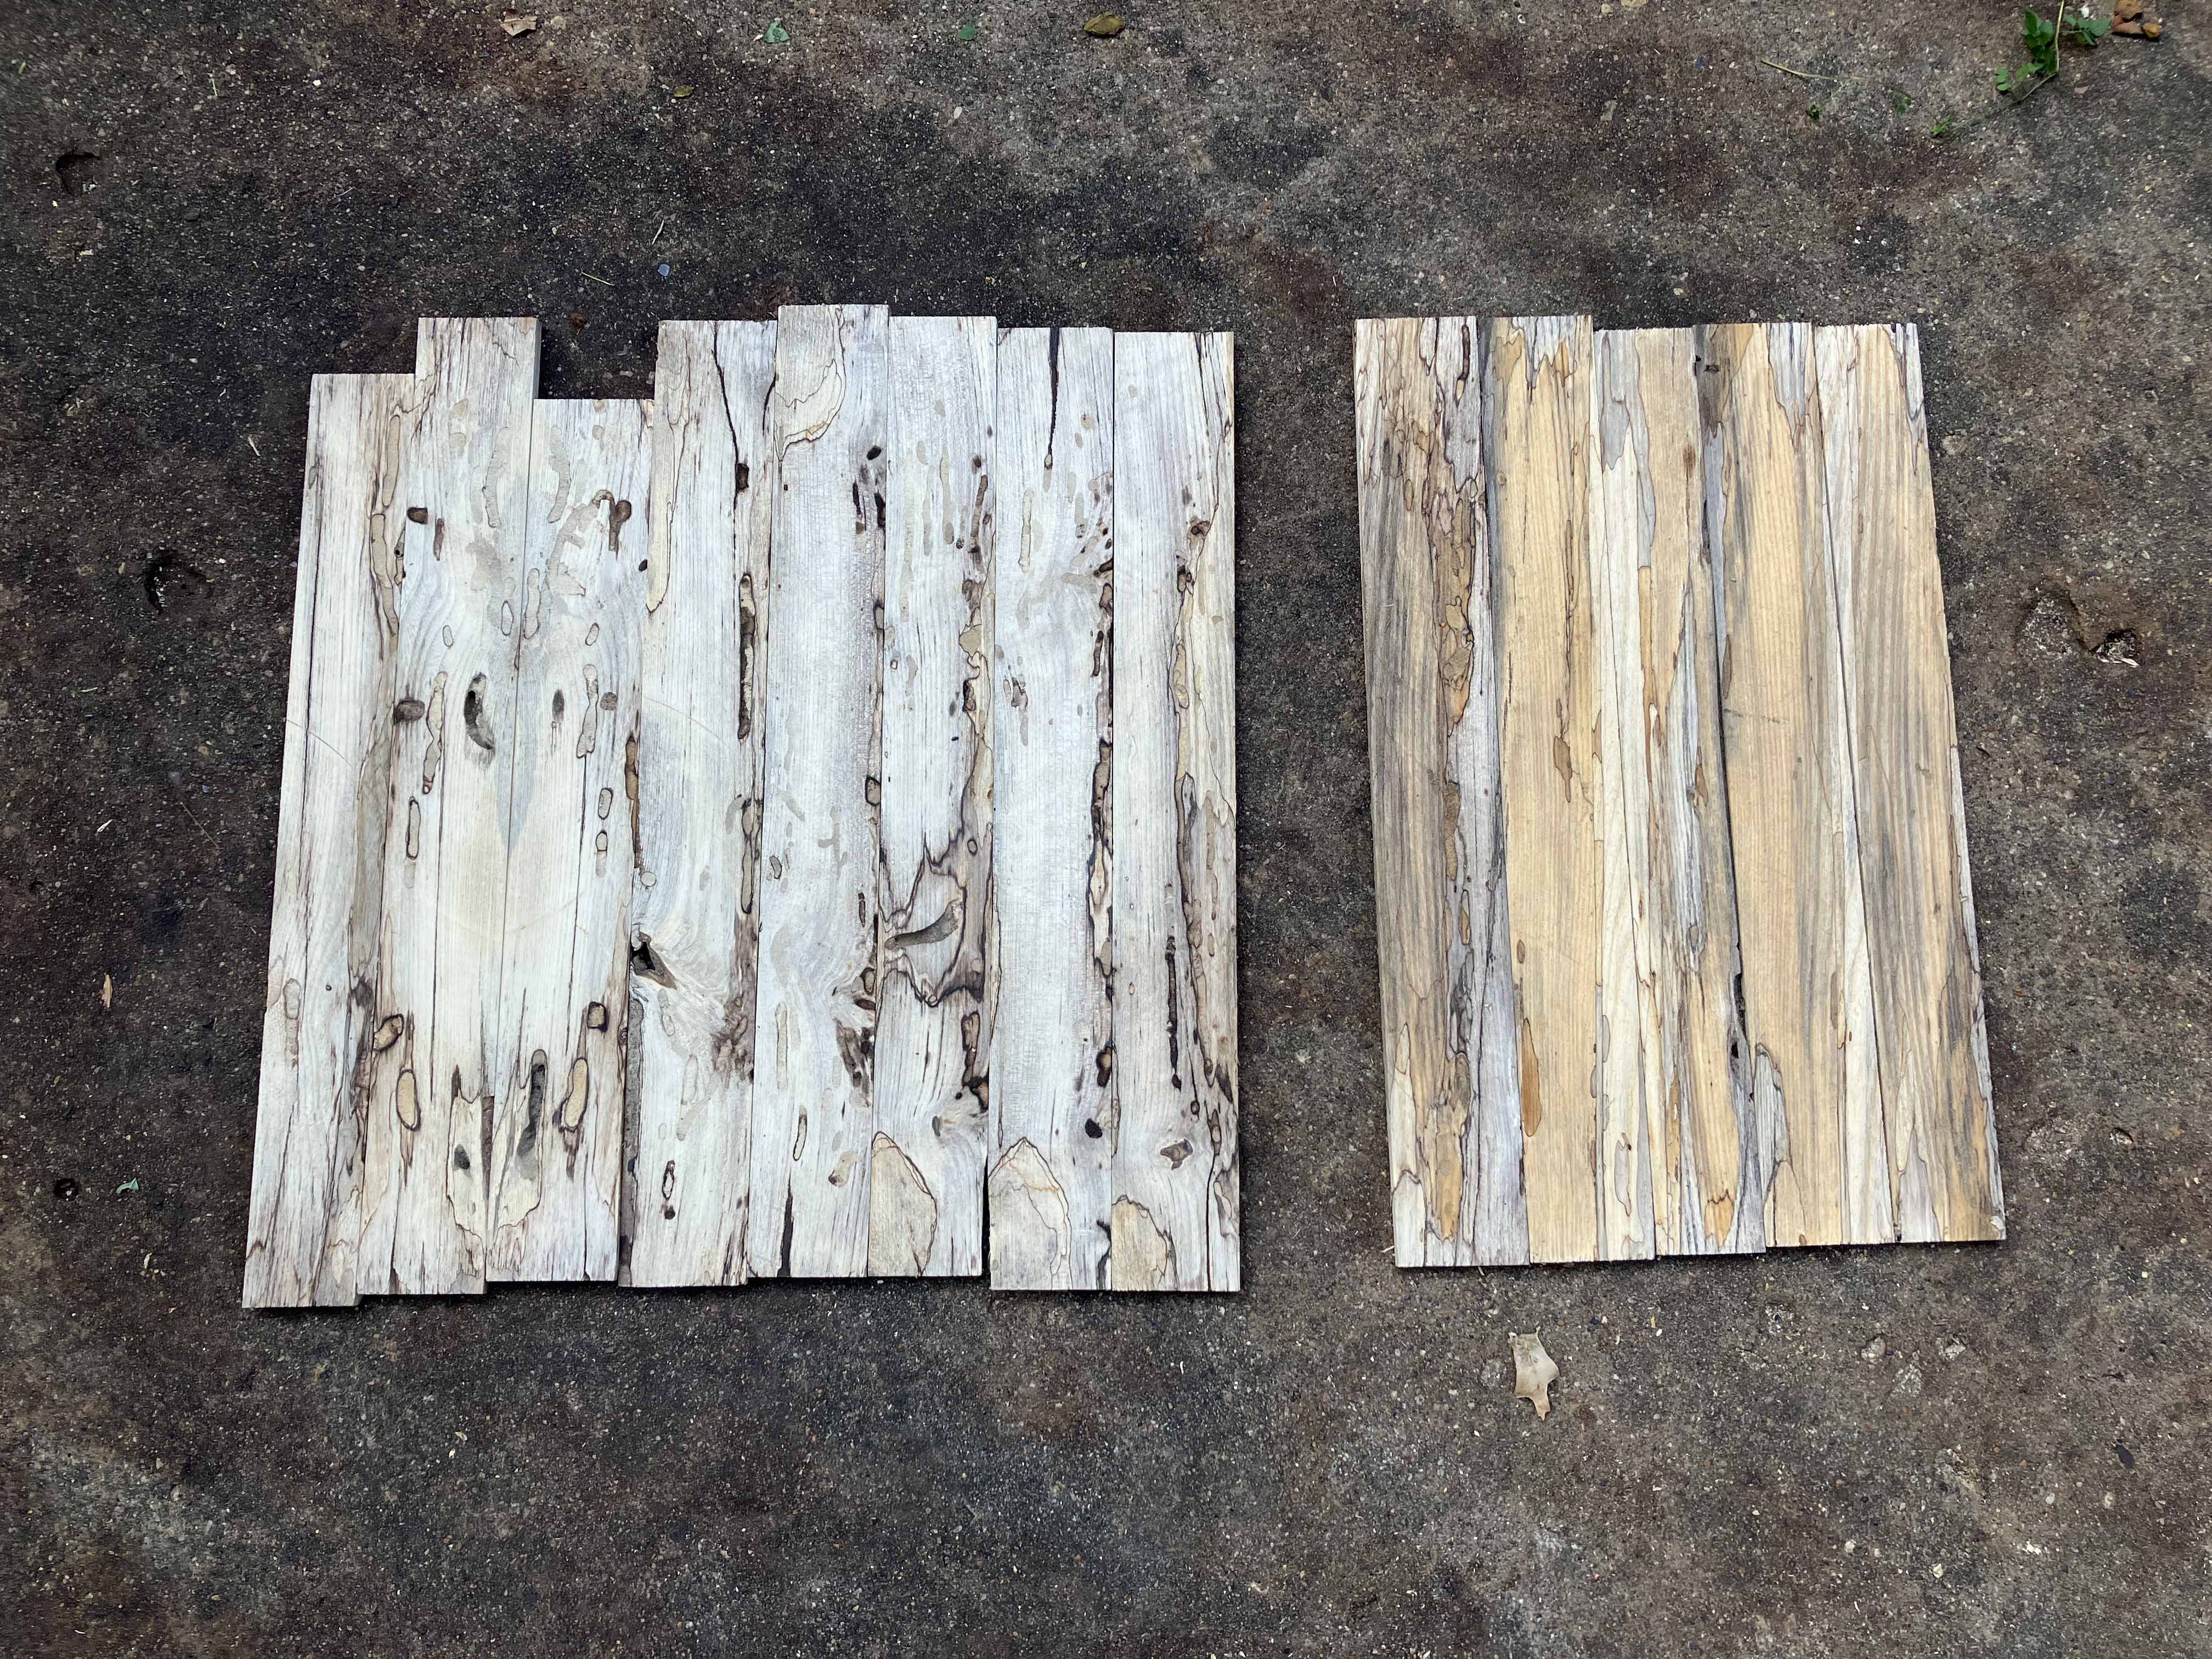
Different effects can be achieved by including or excluding certain slices. Those above all came from the same slab, but for this table I decide to only use the slices on the left. Doesn’t matter though, no right or wrong.
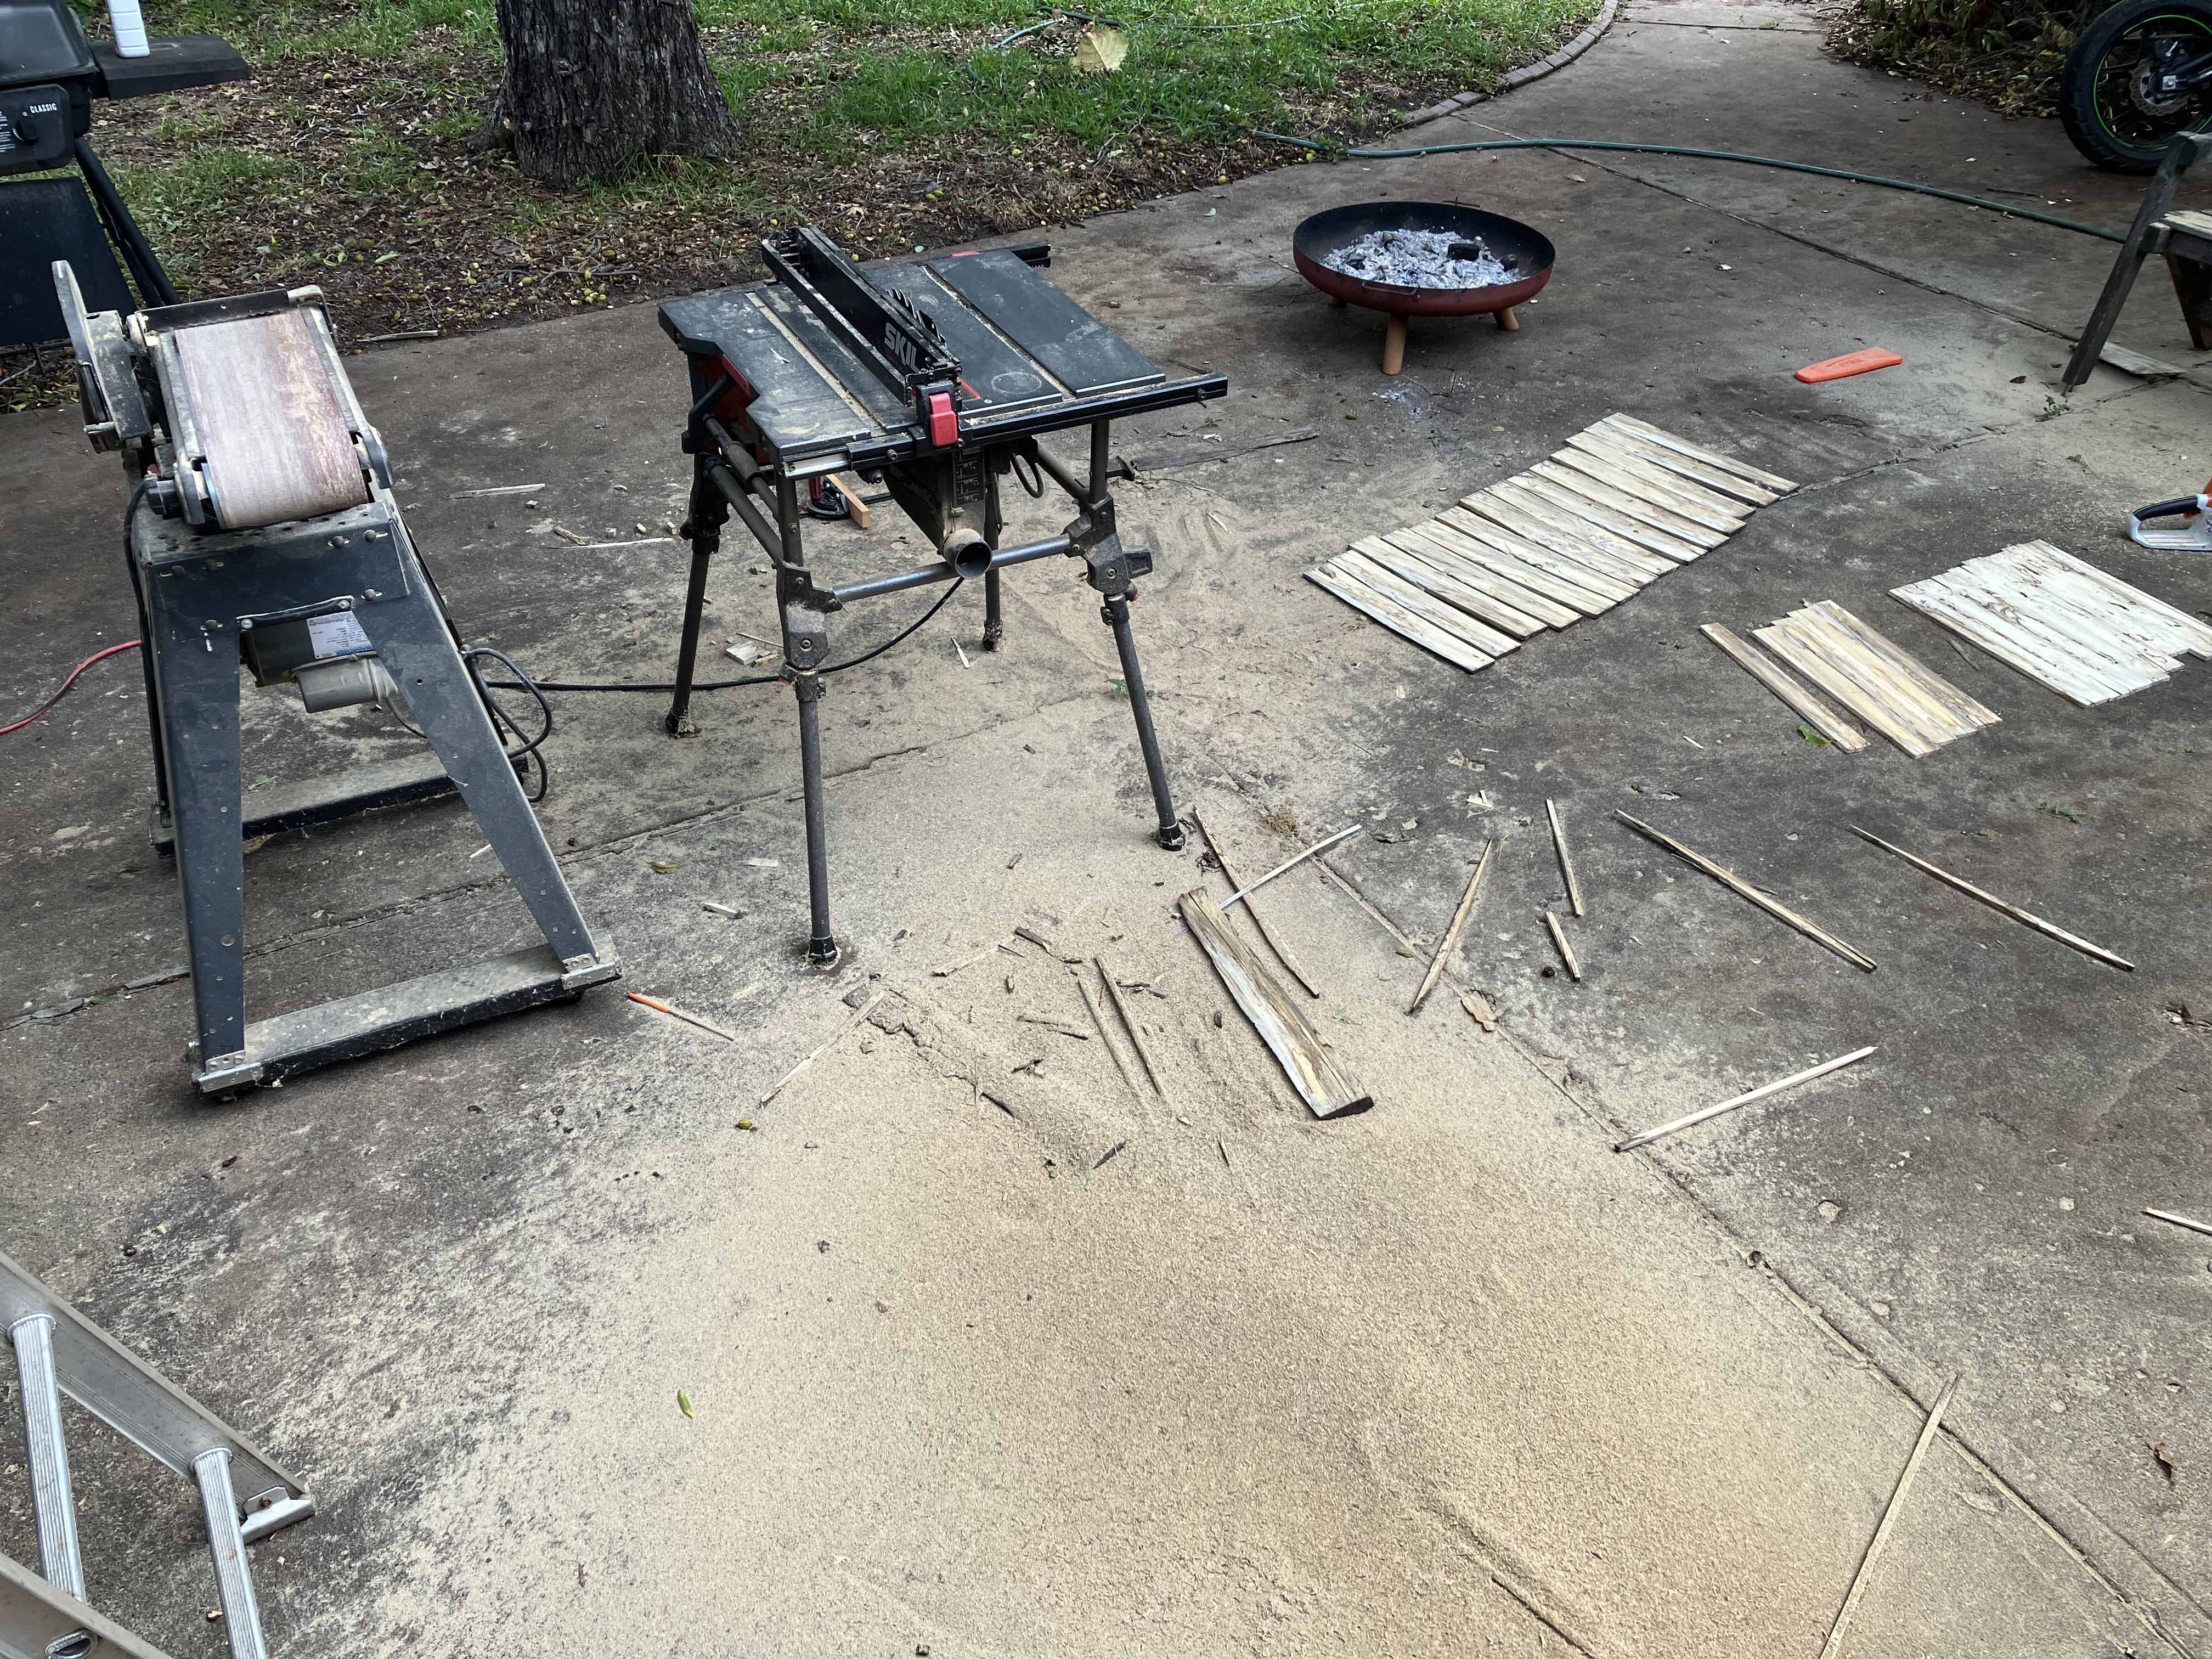
The work area (sawdust…river?).
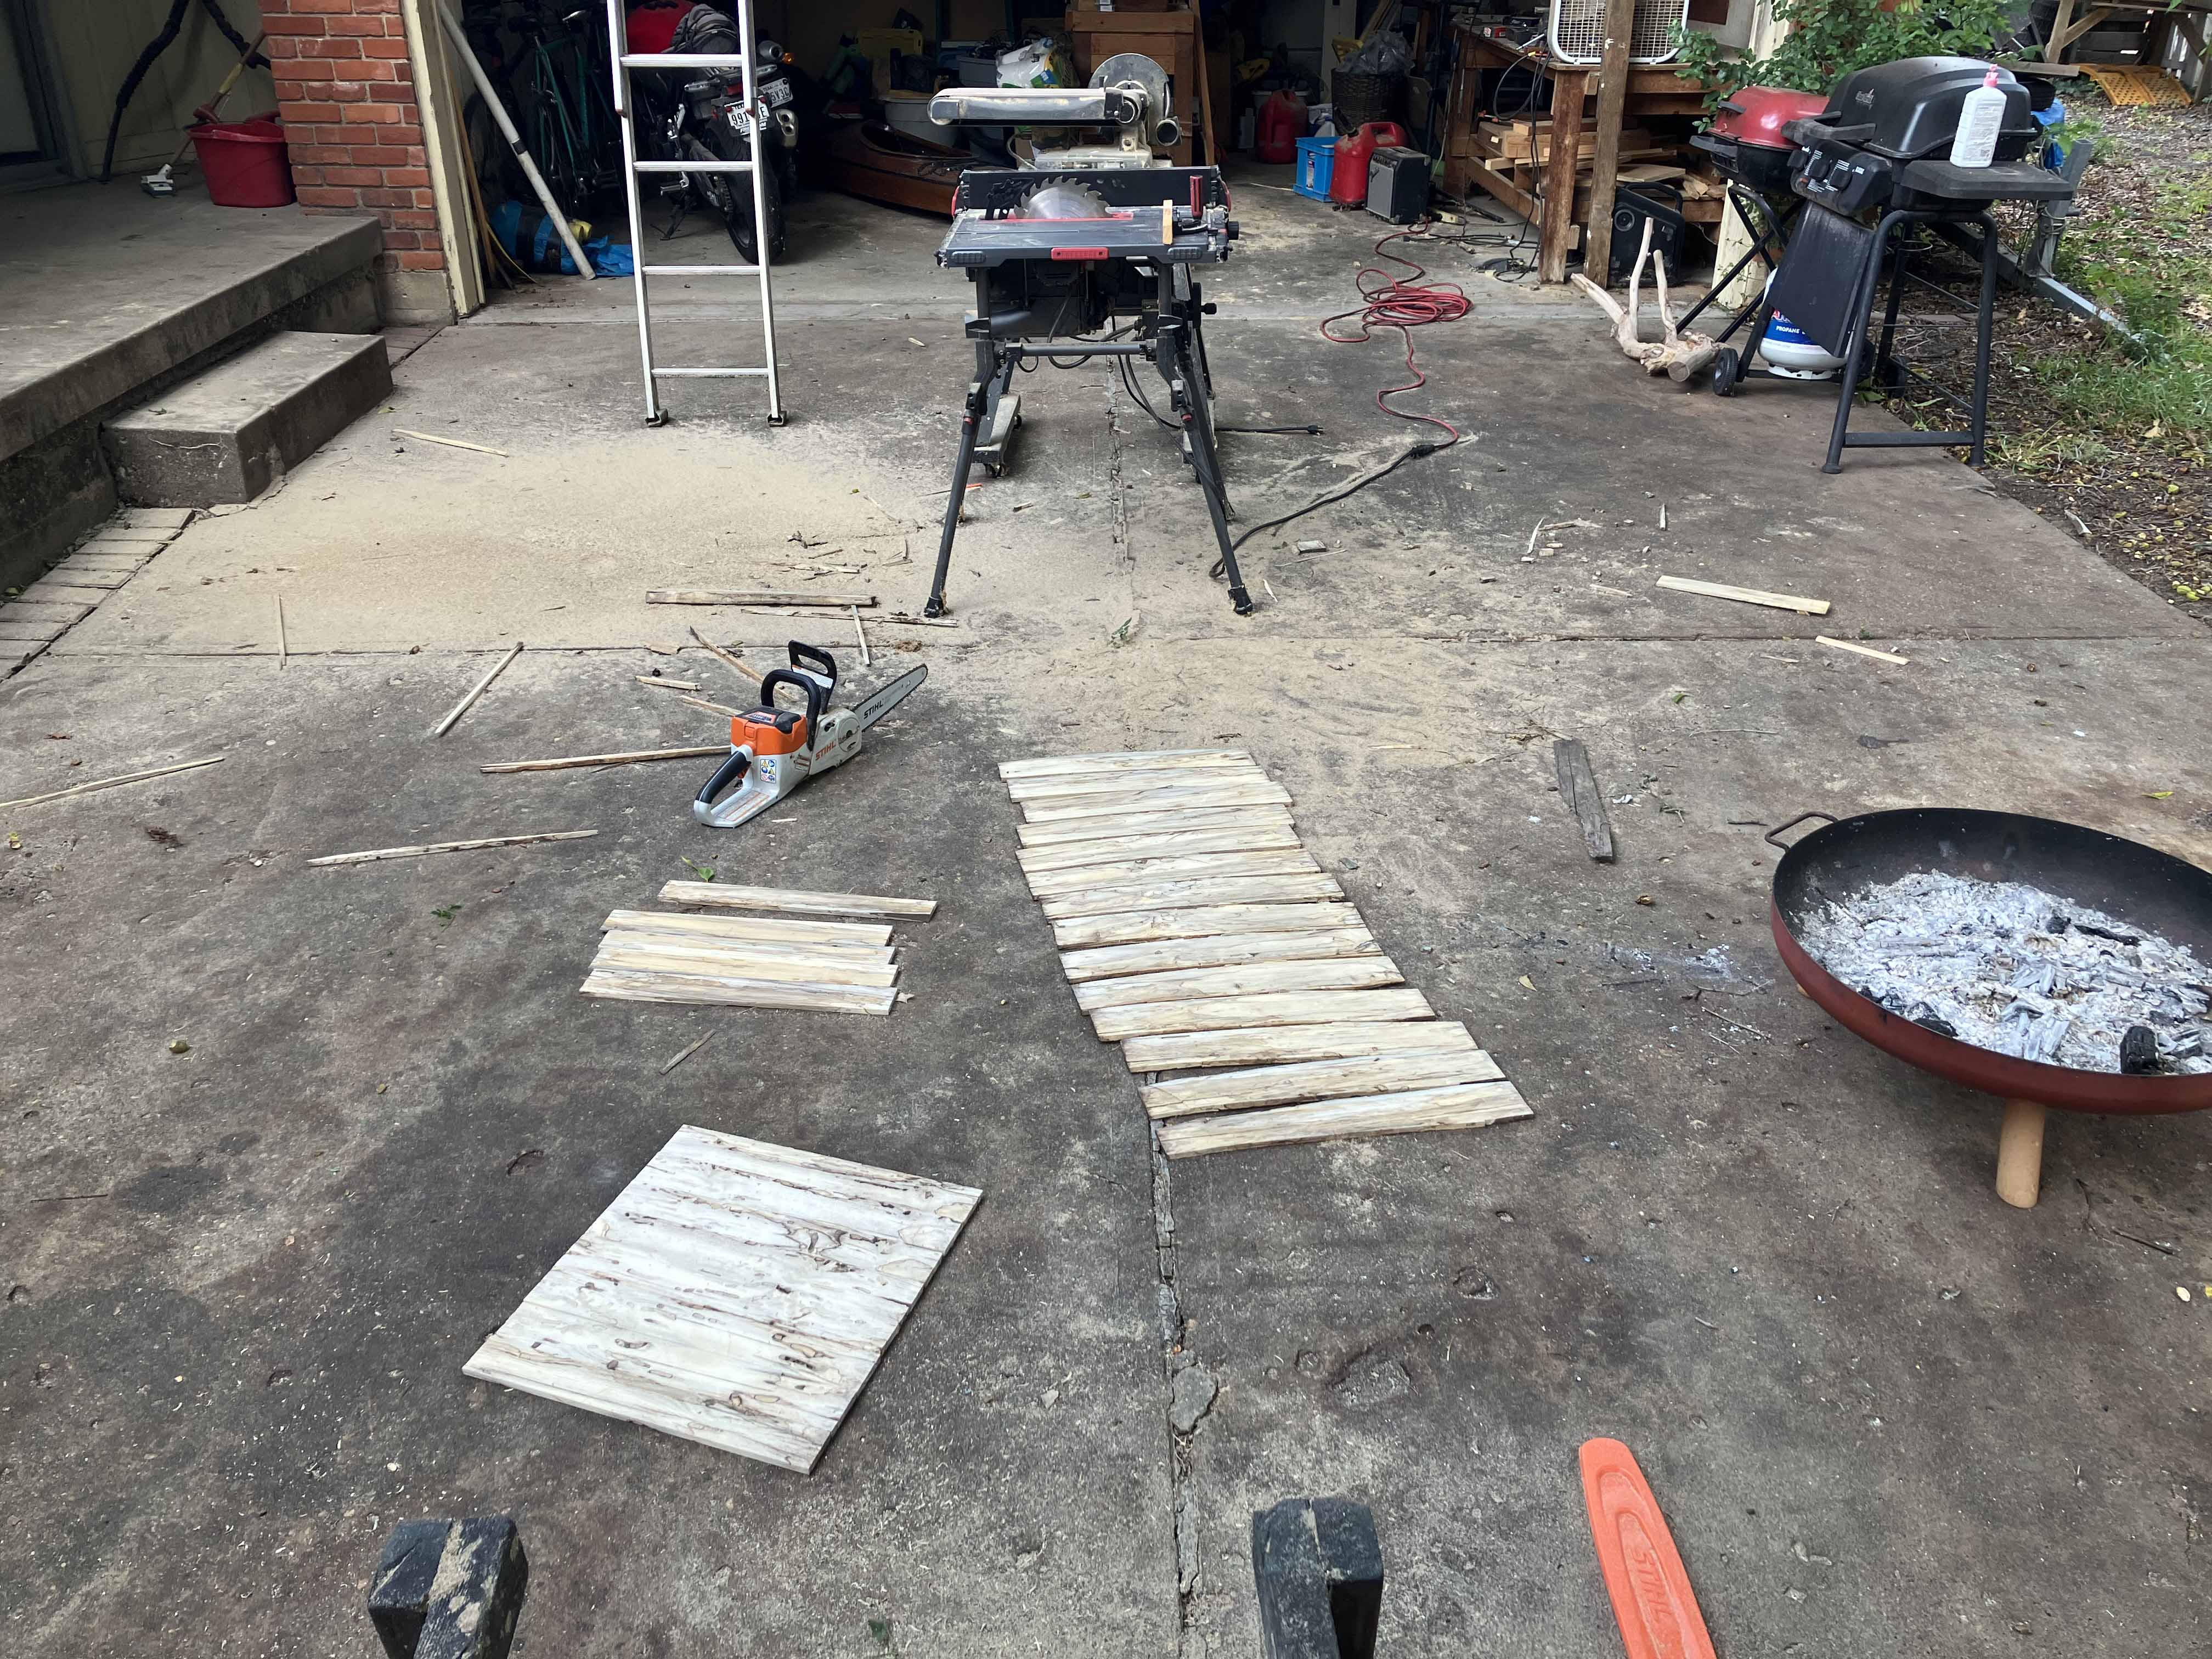
The work area again.
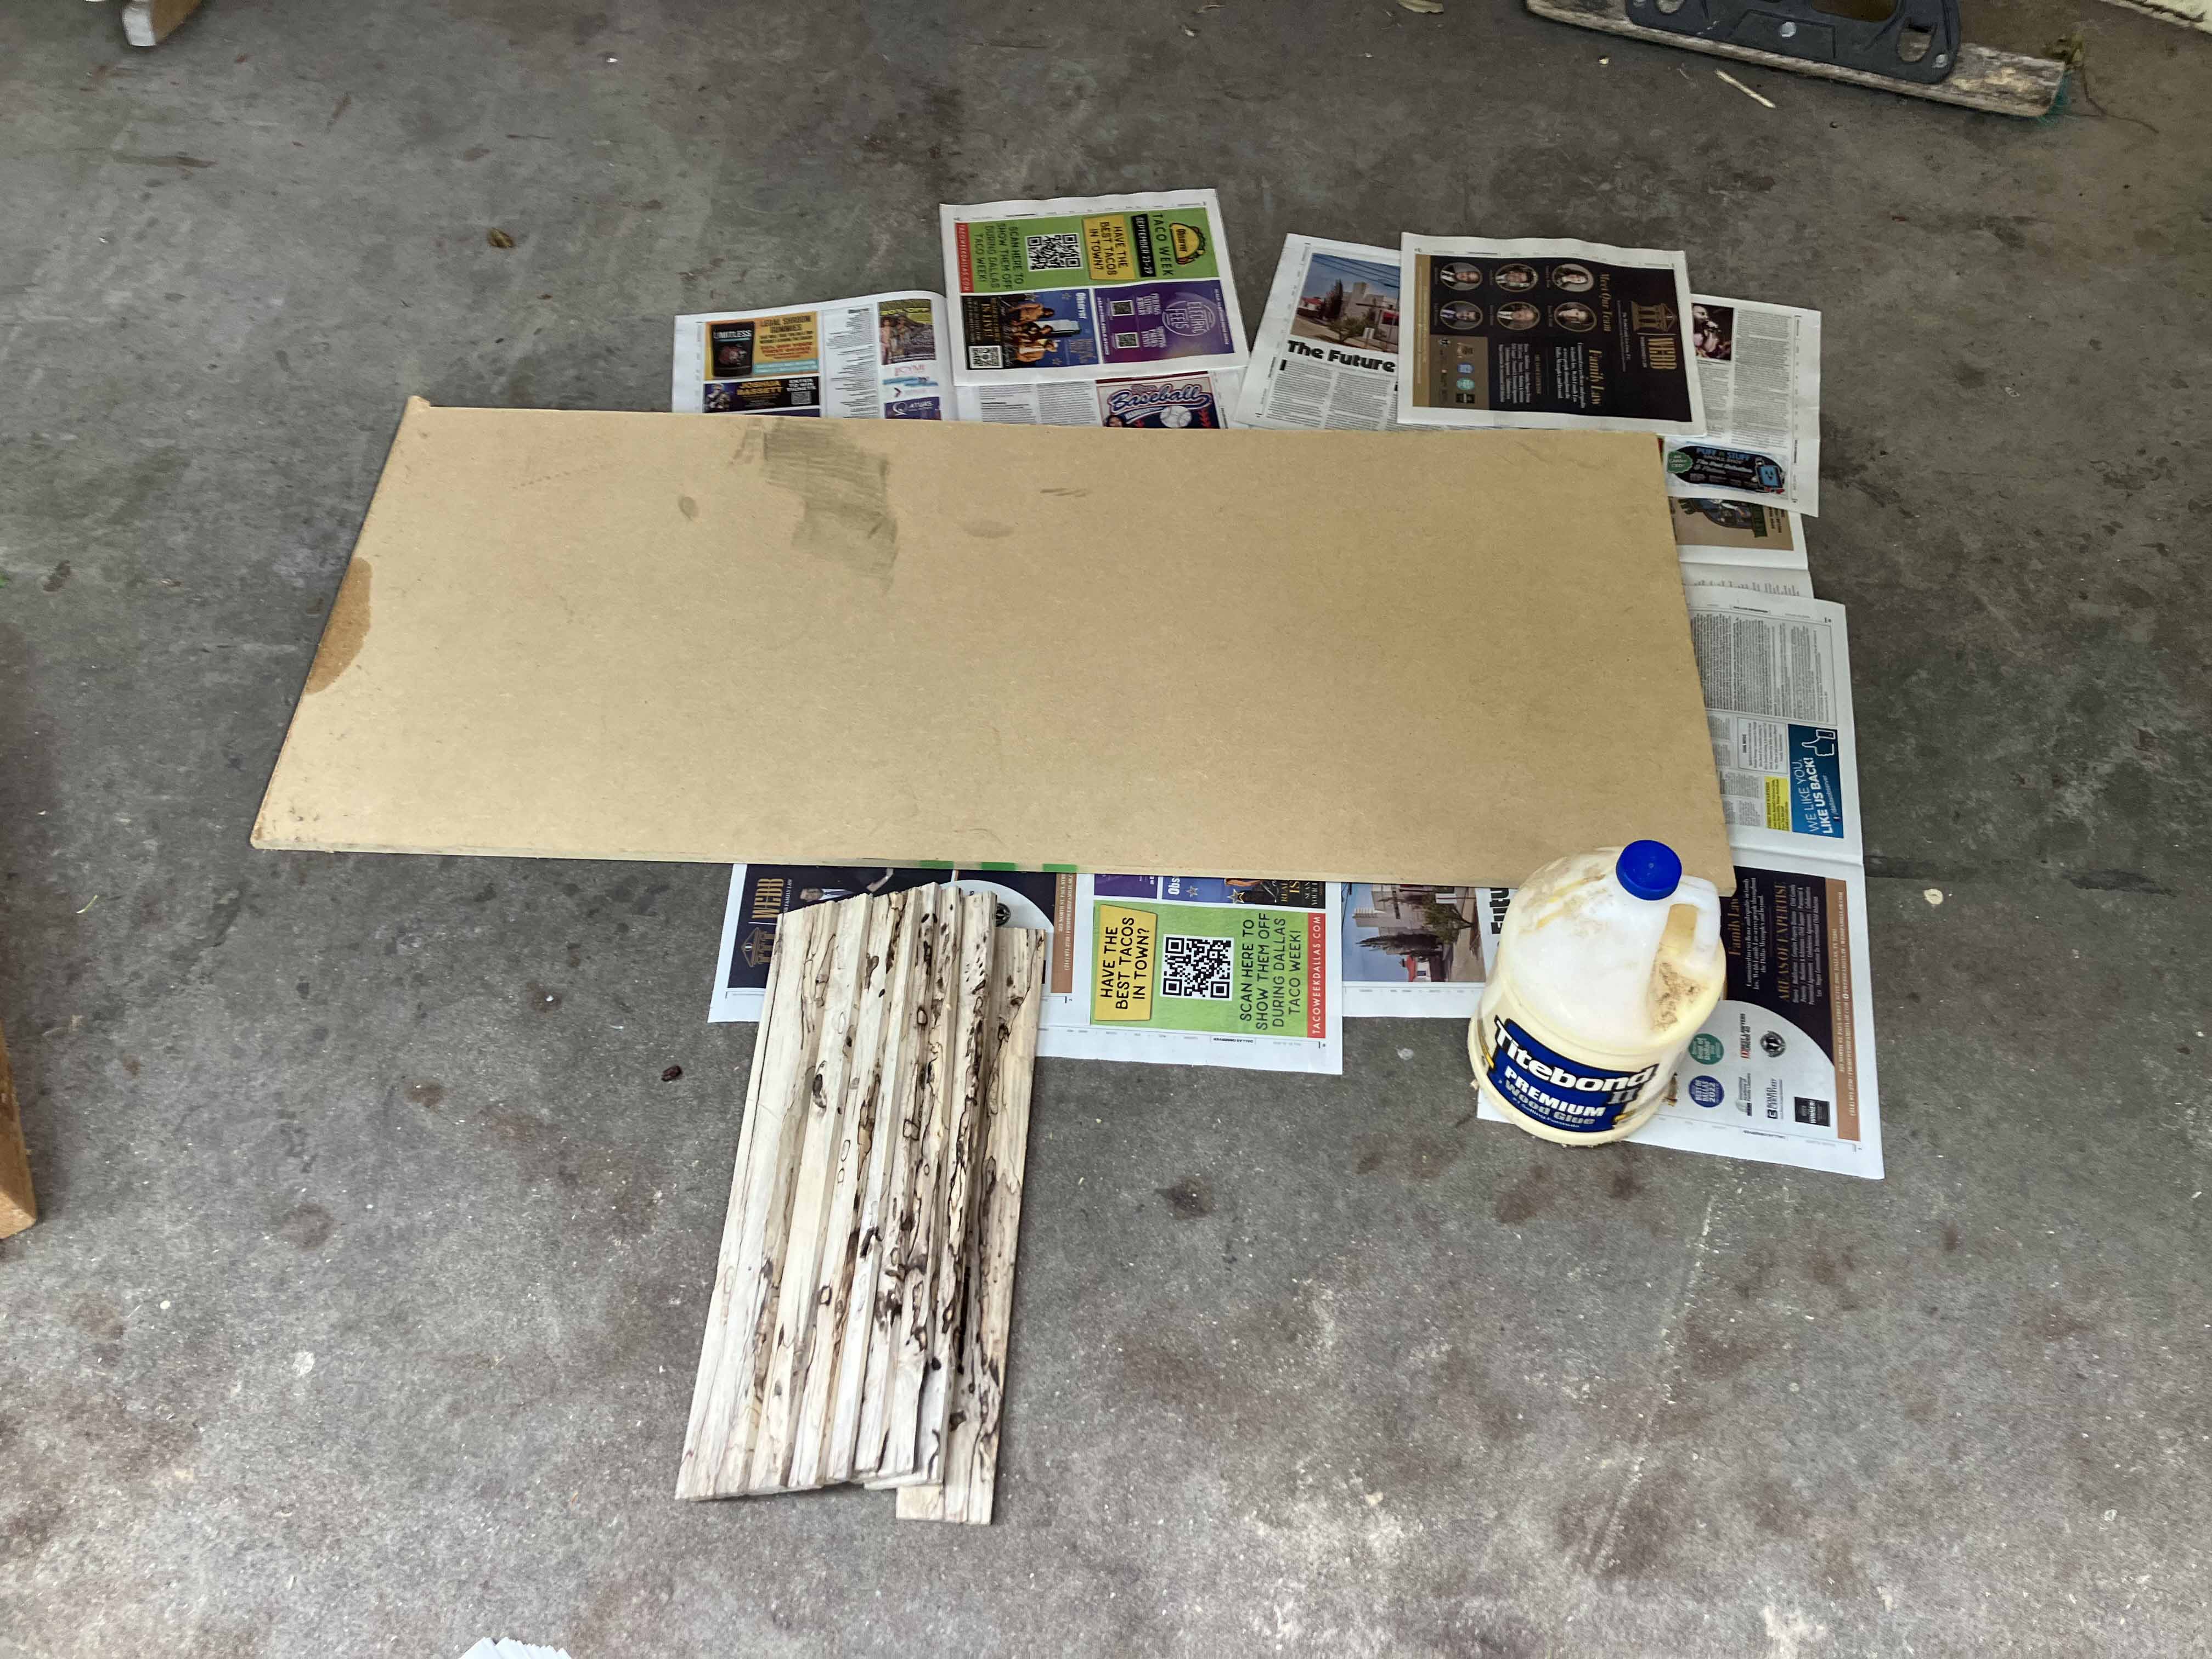
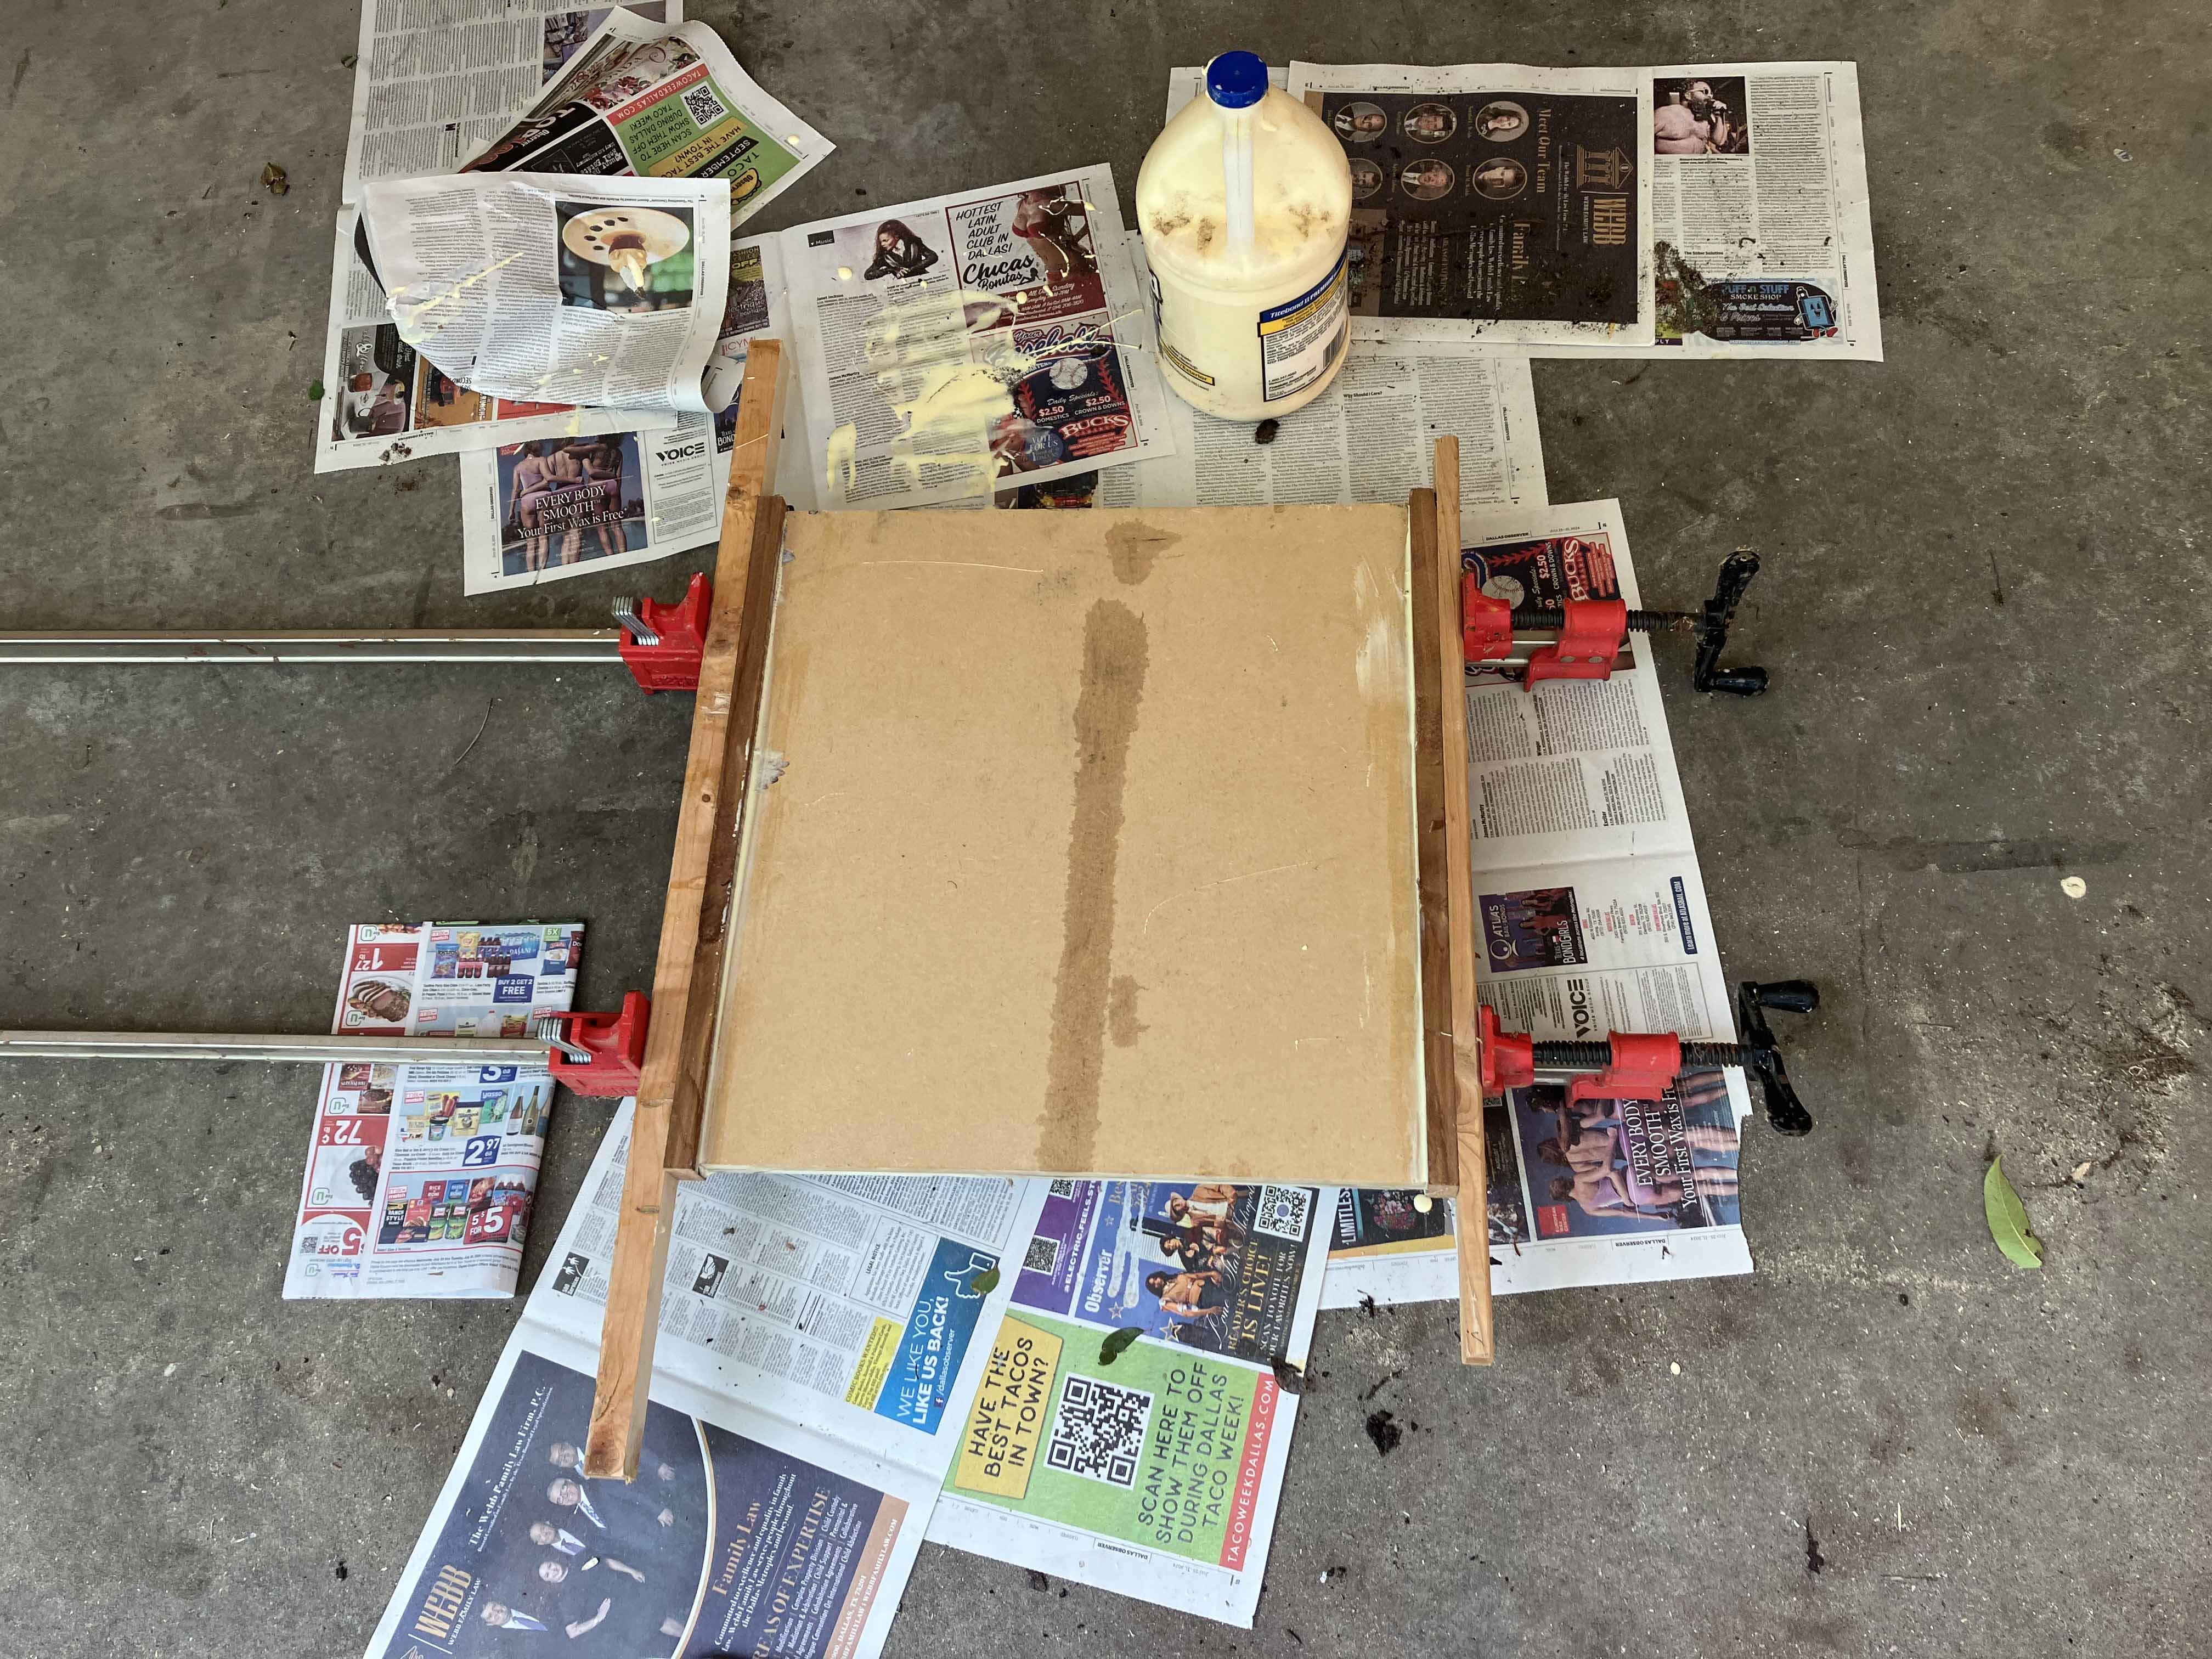
Now we glue the slats onto a backing.
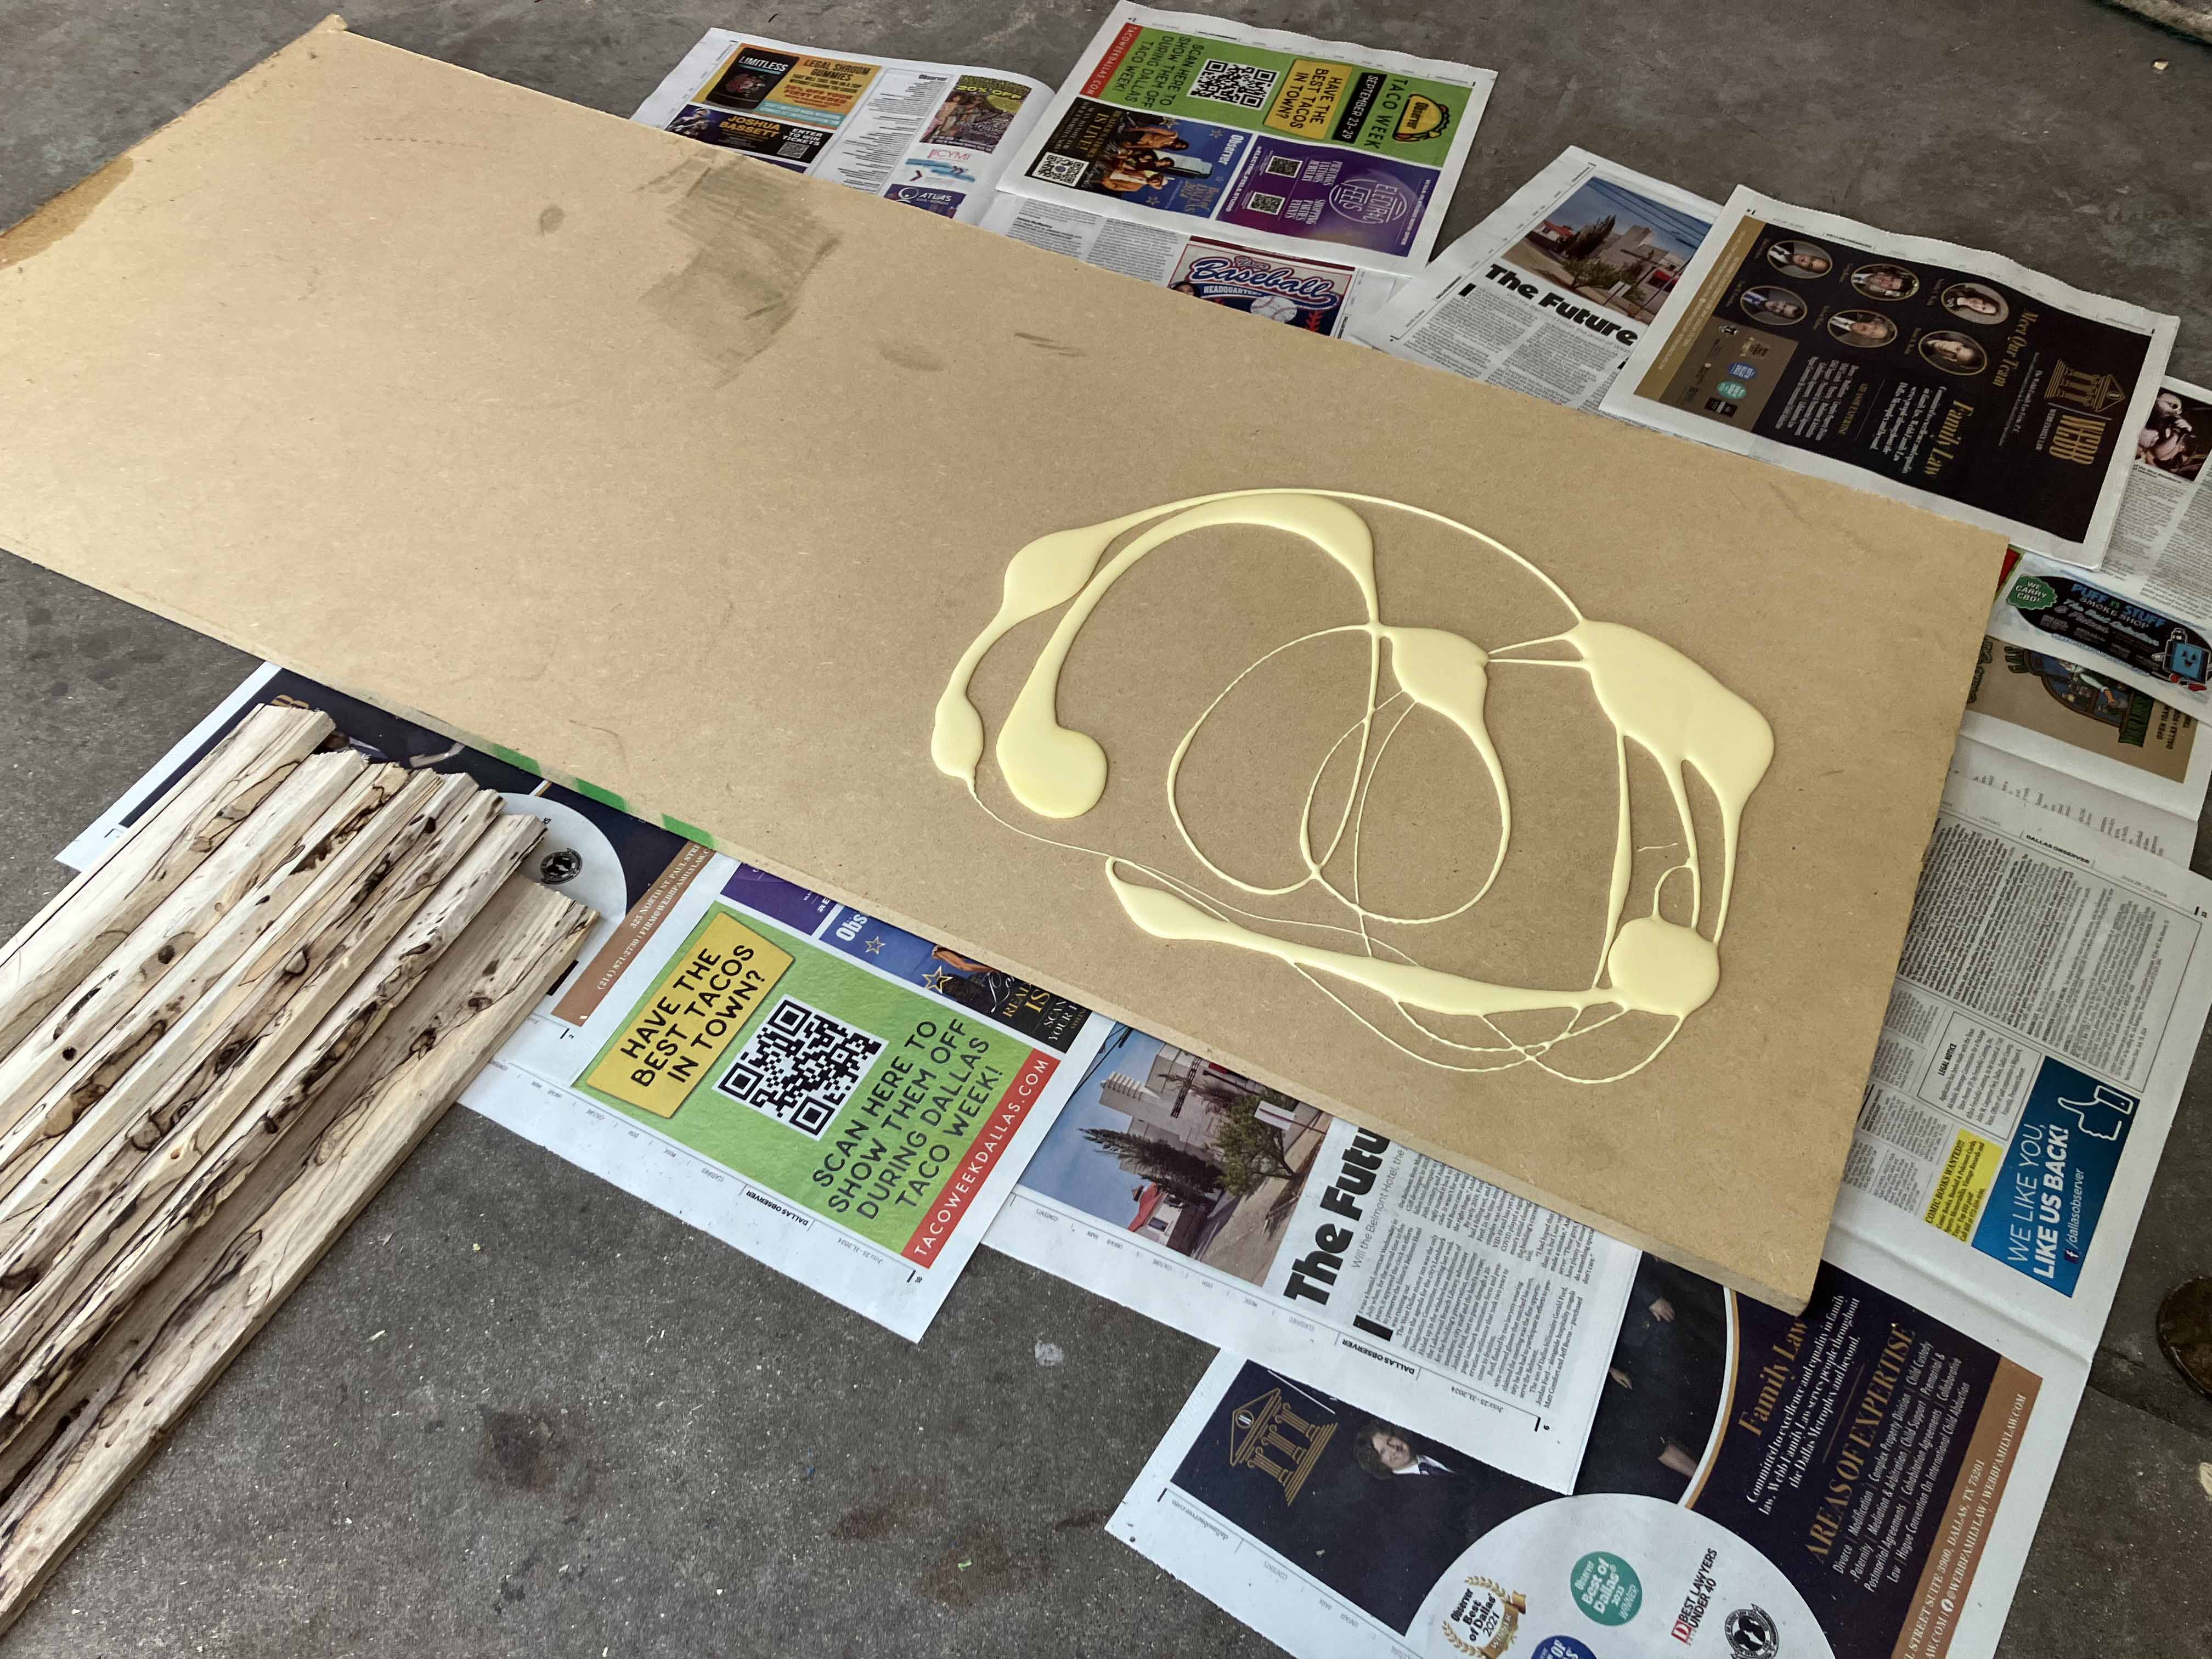
Starting to spread out the glue.
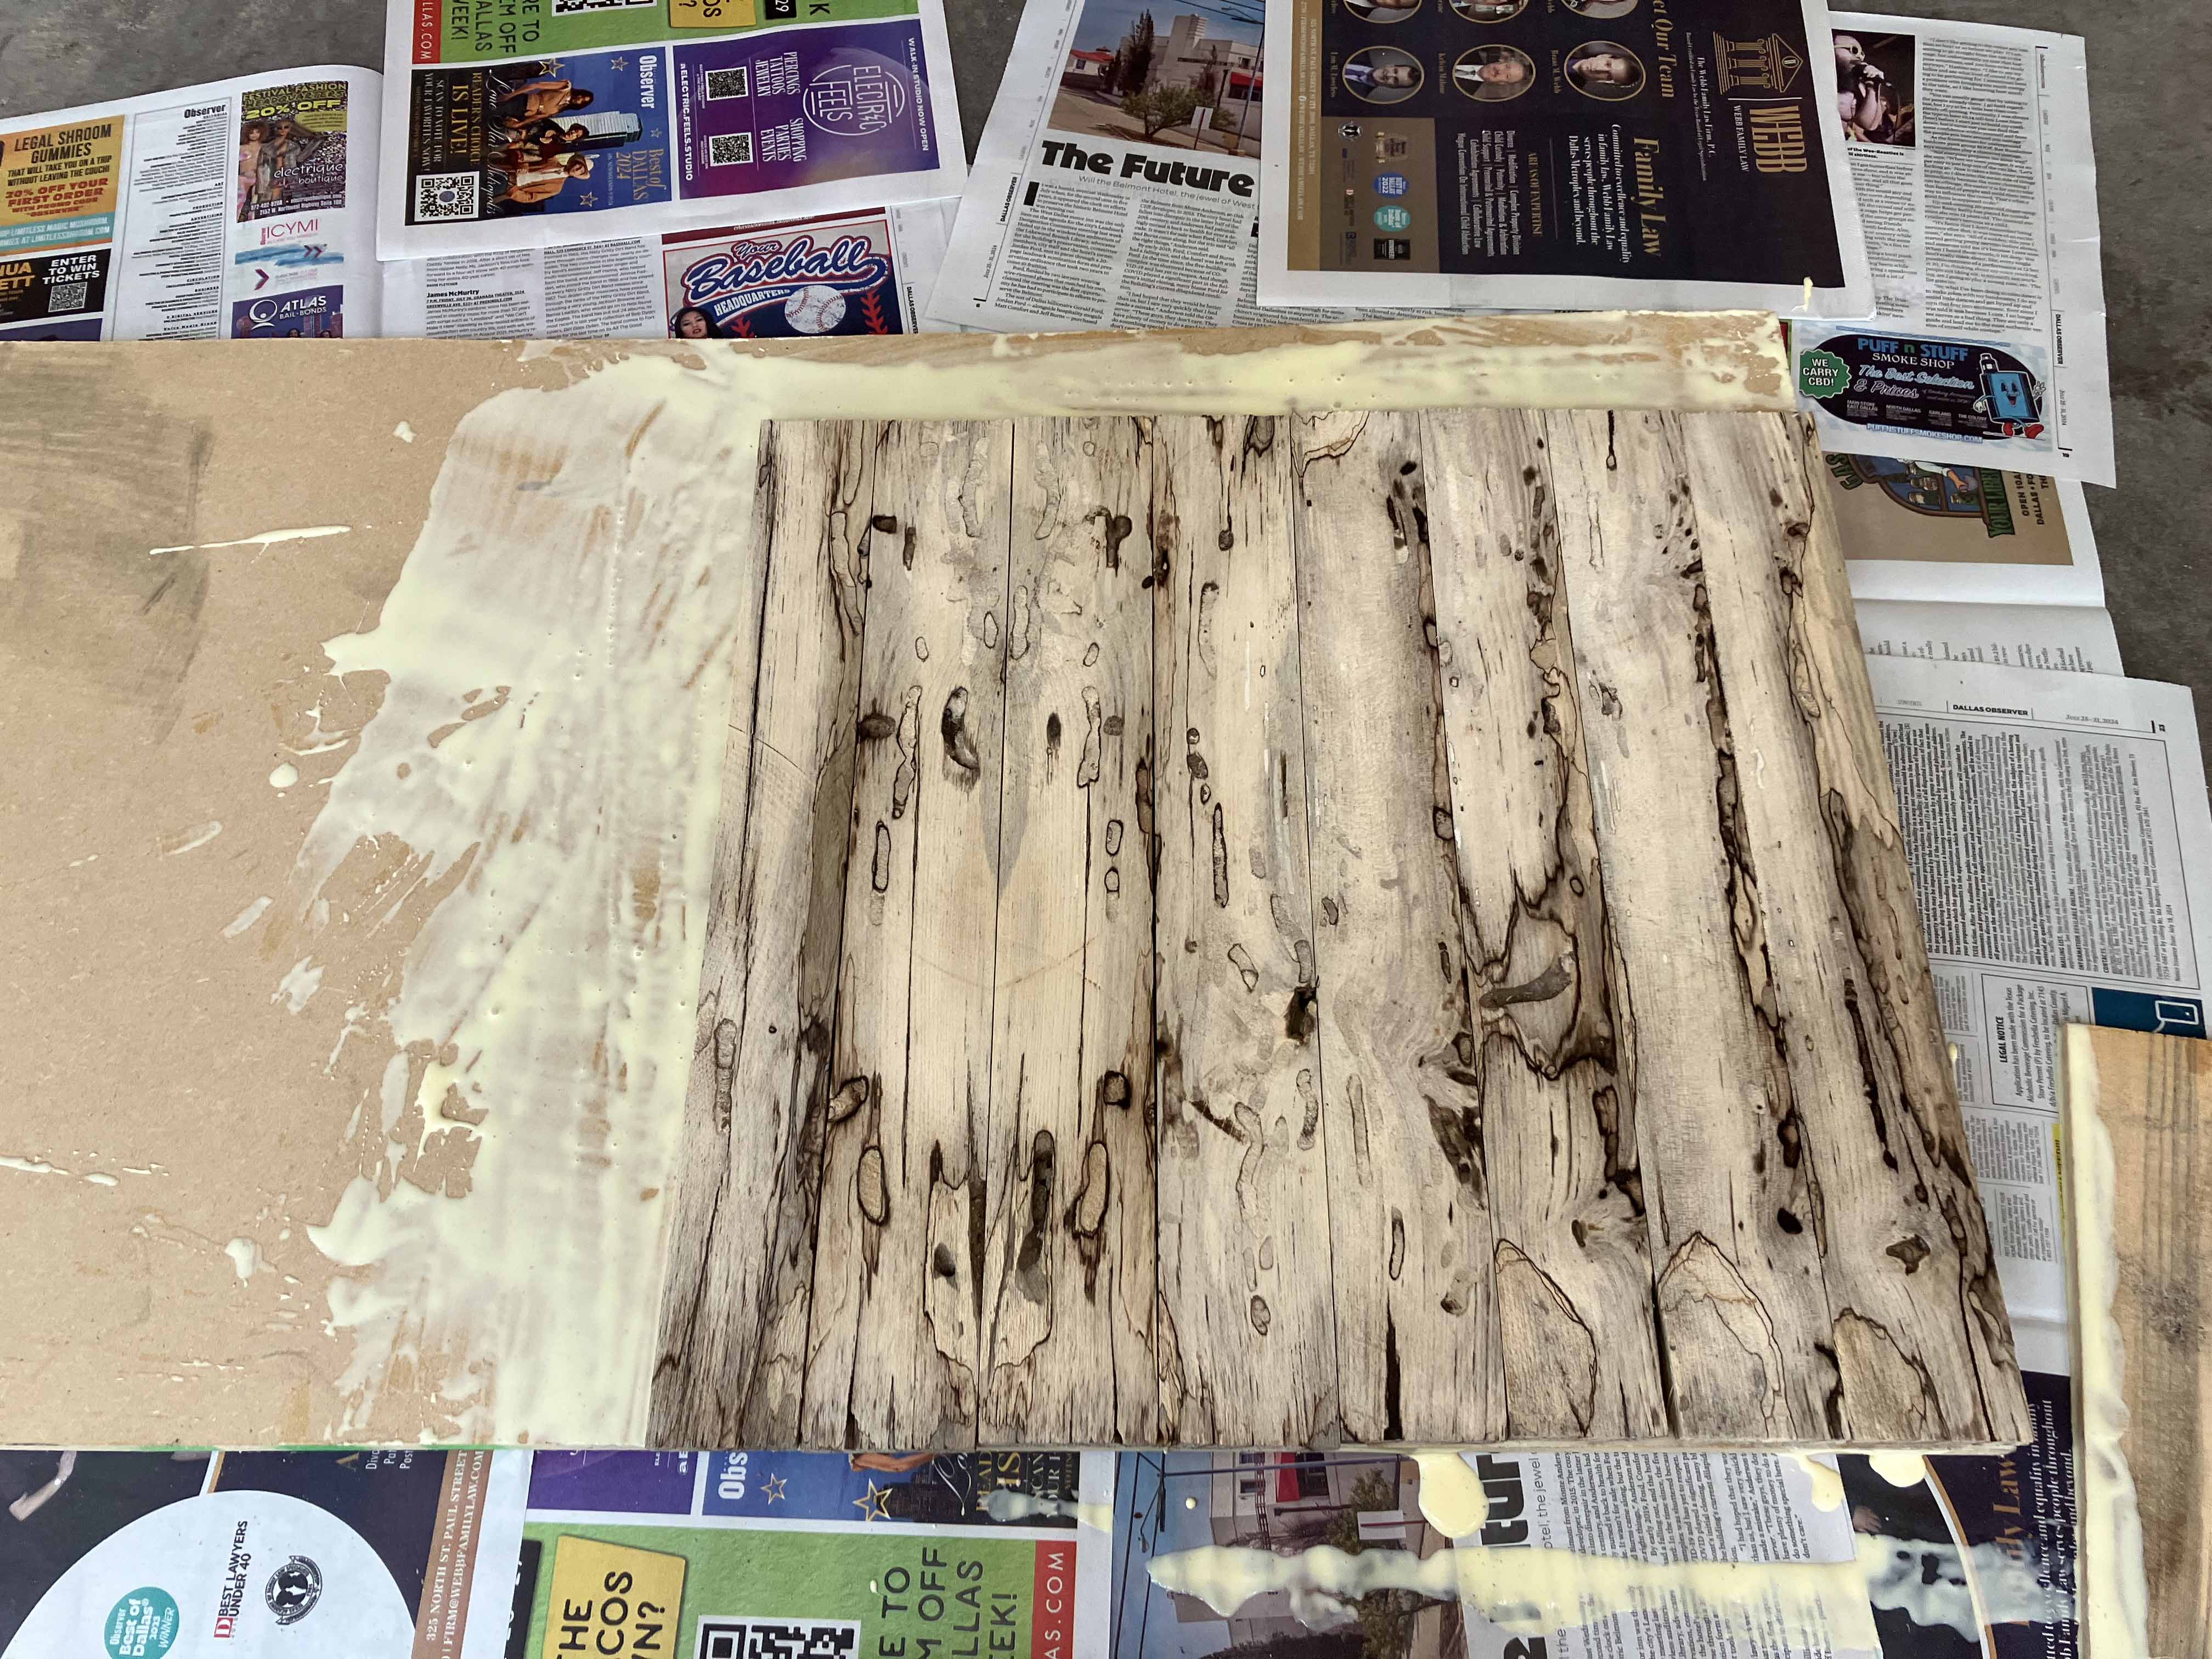
Laying them on the glue.
And weighing it all down evenly to dry.
The slats are now glued on but they need to be trimmed.

Trimmed and squared using the table saw.
Now we glue on the border pieces.
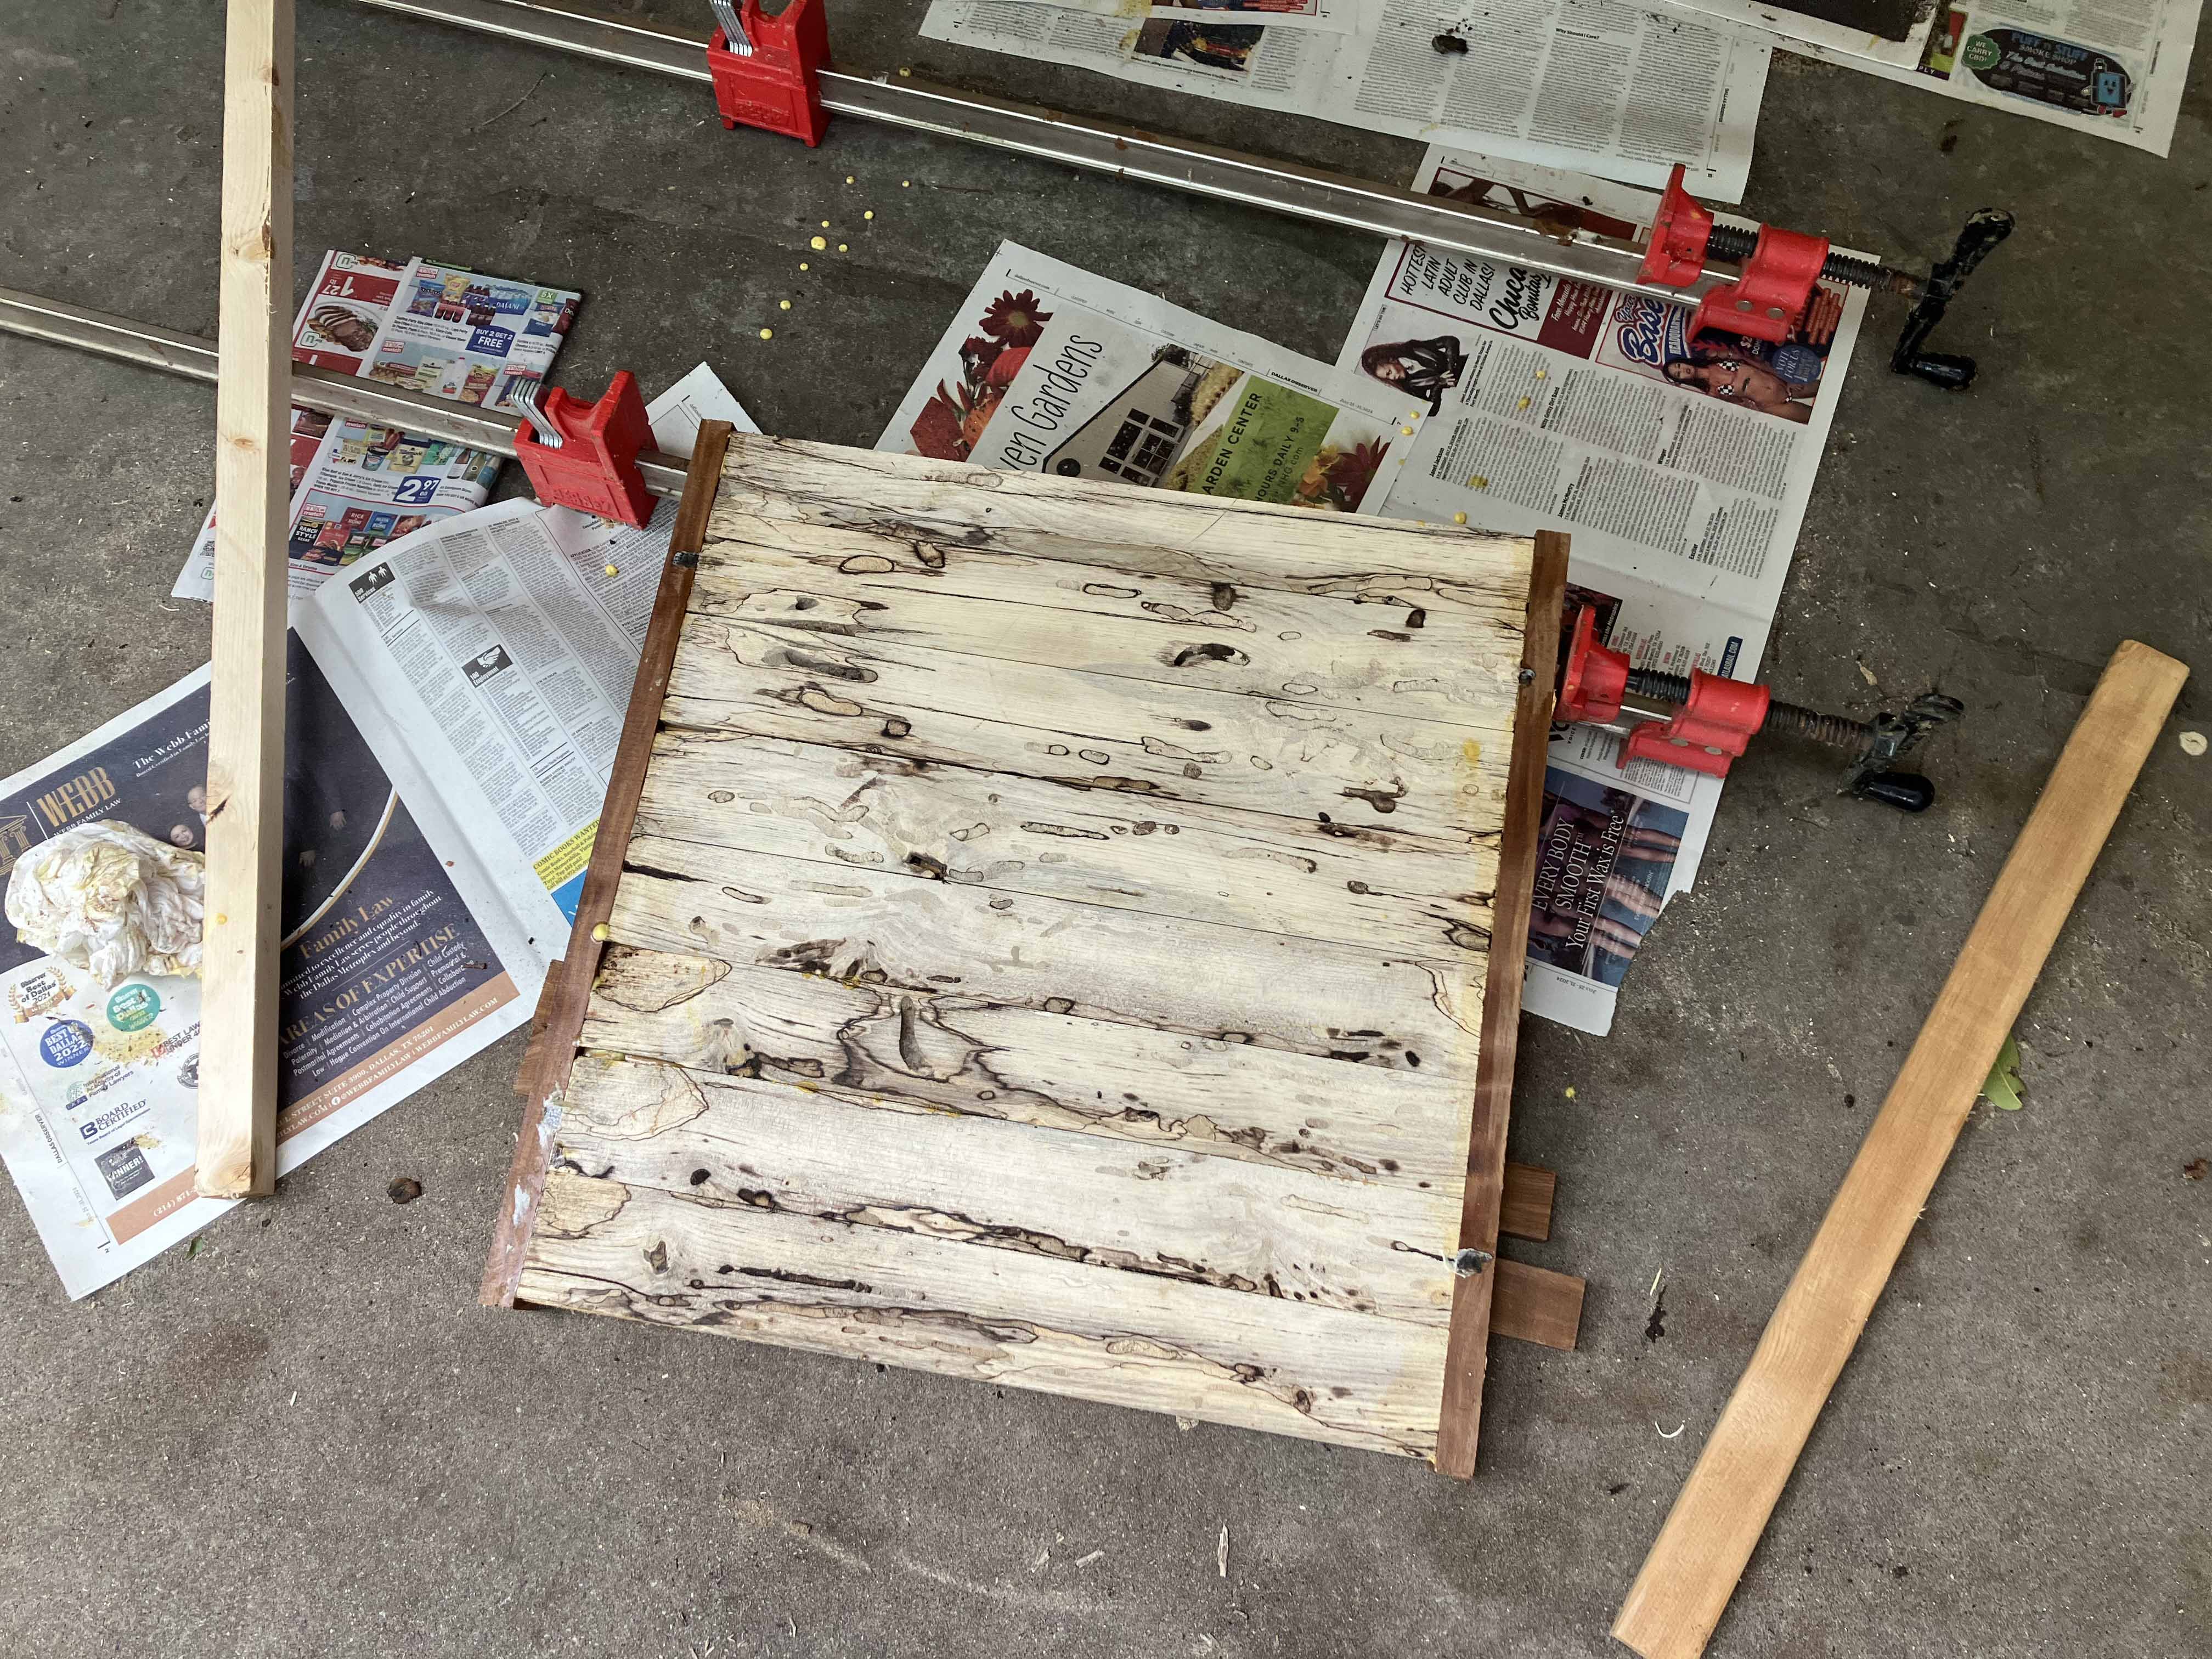
First two borders glued on.
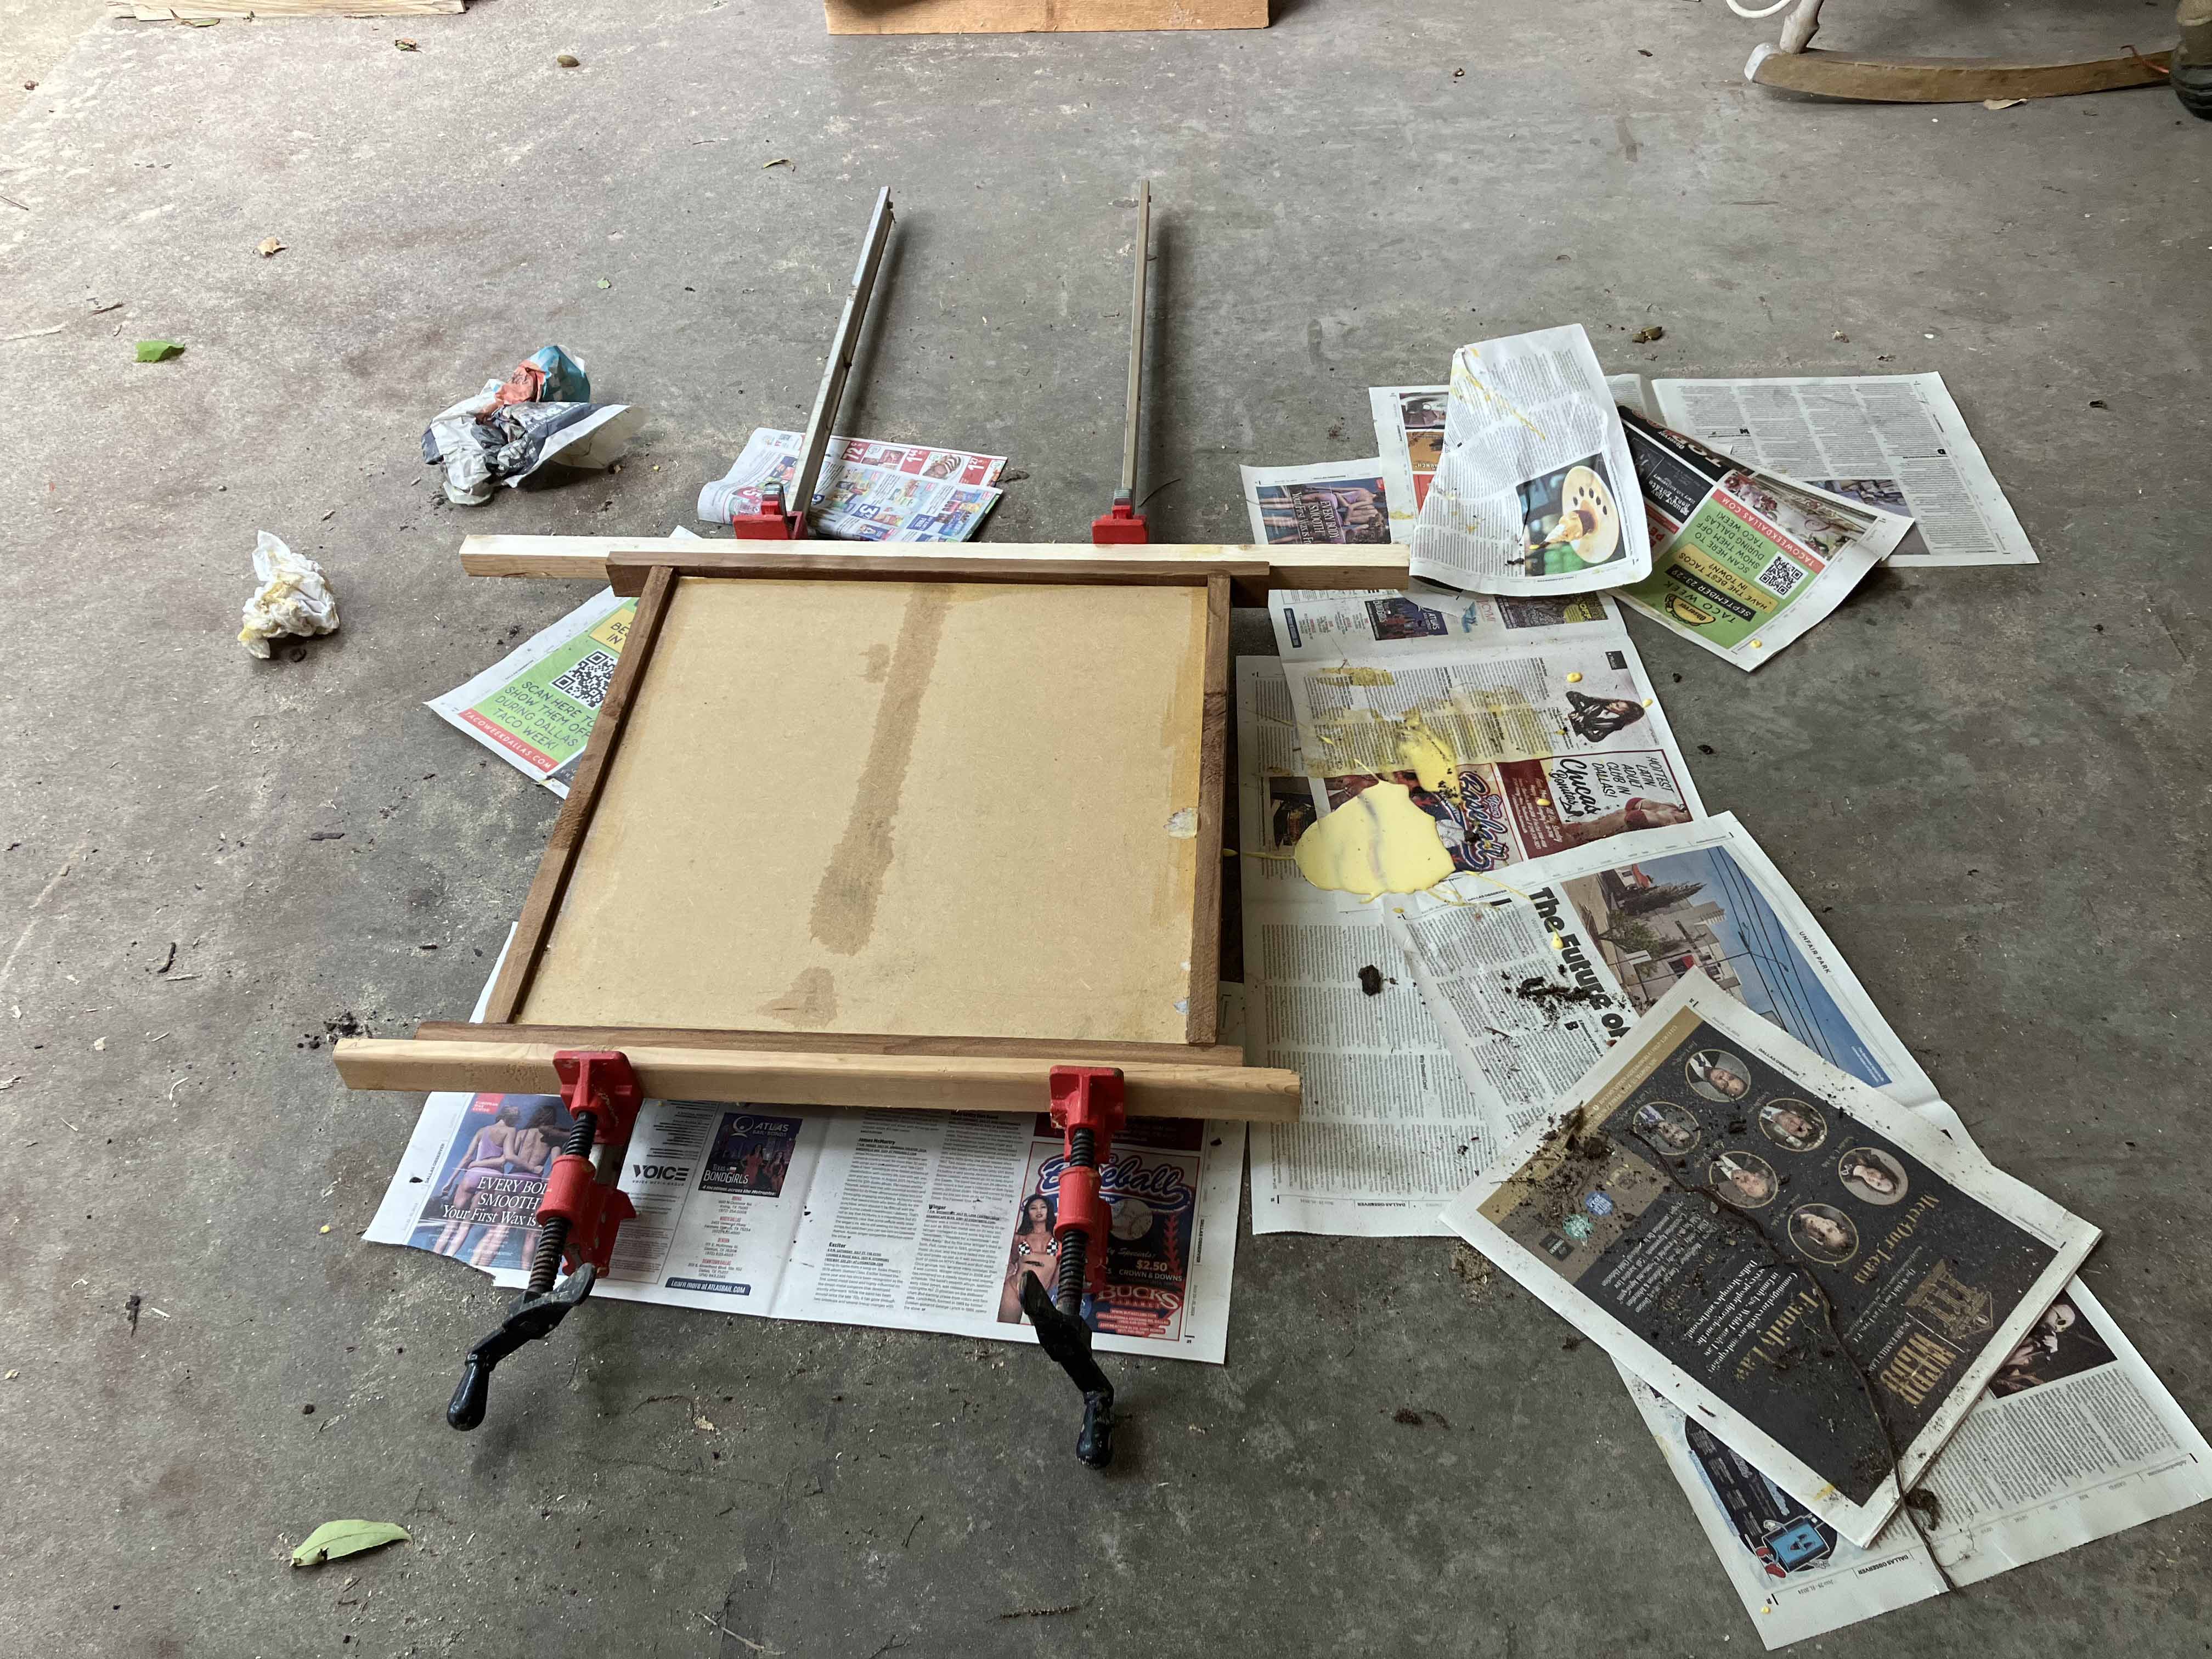
Now the other two border pieces get glued on.
Now its all put together, slats and borders. A few big gaps can be filled with sawdust and glue, if needed. Its rustic though, its not a factory table.
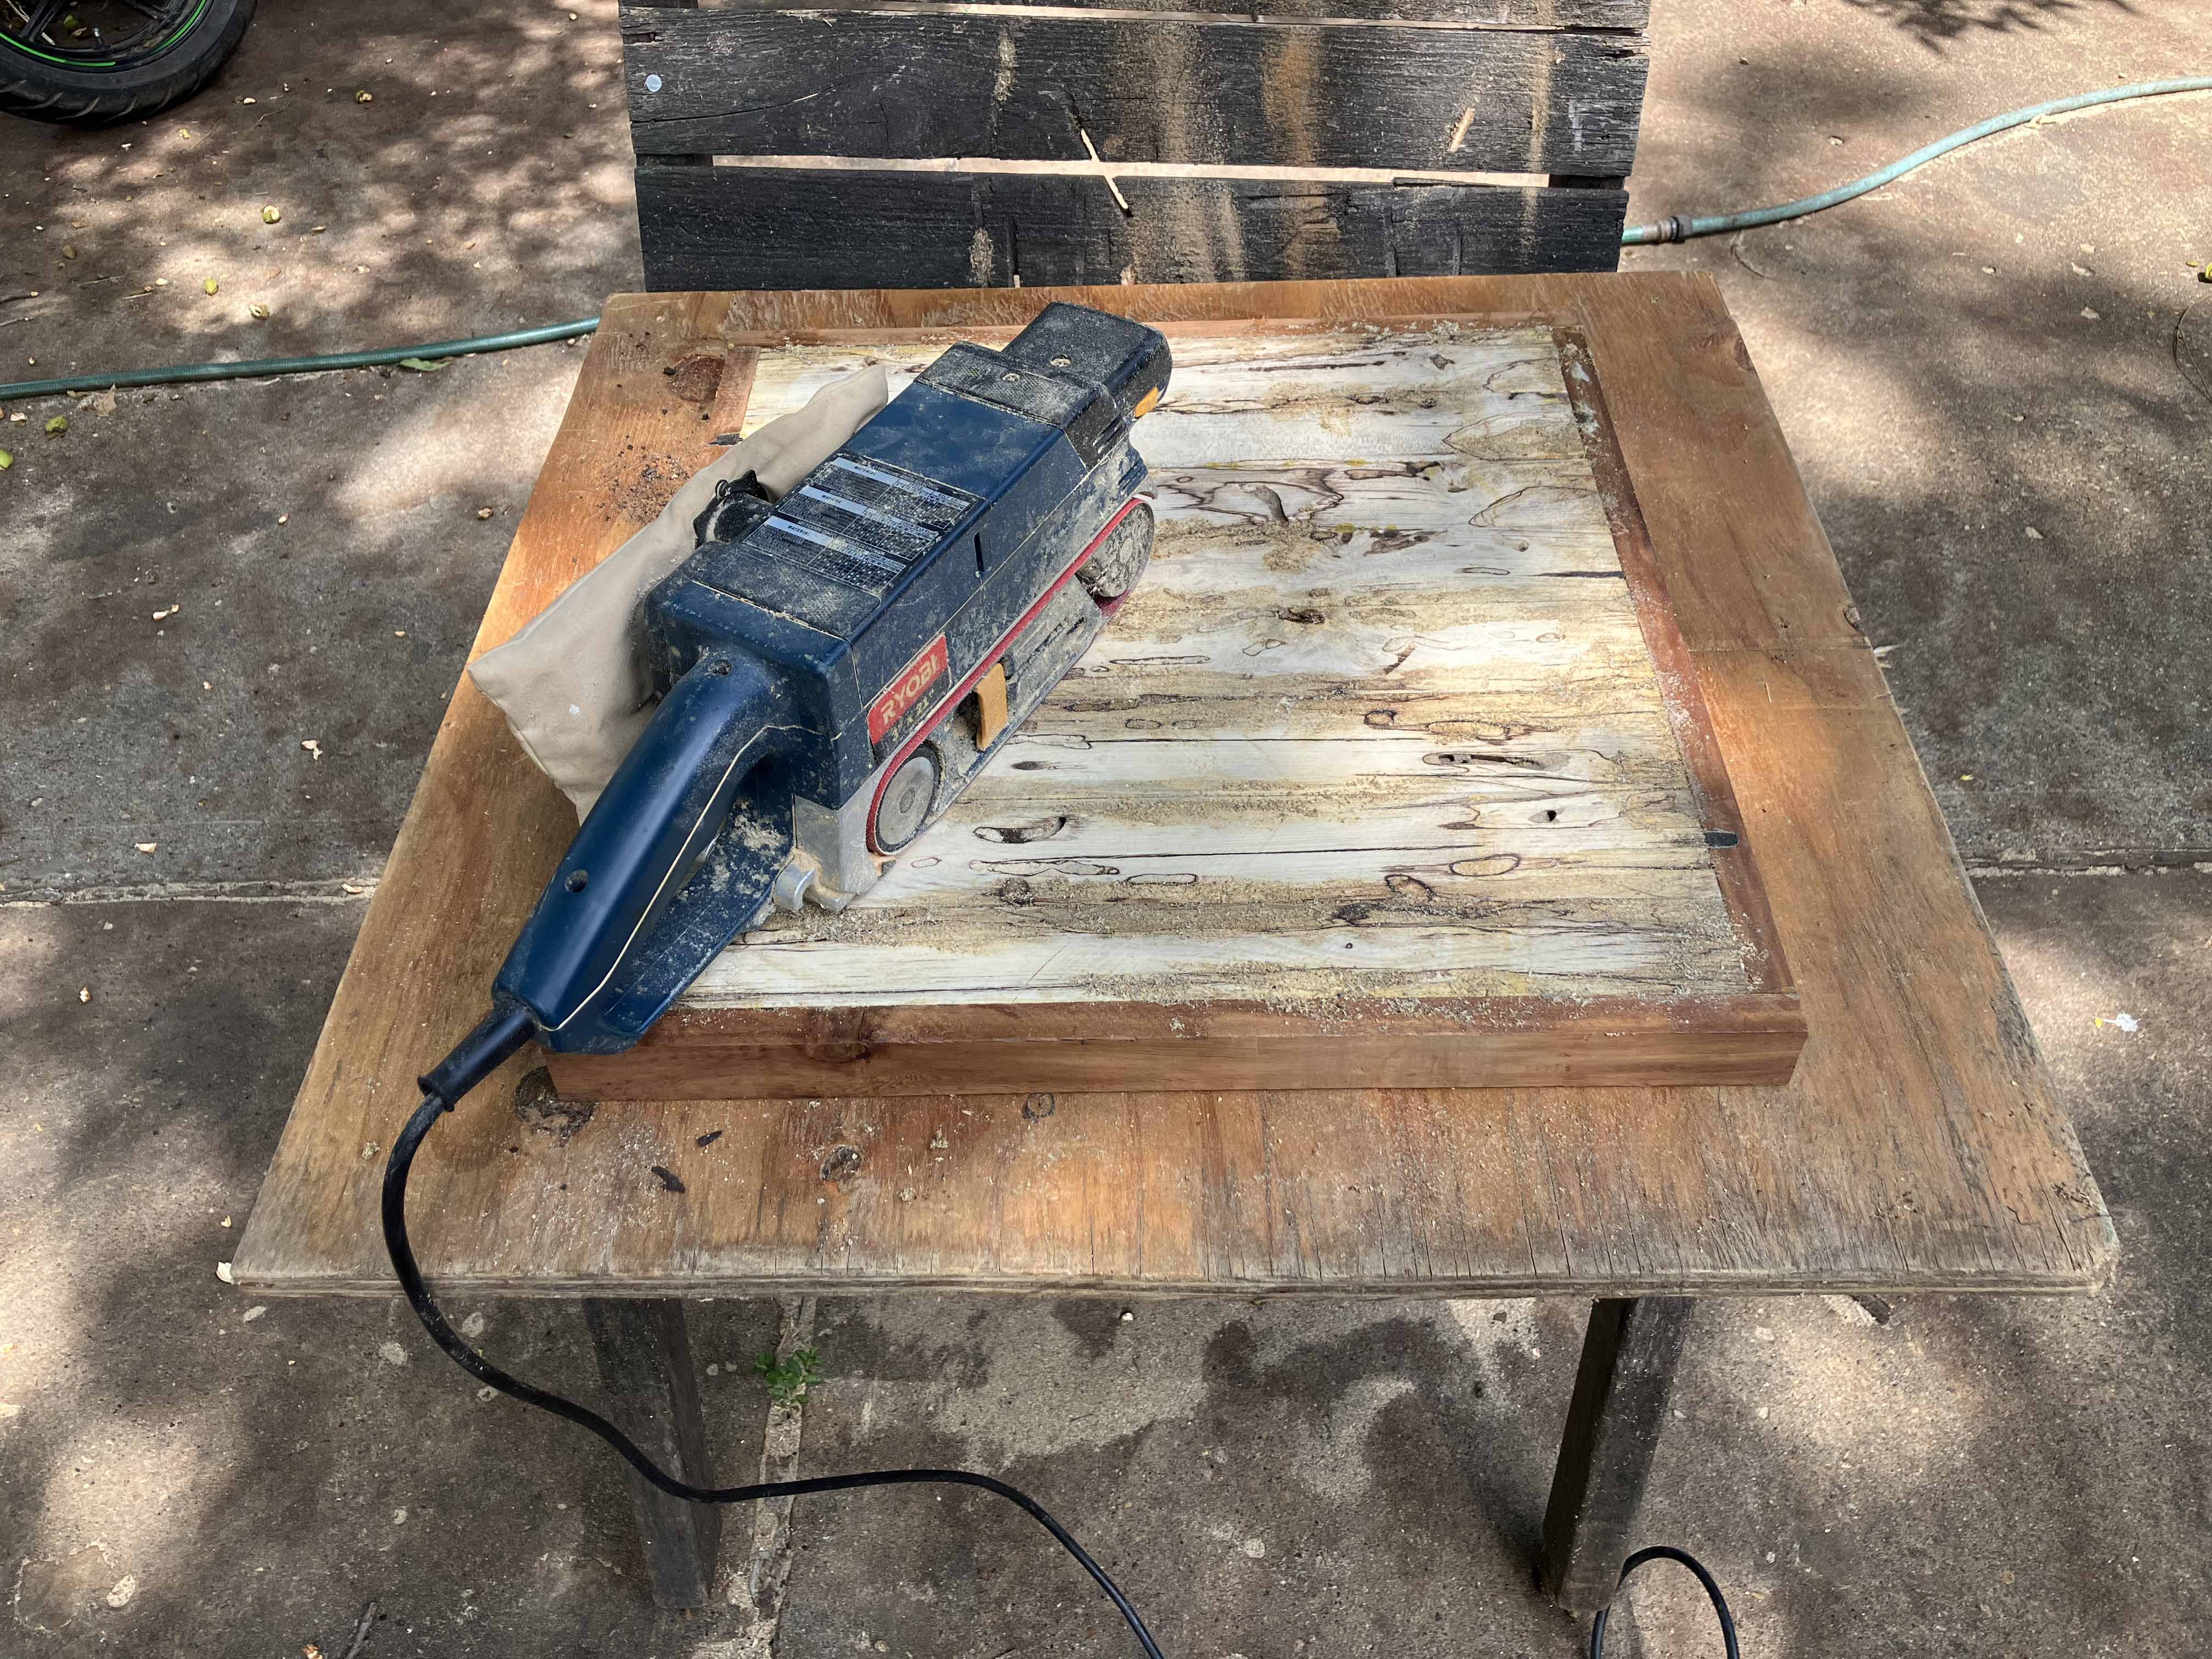
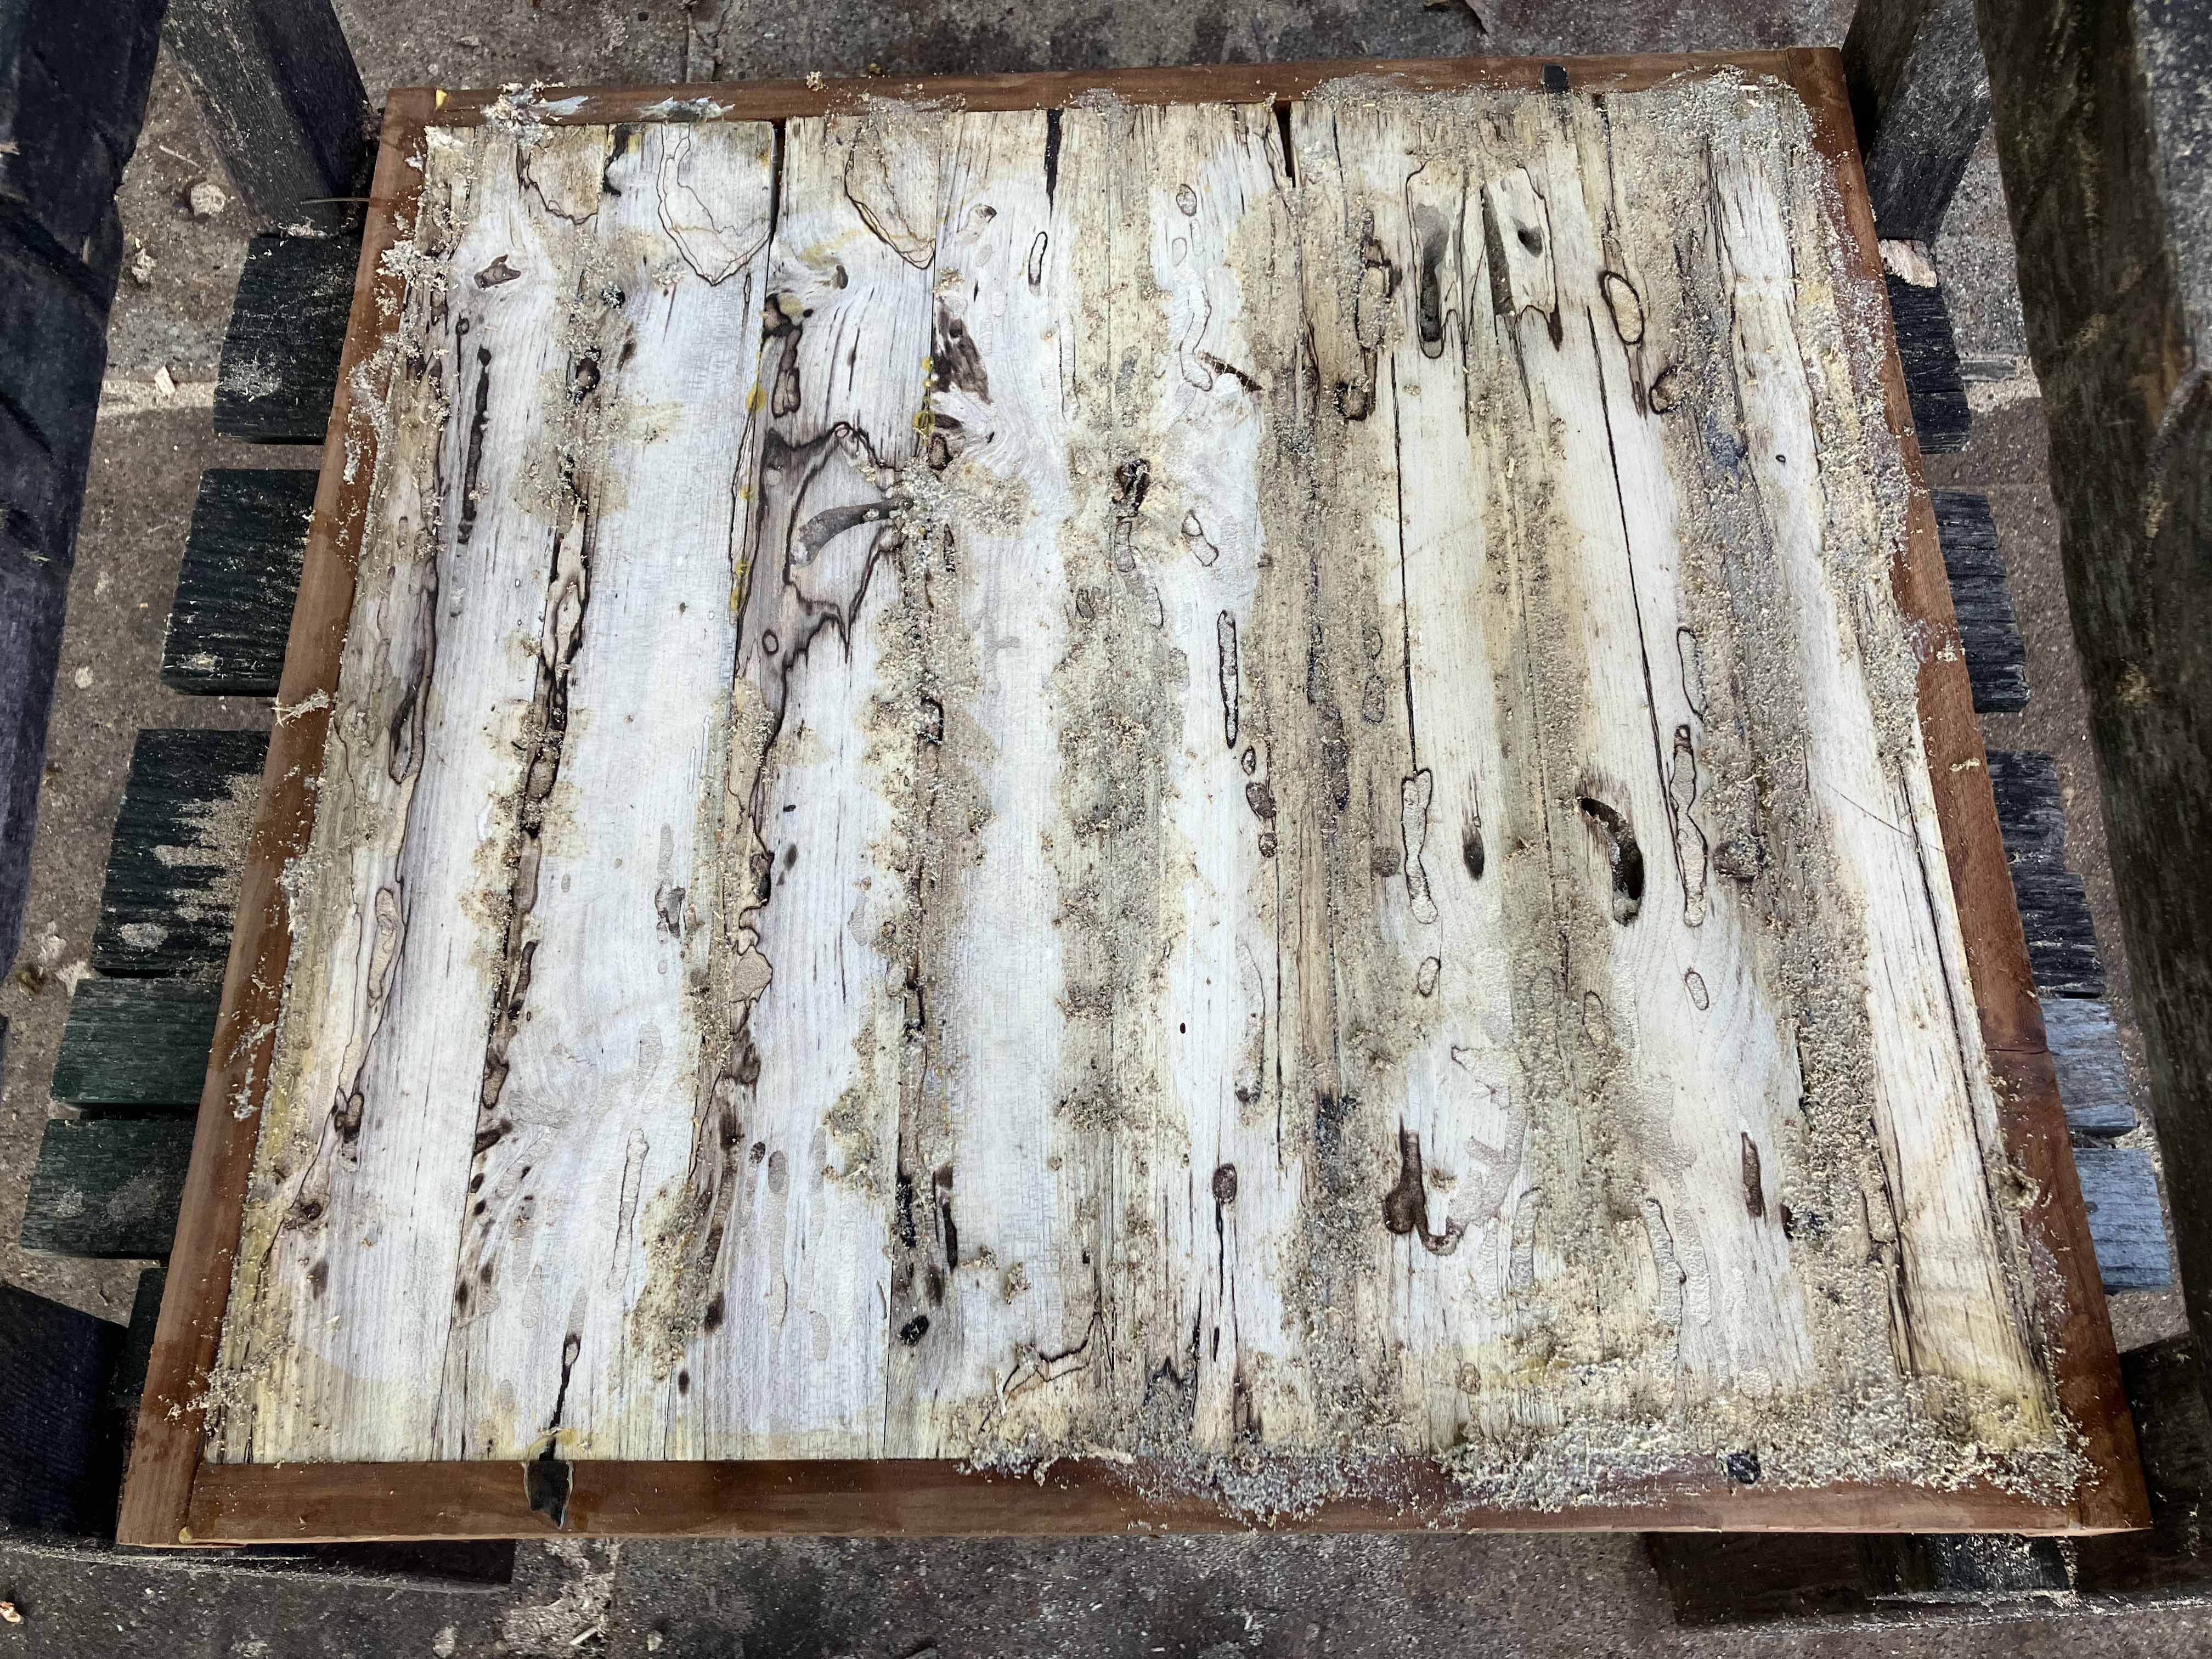
Now sanding, ugh.
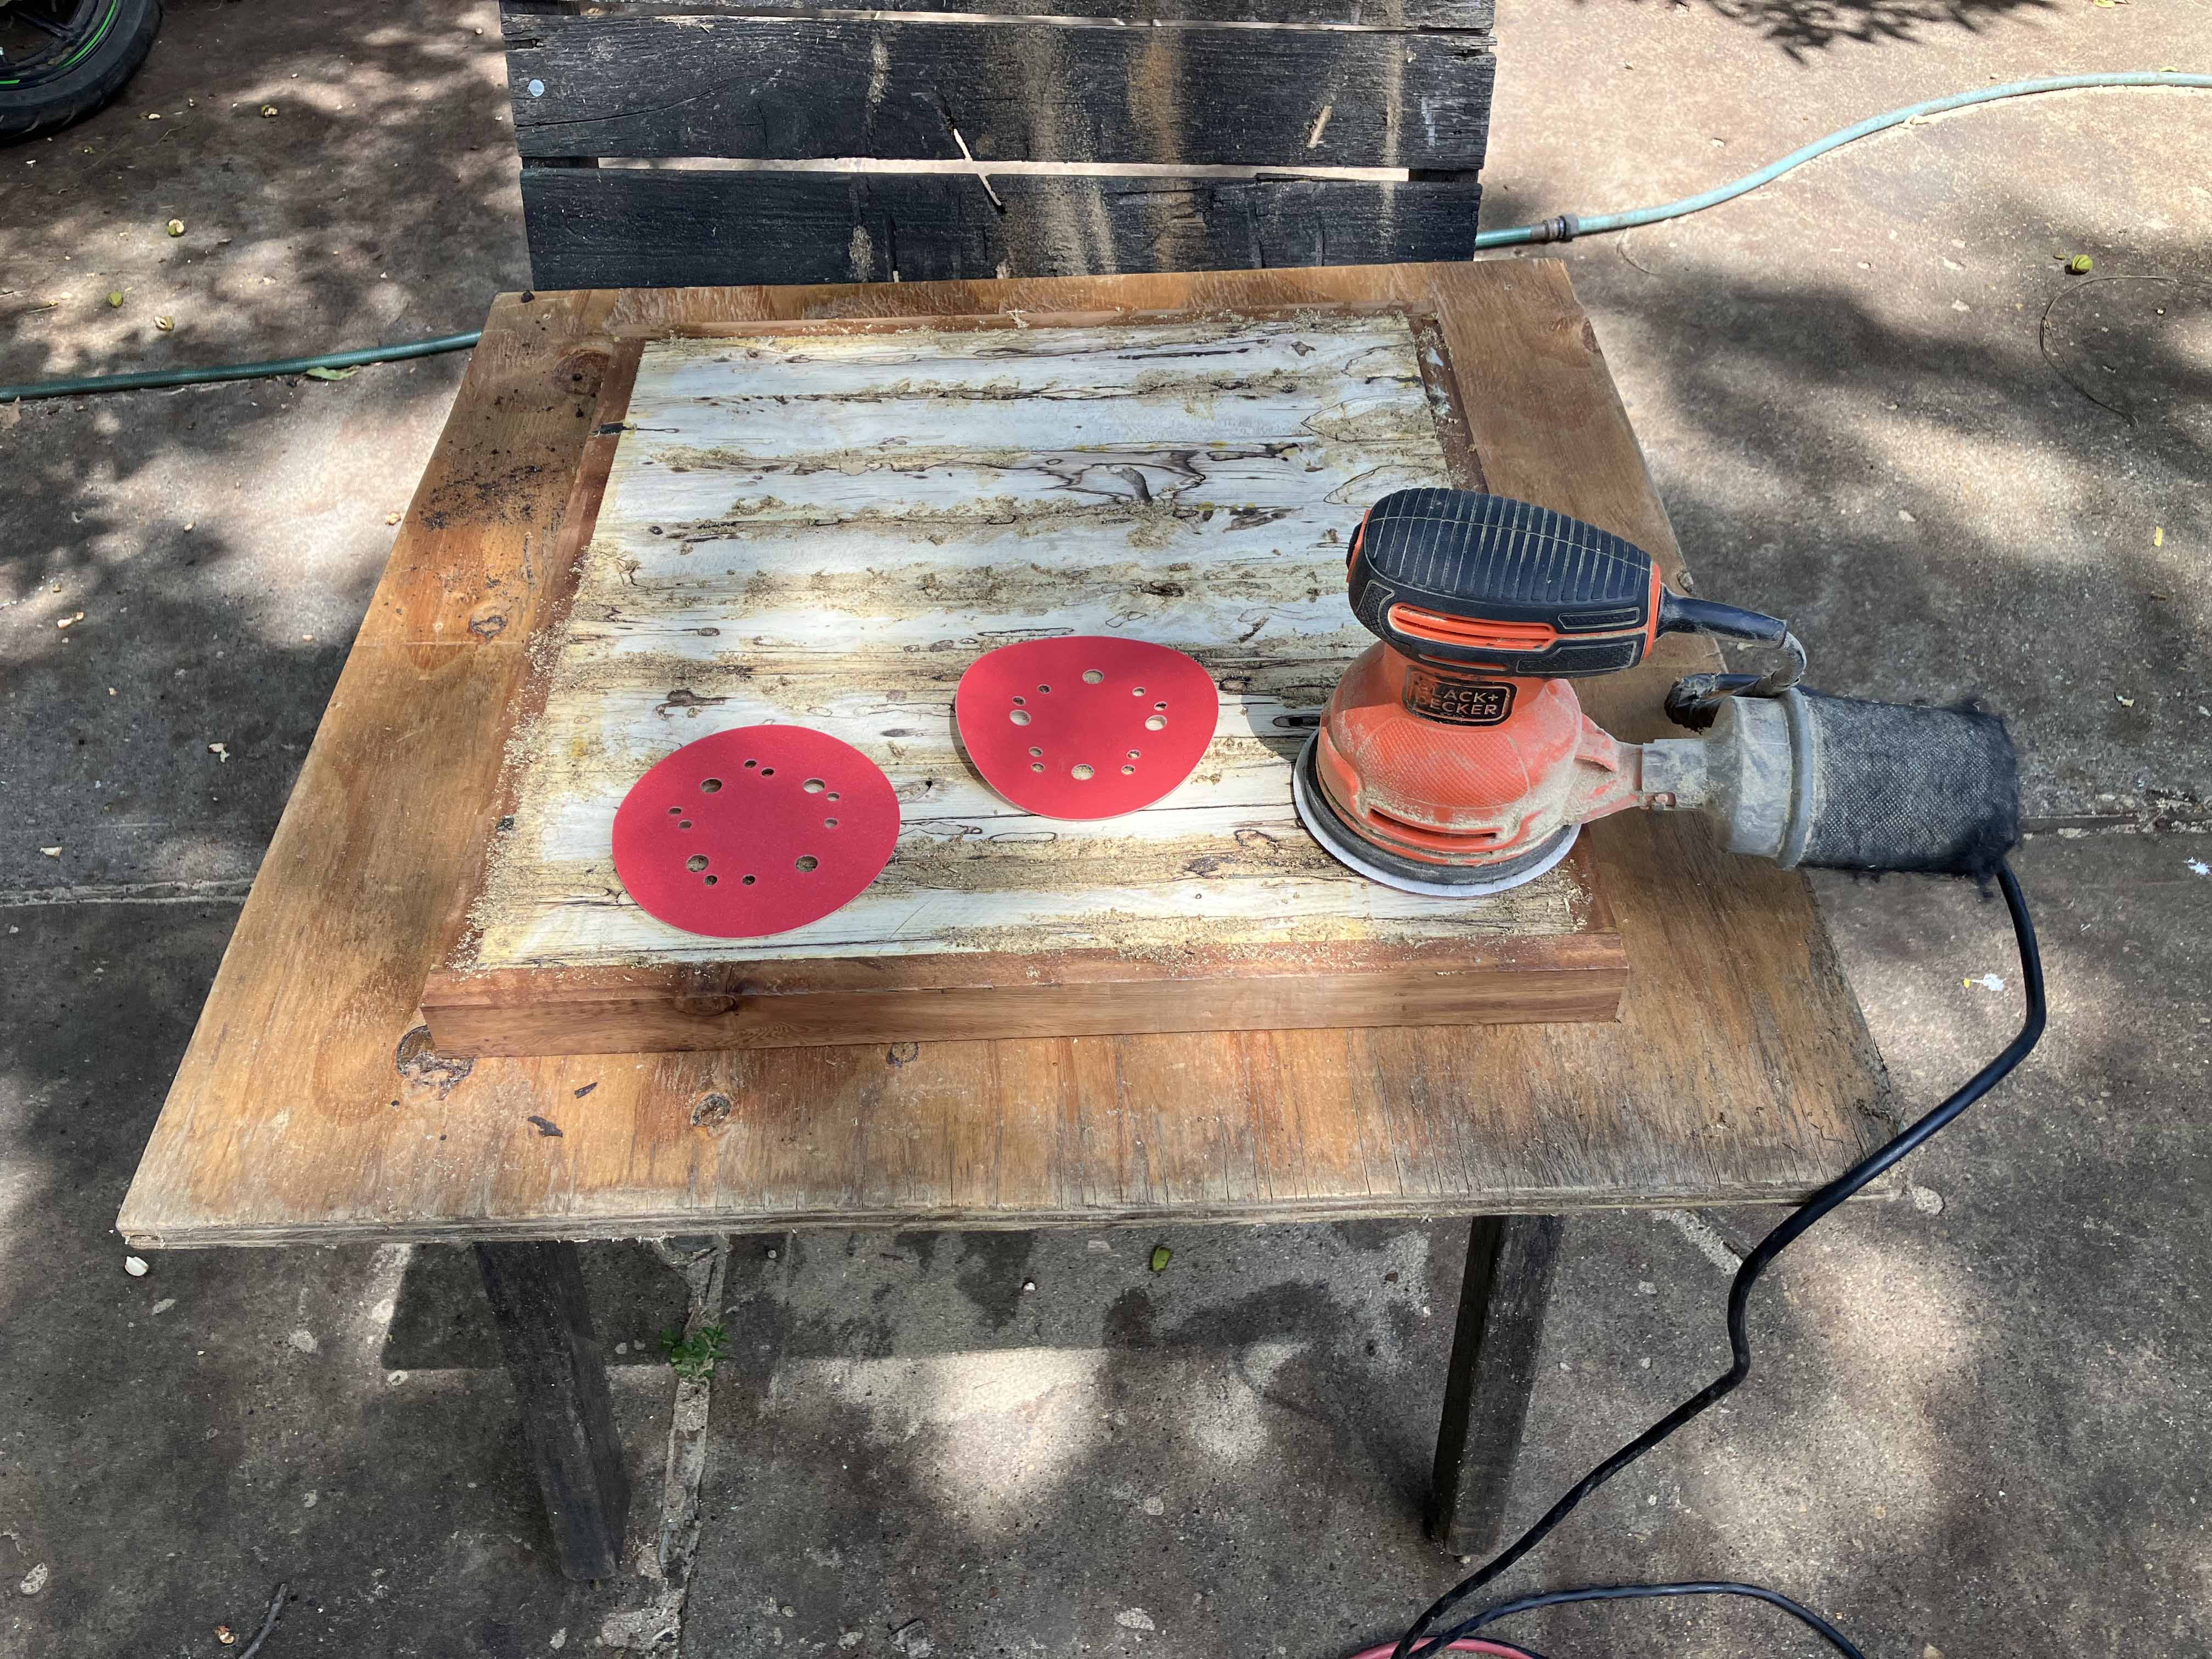
And more sanding, ugh. And more. and more.
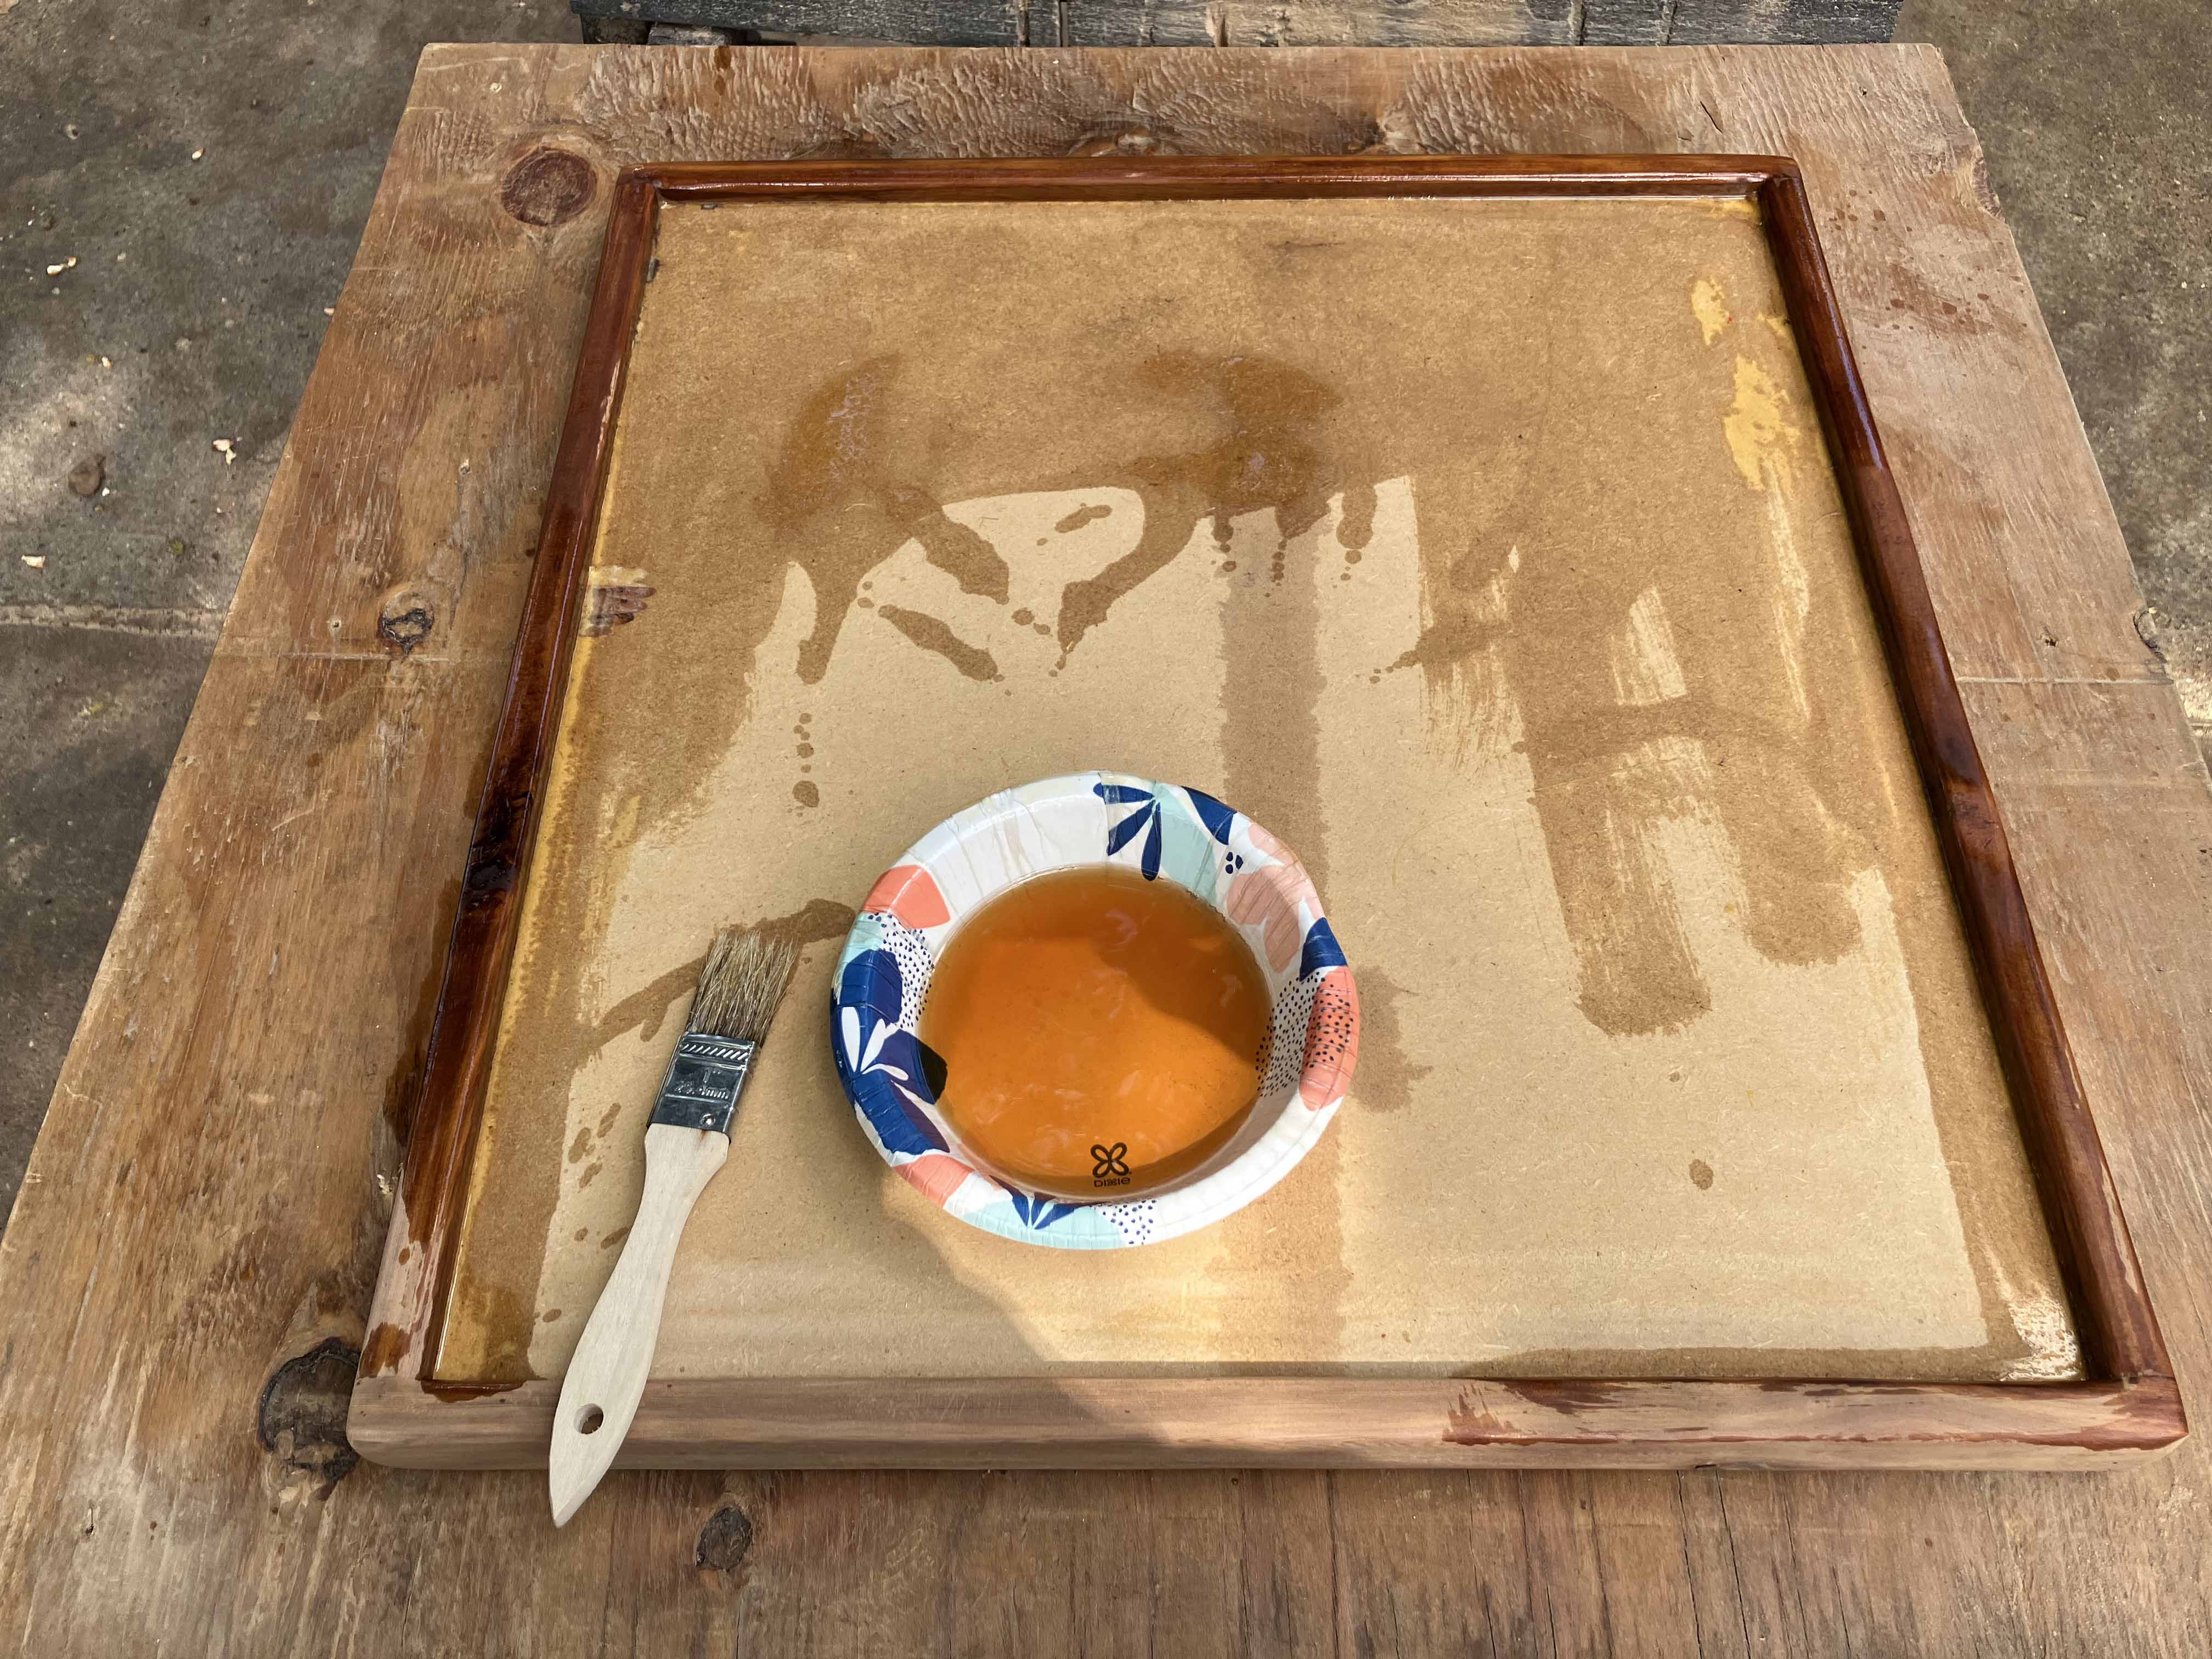
Putting Danish oil on the back.
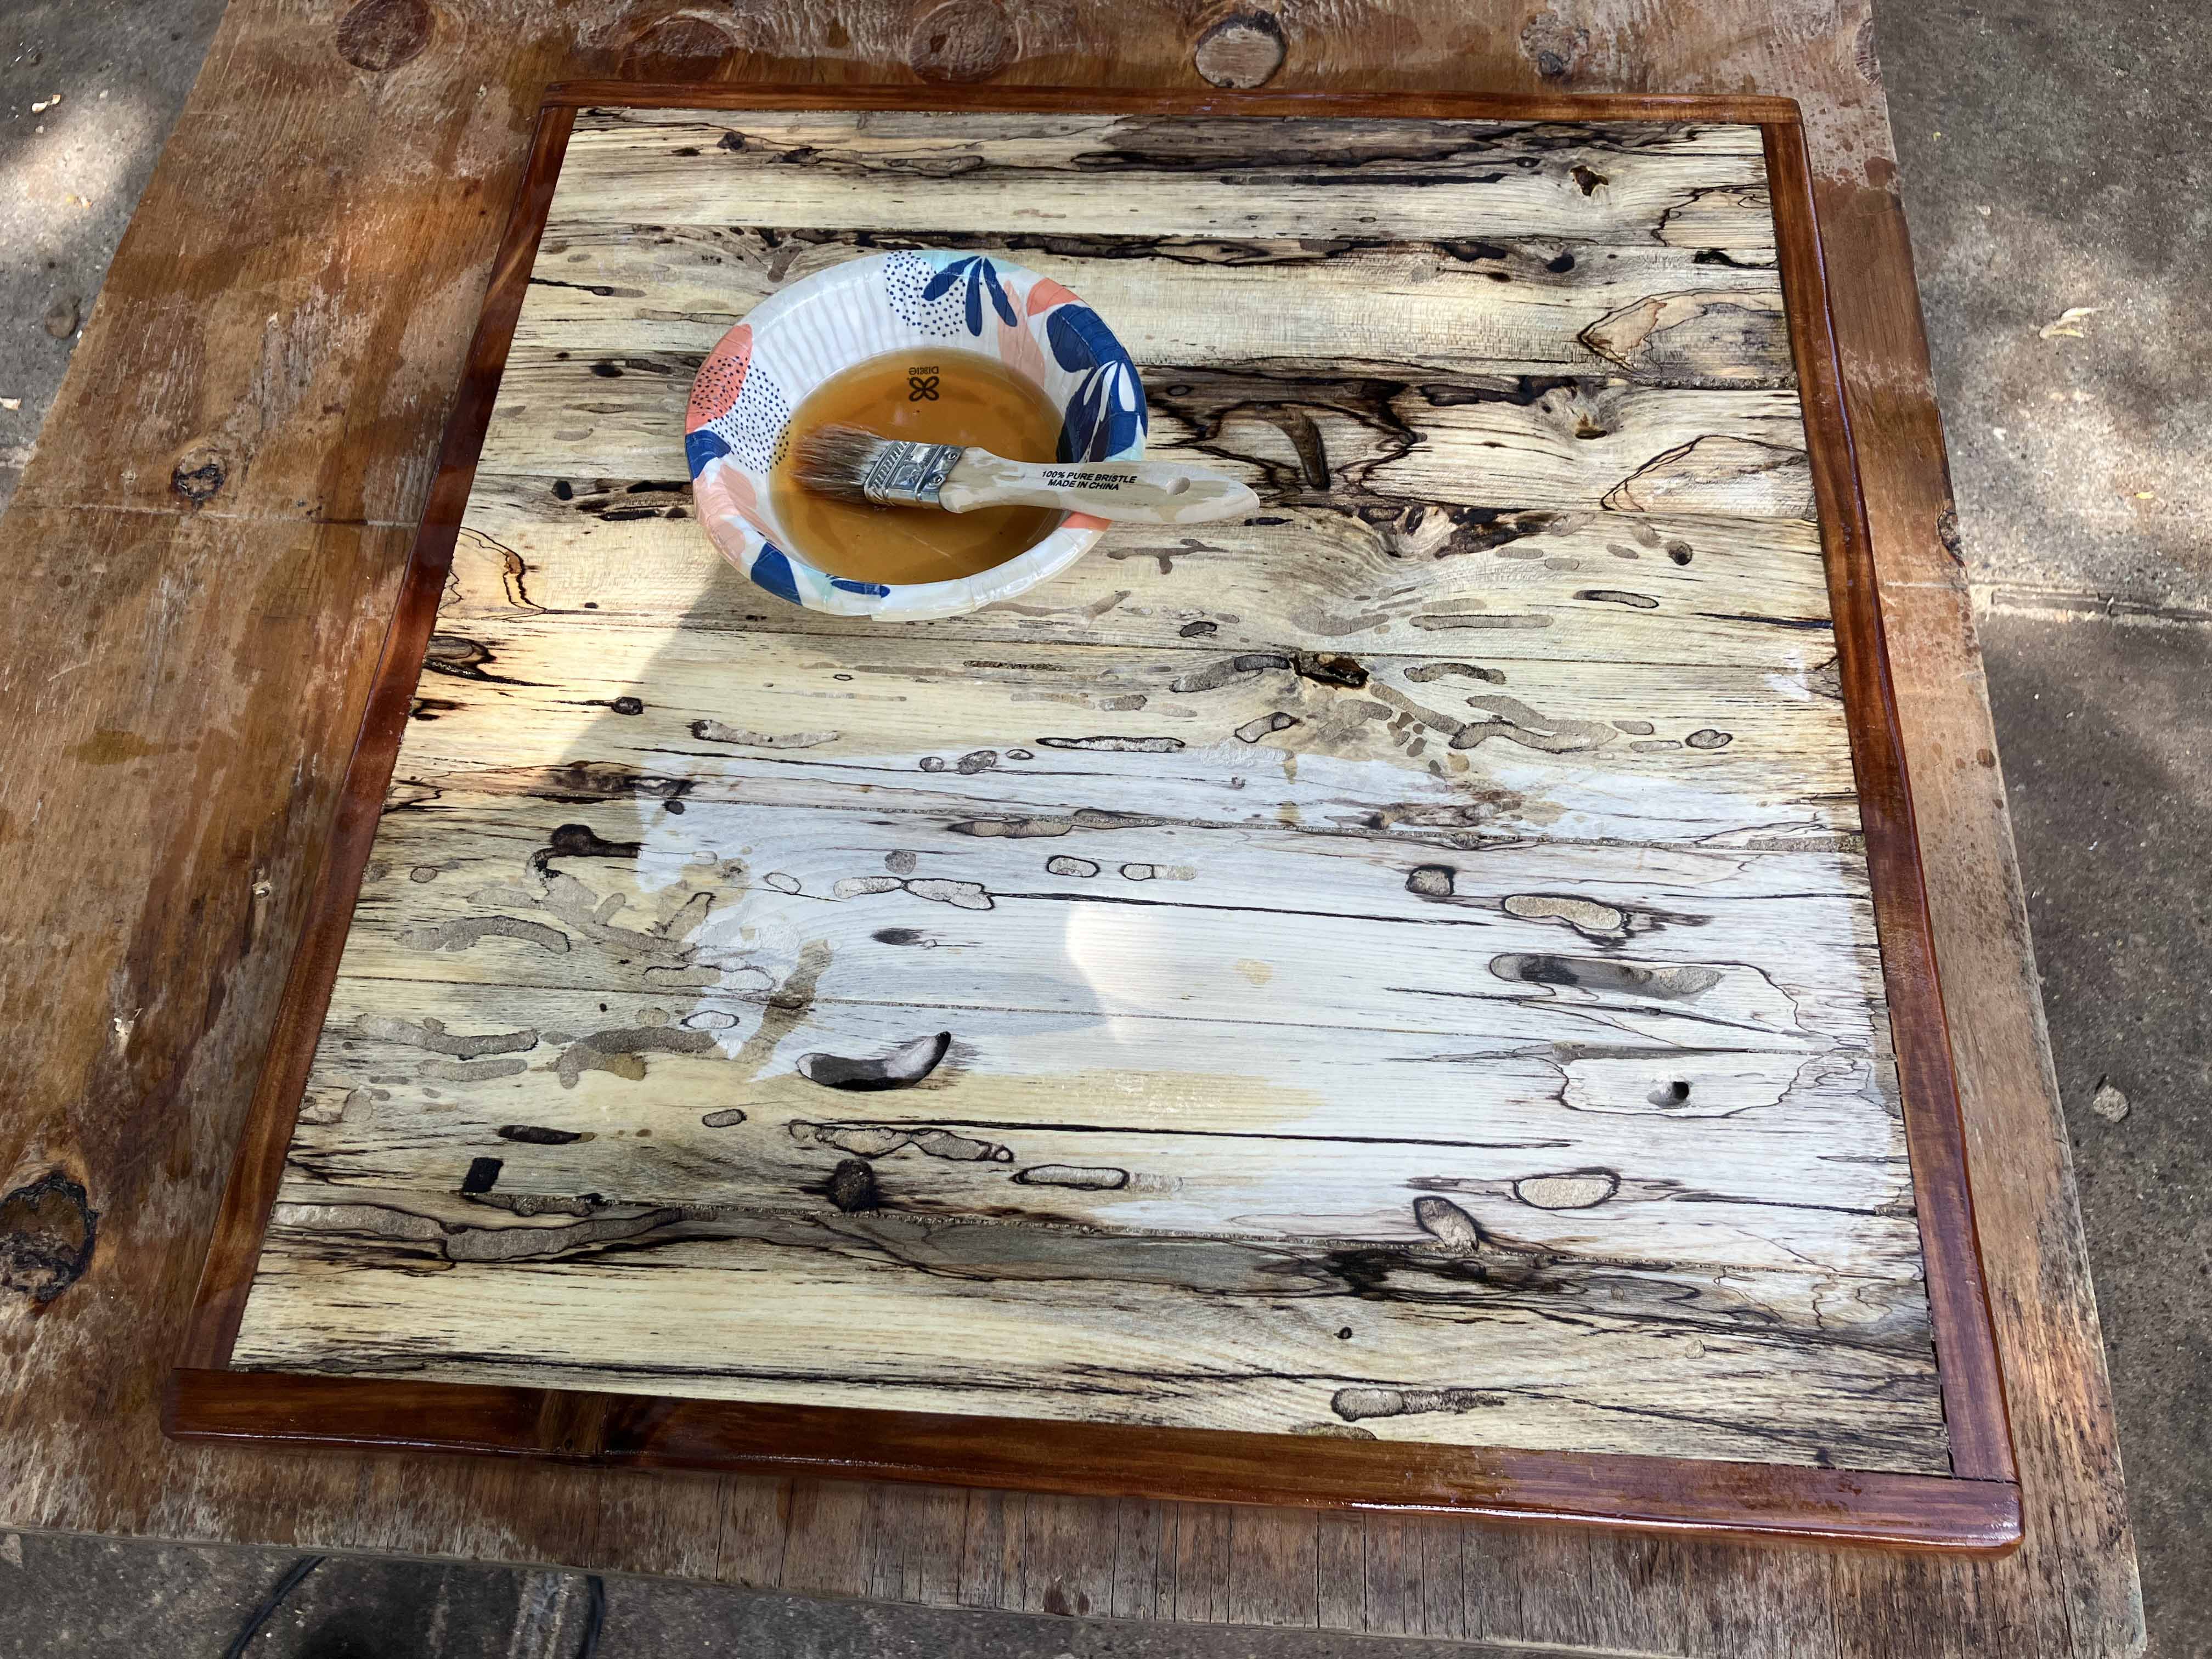
Putting Danish oil on the front. Can do multiple coats if desired.
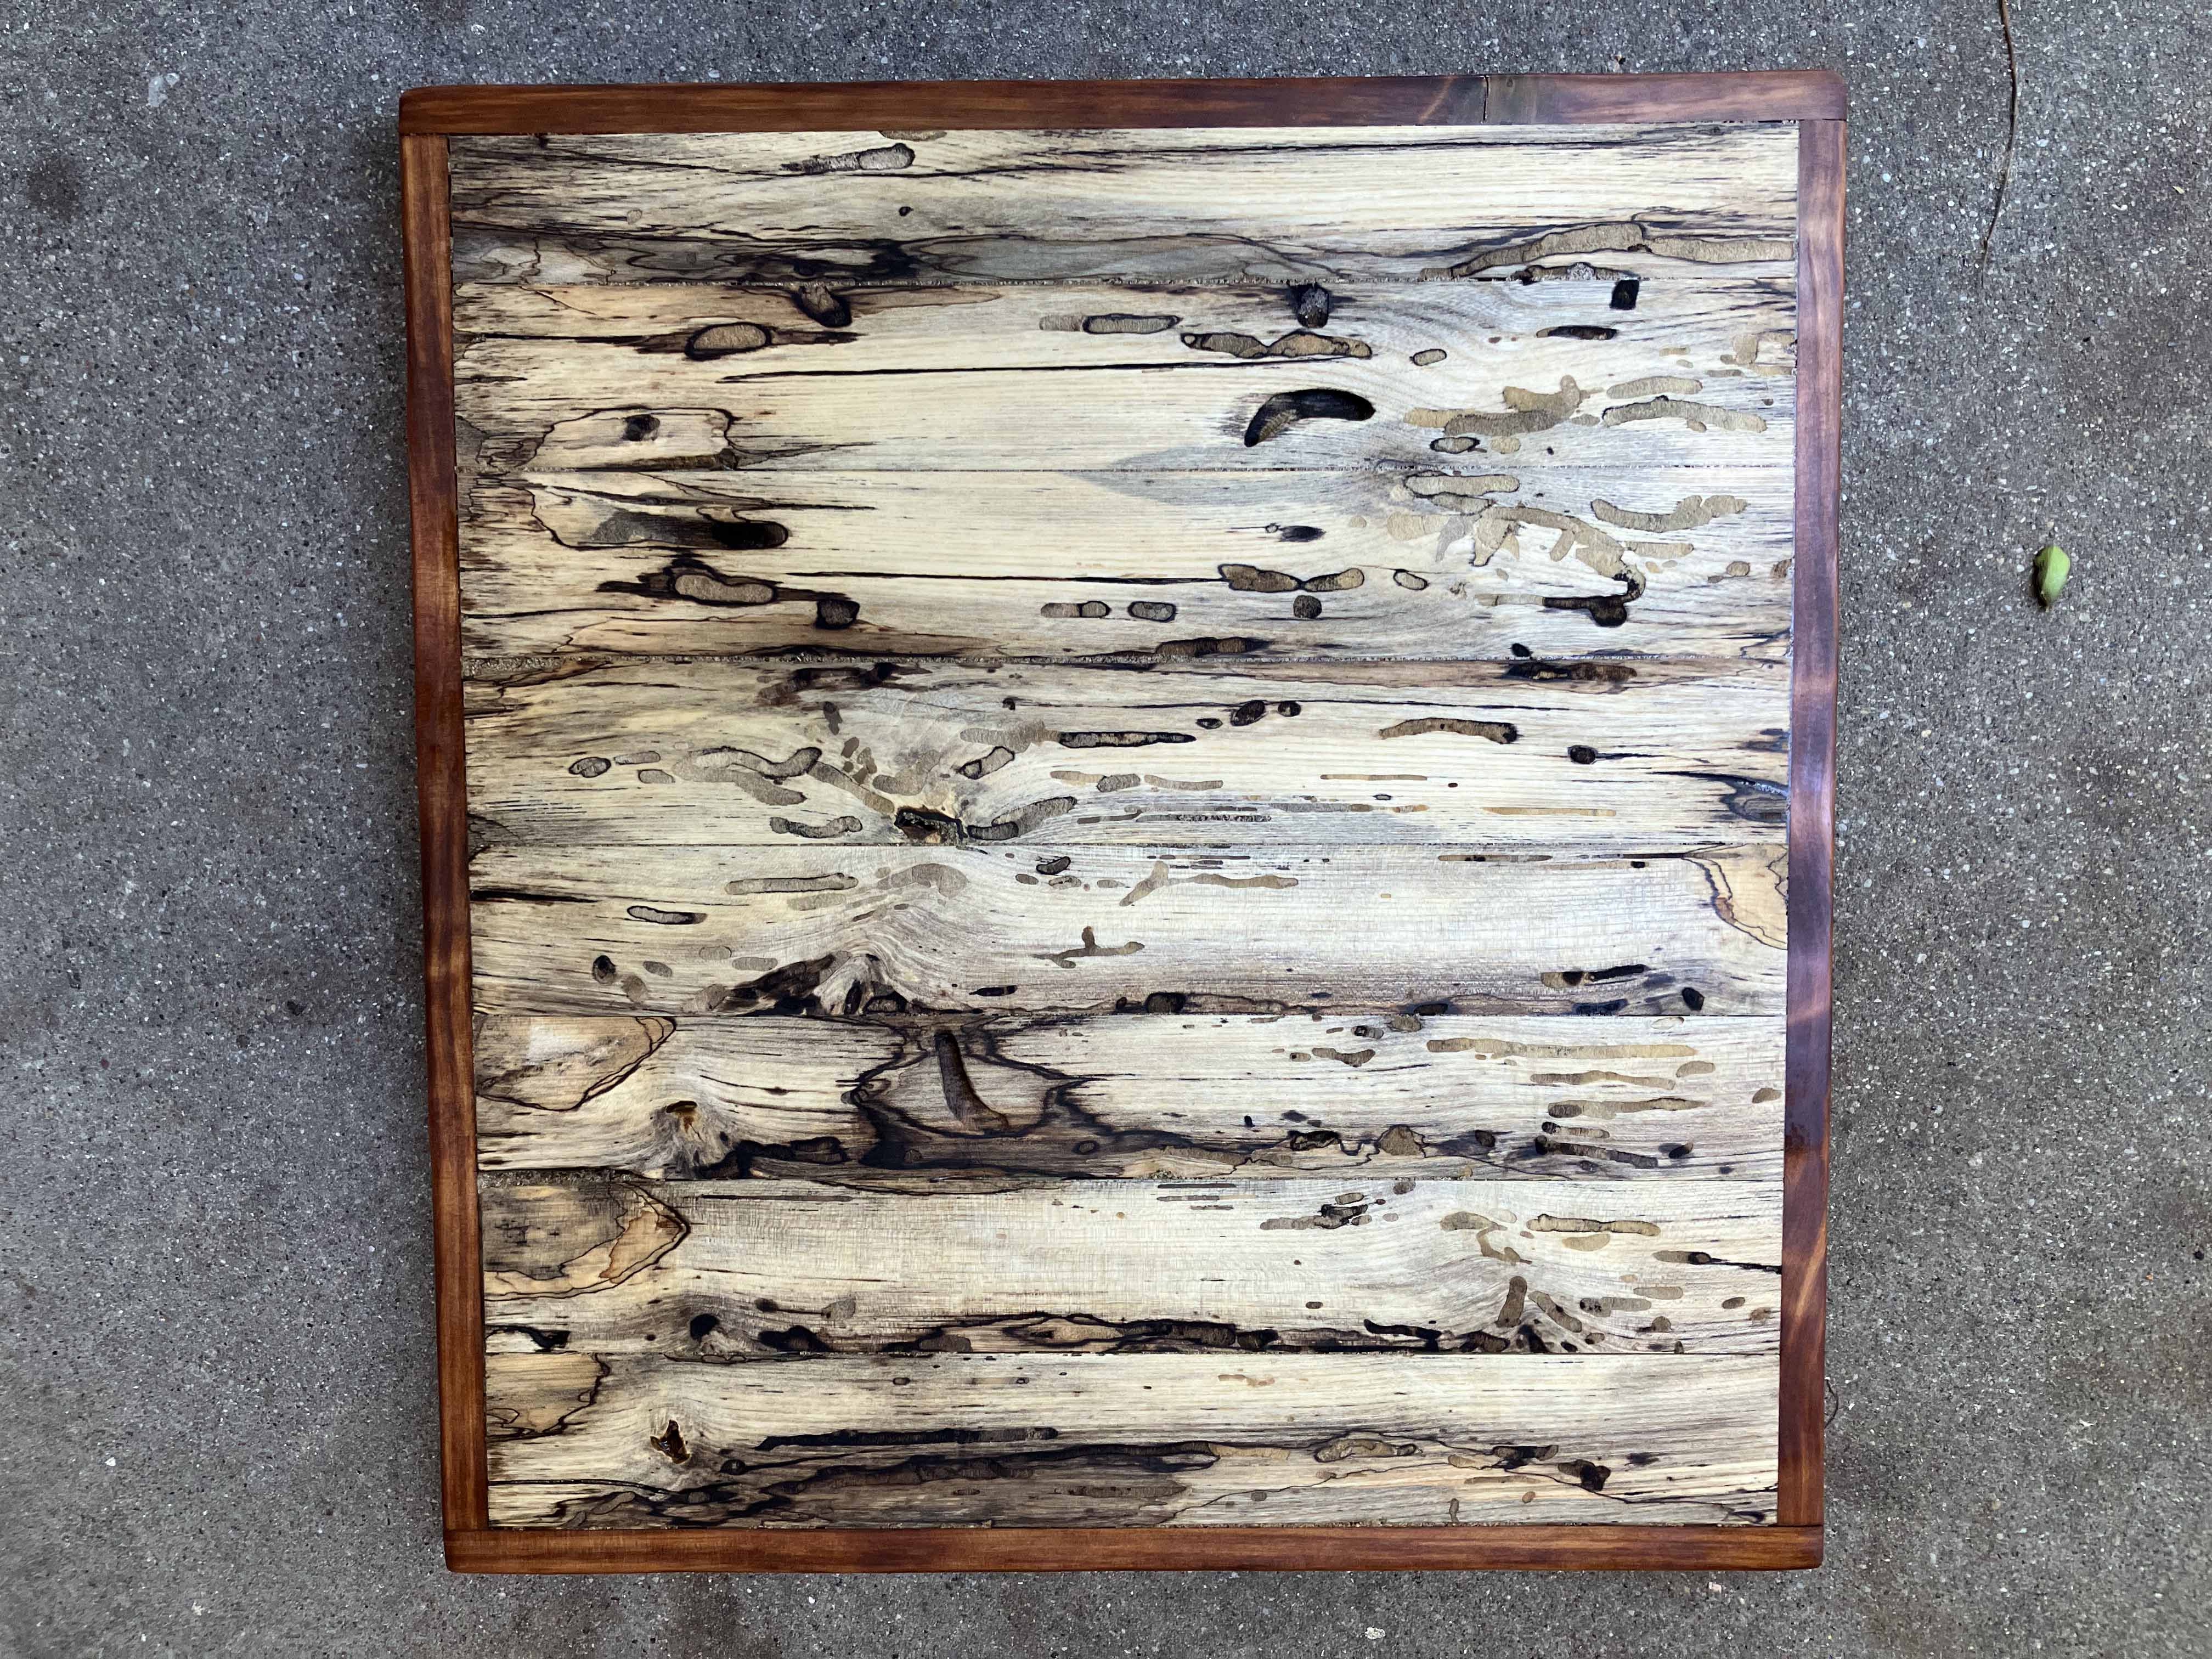
The panel needs to dry for a while (and I sign it 🙄). The panel can just hang on the wall as an art piece. Or it can be a chess game with a terrain component.
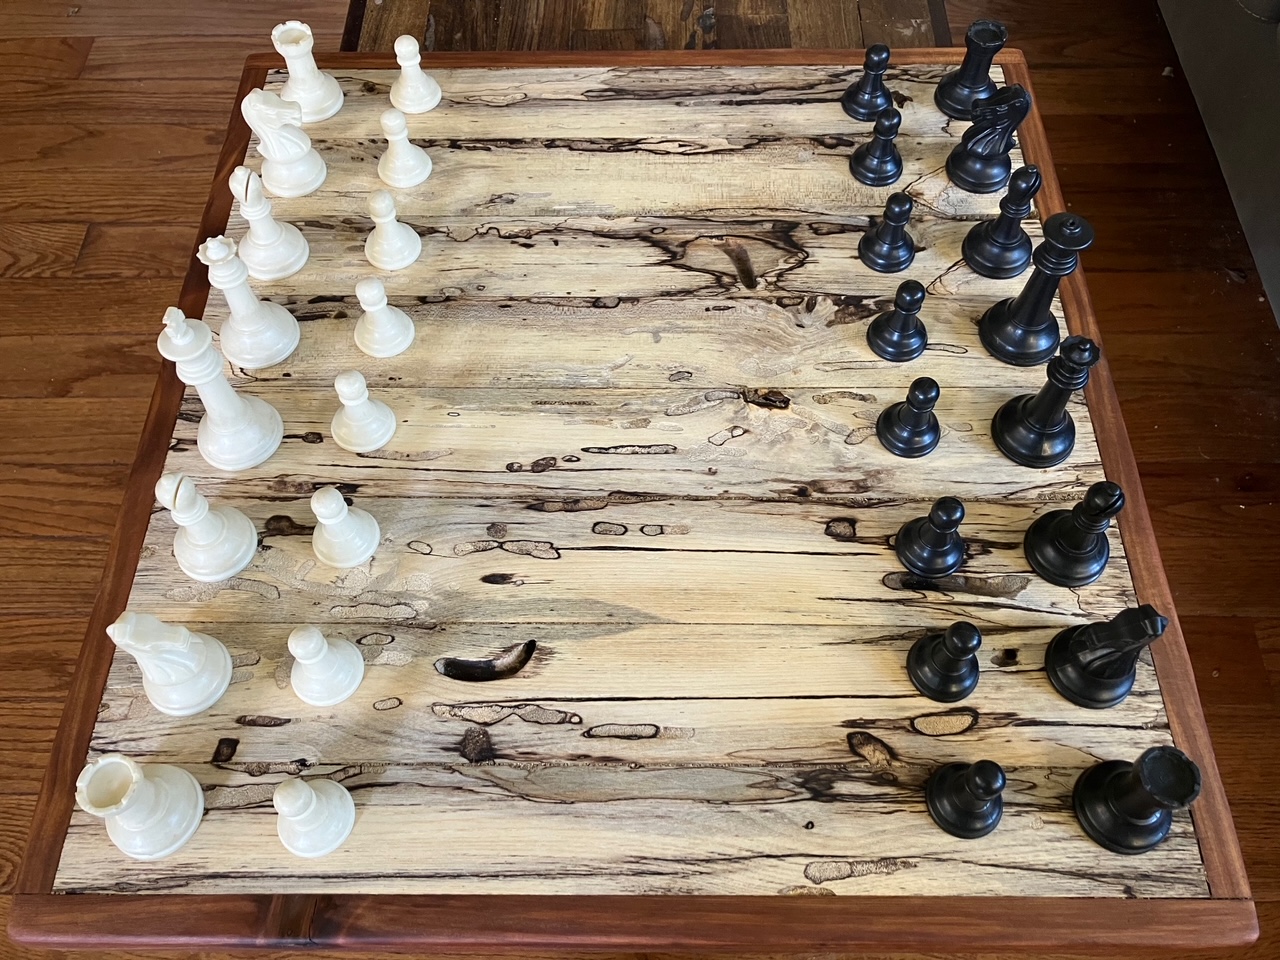
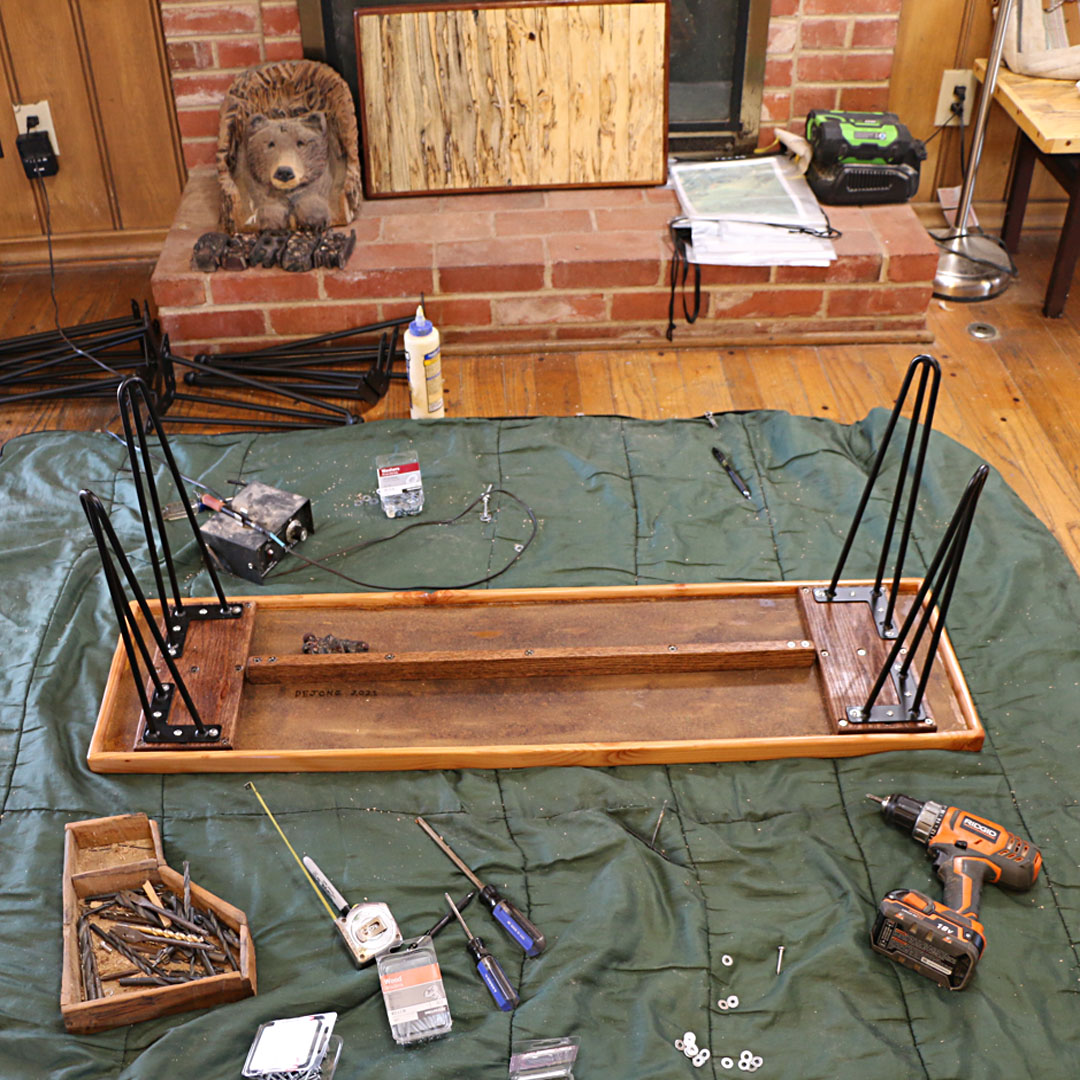
Or it can turn into a table, maybe for a plant. (a table is being assembled in the picture below).
Check out the table galleries!
